Data visualisation for noobs (like me) – a Tableau based blog series
How to make a lollipop graph with custom shapes
I’m going to talk you through making a lollipop graph, with real lollipops!
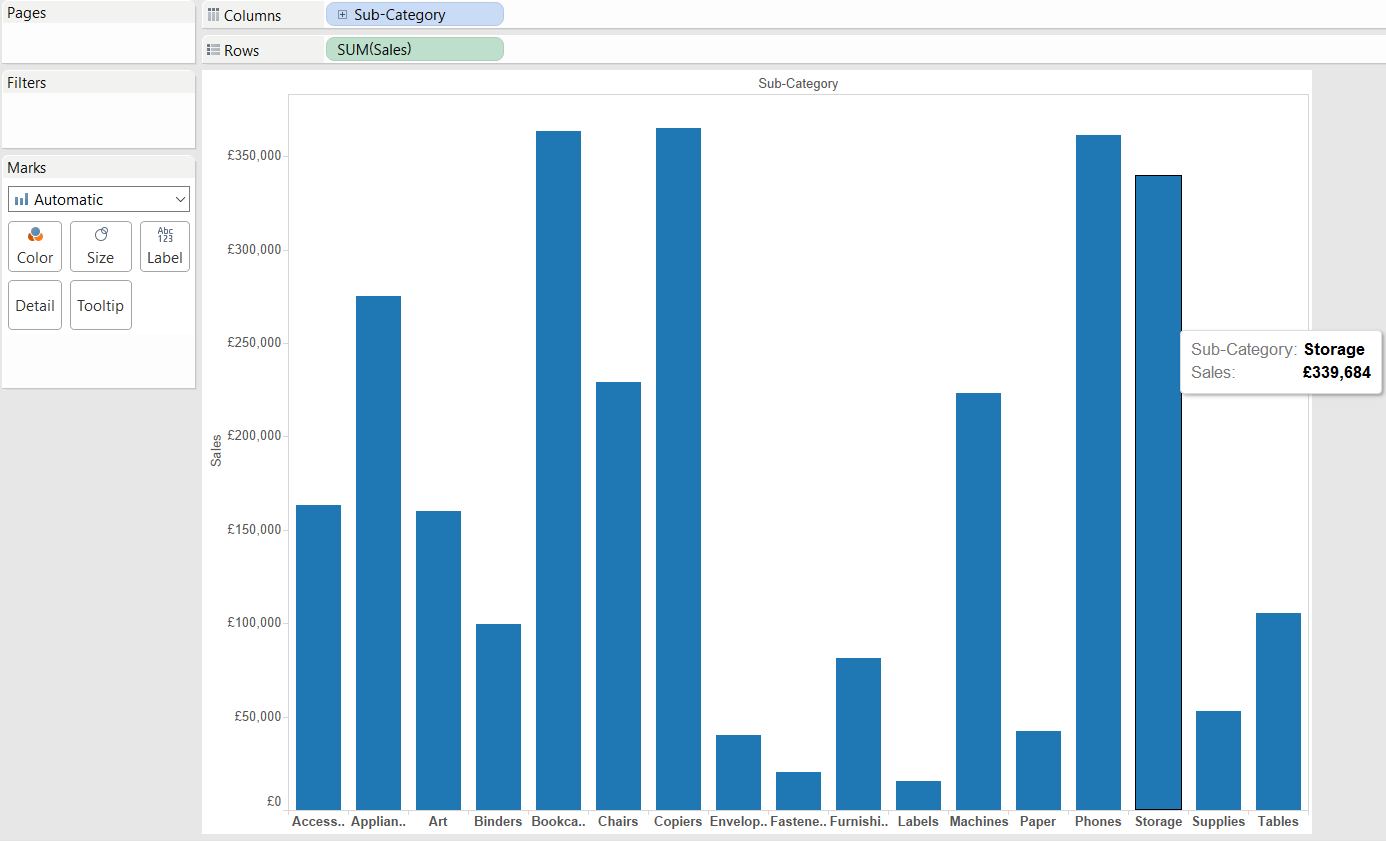
The first step is to bring some dimensions to your column and rows shelves. For this example I’ve used the Sample Superstore data that comes with Tableau as a default. plotted the sum of sales against the product subcategory, as you can see on on the image on the left.
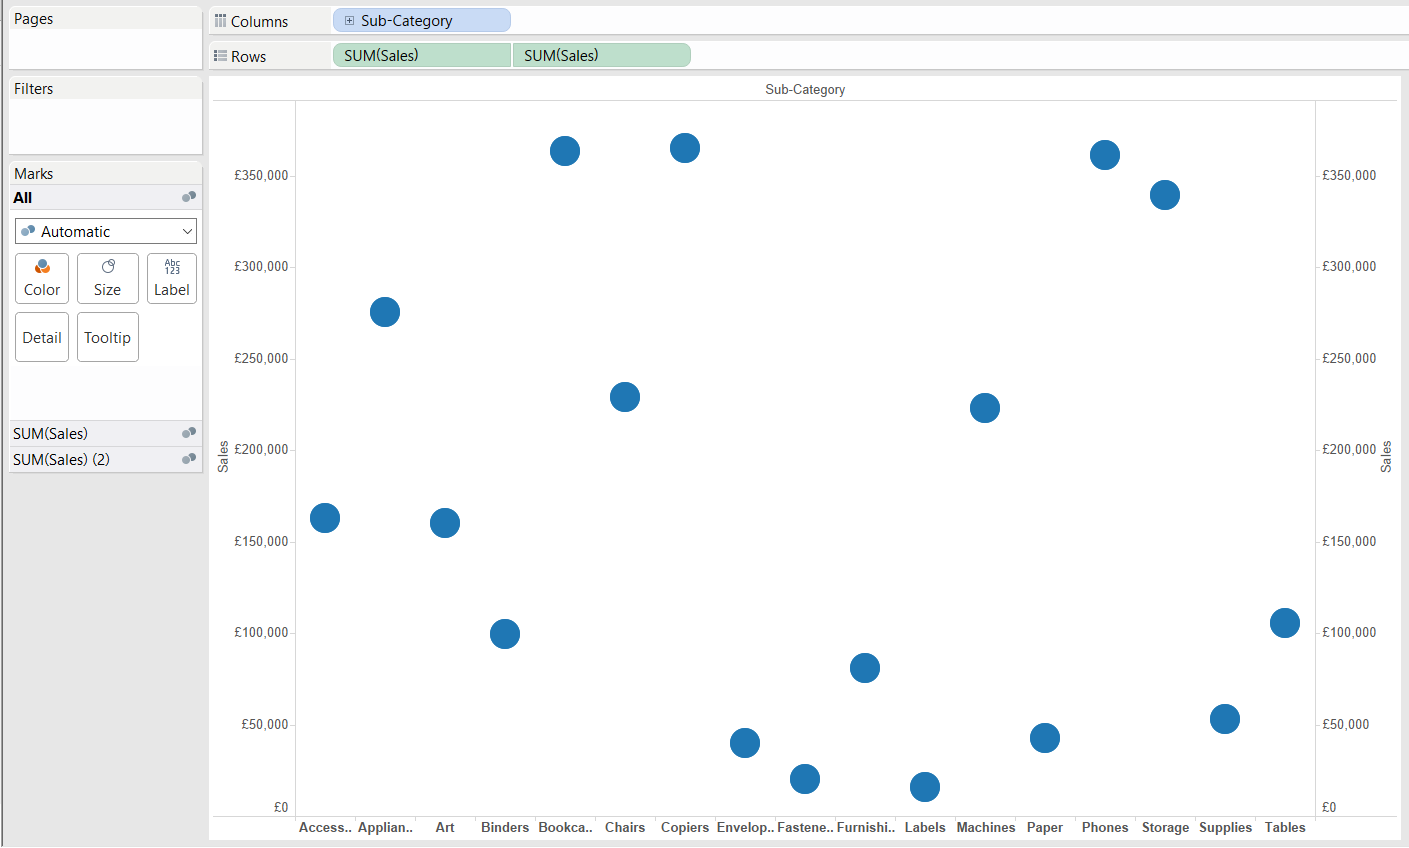 You then need to create a dual axis graph, with the same field of data on your Y axis twice. Luckily, Tableau 9.3 makes this super simple. All you have to do is drag you sales pill from the measures shelf into the view and hover it over the right side of your graph, until you see a black dotted line appear along the right hand axis and a little green ruler appear at your mouse. Drop this pill in and you then get the graph to your right. Tableau automatically changes the mark type to circles for both sets of sum of sales plotted. Synchronise your axes by right clicking on one of them and hitting synchronise.
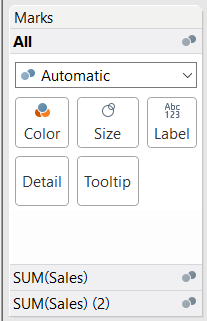
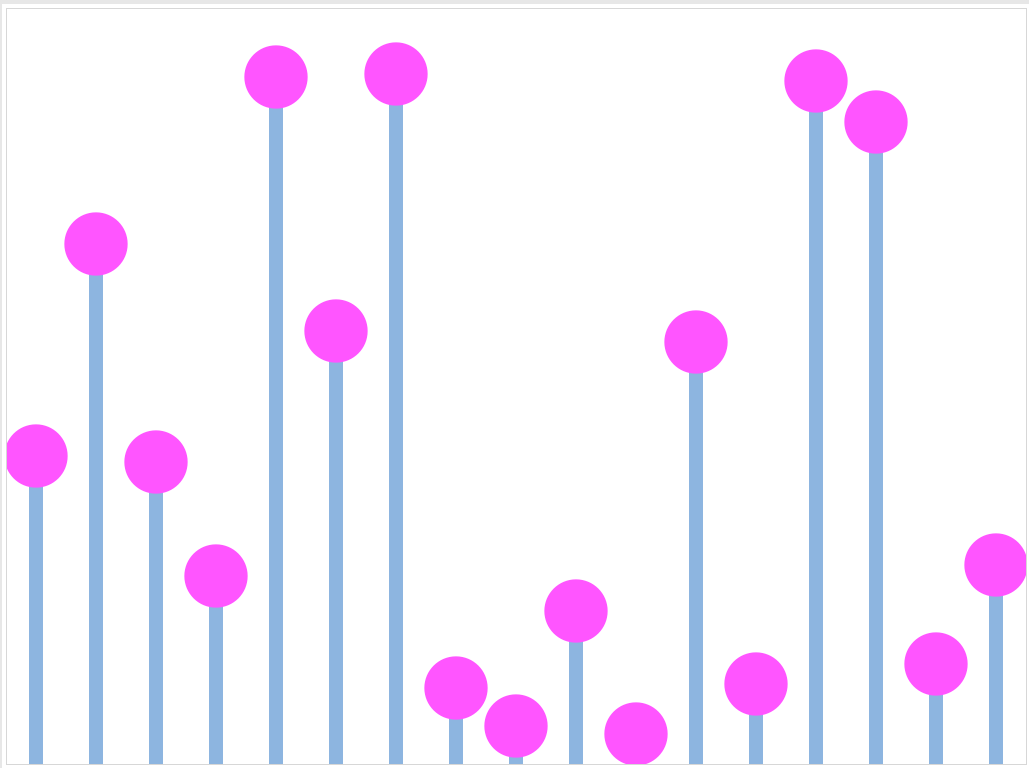
You’ll notice now, that you have two sum of sales tabs on your marks card. You can now change the mark type for each plotted sum of sales. If you change on of them to a bar, you essentially already have you your lollipop graph! Just adjust the sizes of your circles and your bars.
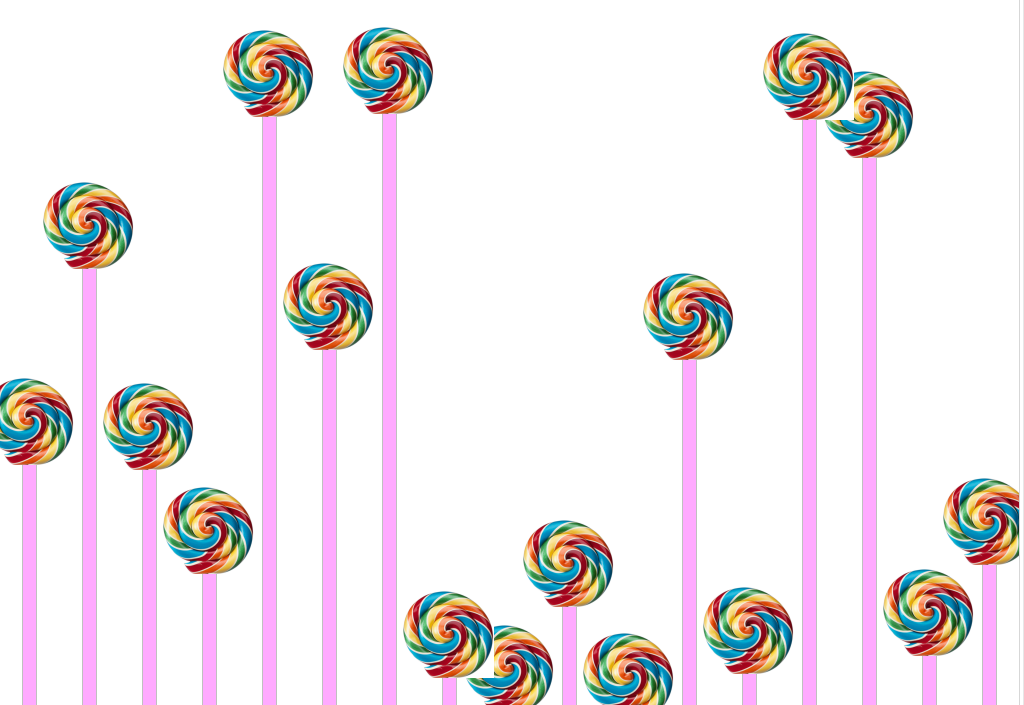
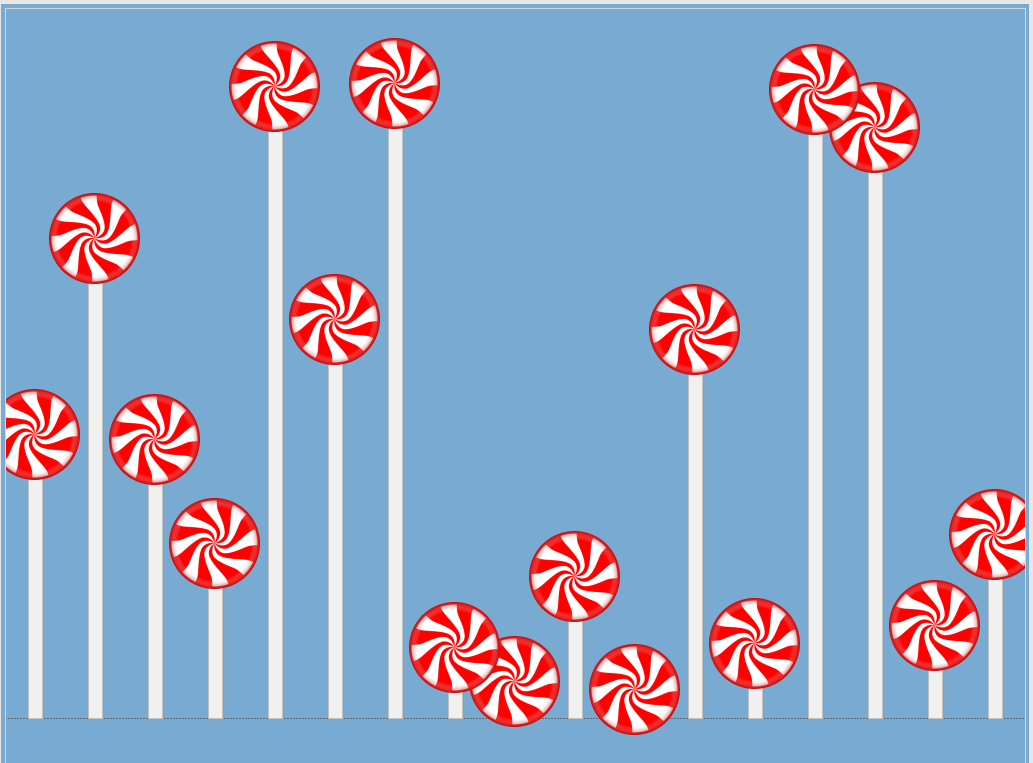
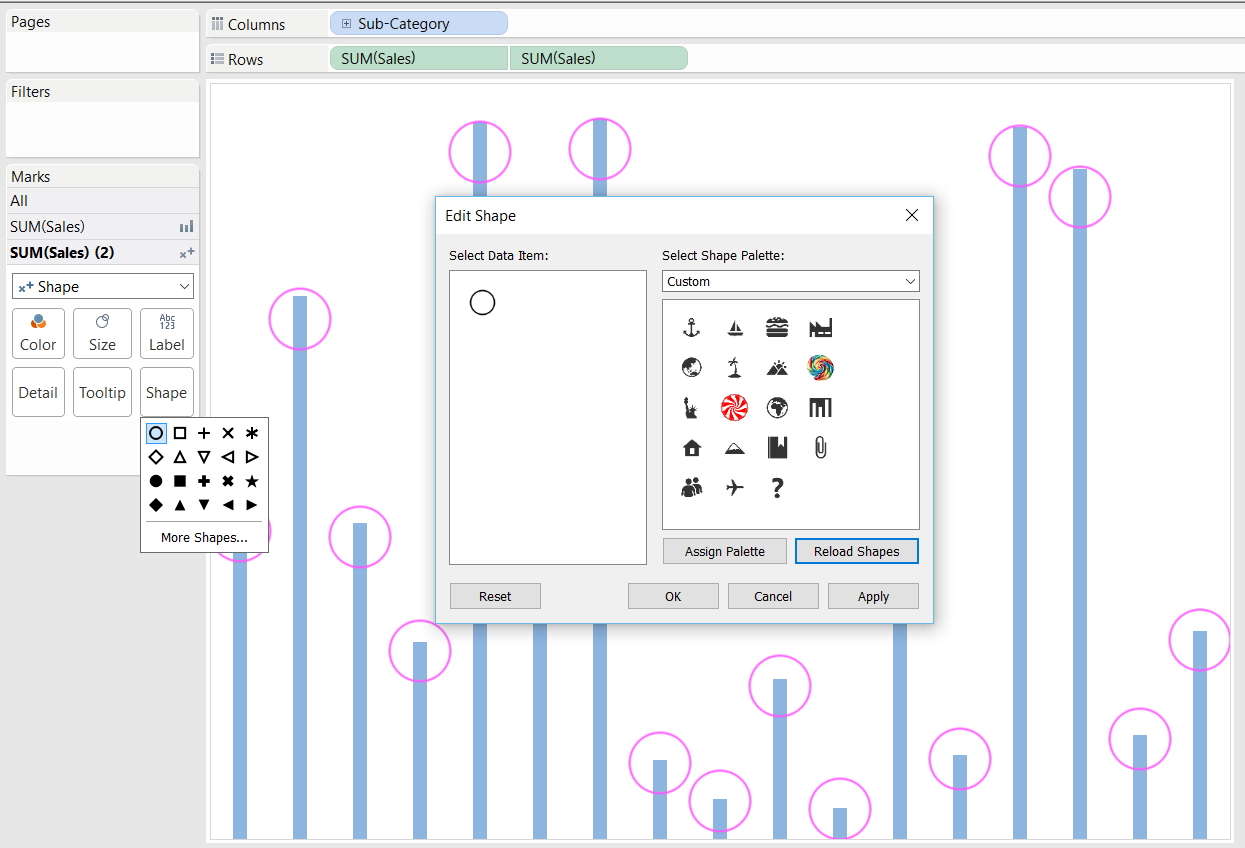 But why stop there? Lets make them into real lollipops! Bringing custom shapes into tableau is really easy. Just find an image you want to use (either your own or downloaded from the internet) and save it as a JPEG or preferably a PNG. Save this into ‘My Tableau Repository’, ‘Shapes’, ‘Custom’. If you change your mark type on sum of sales pill that is currently set to circle, to shape on the marks card and click on the shape mark, you can select ‘more shapes’ from the bottom of the list of shapes. From here you can select custom shapes. You will have to ‘reload shapes’ in order to bring the custom shape you saved into the view. Select it and apply.. .. and hey! You’ve got lollipops!