A macro is simply a combination of instructions ran as a single command. In Alteryx this translates to packaging up multiple tools into one tool. This is how you do it.
First you start with a workflow that you think has some reusability. In this case, I have created a simple workflow that converts a British postcode into latitude and longitude coordinates using the Postcodes.io API,

If you want to read about how to use APIs in Alteryx, you can refer to my other blog post here: /philip-mannering/typical-api-alteryx-workflow/
Converting postcodes to latitude and longitude coordinates is something that I have done a few times at the data school, so it would be good to have it bundled up as one single tool. Any repetitive task is begging to be made into a macro. So here is how you do it…
- Make the input just the bit that you want to change every time you run the macro. Above, I have a text input for the entire URL including the postcode: “api.postcodes.io/postcodes/sw99qu”. However the root bit of this URL: “api.postcodes.io/postcodes/” always remains the same. So we split up the URL and have the first text input as just the postcode, and then join it to the root in a formula tool as so,

2. Now we make it a macro. Simply right click on the text input and click Convert To Macro Input as shown below,
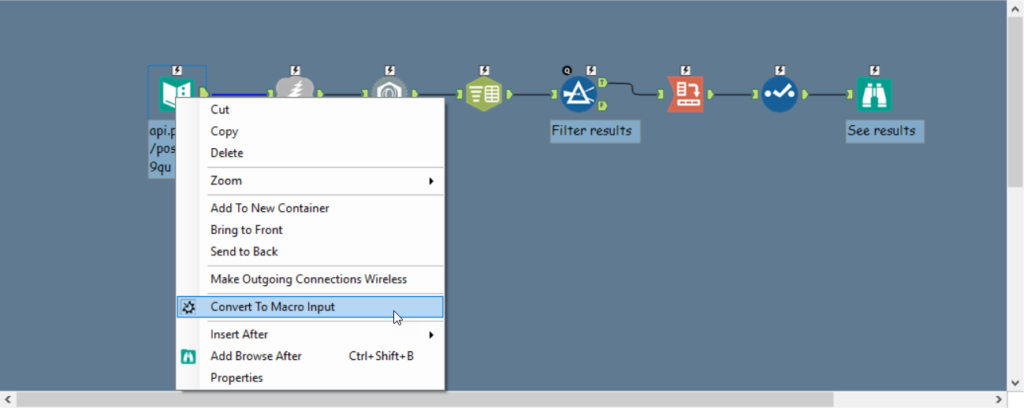
If the first tool is not a text input, then this will not be possible. Just go to the Interface tab on the Tool Palette and drag the Macro Input tool to the front of your workflow. This can be configured to deal with either a text input or a file input. If your macro uses multiple inputs and the incoming data is likely to vary then you may want to tick the checkbox Show Field Map. This prompts the user to select which fields in the workflow relate to which fields in the macro. For a single input (like a postcode) this can remain unchecked.
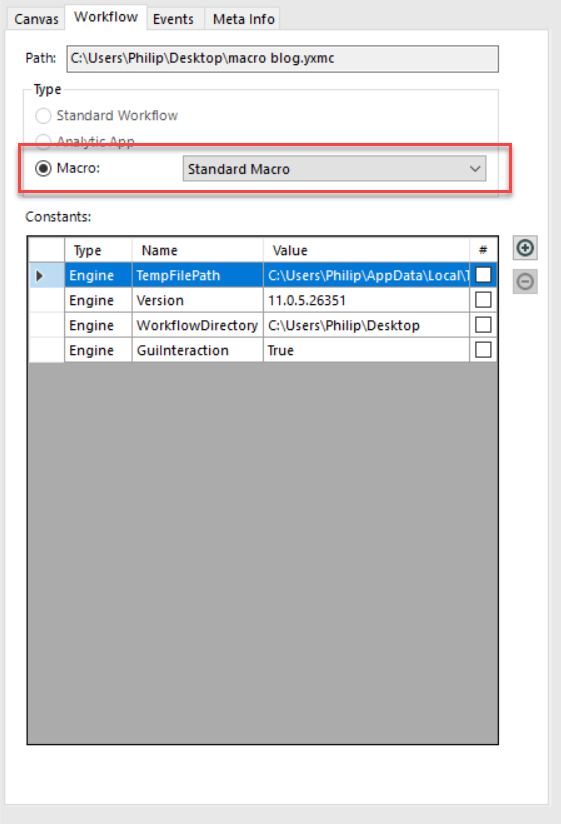
- Verify that you now have a macro by clicking on the canvas and navigating to the Workflow pane. You should see that the Type of workflow is a Standard Macro,
- Add a Macro Output tool to the end of your workflow,

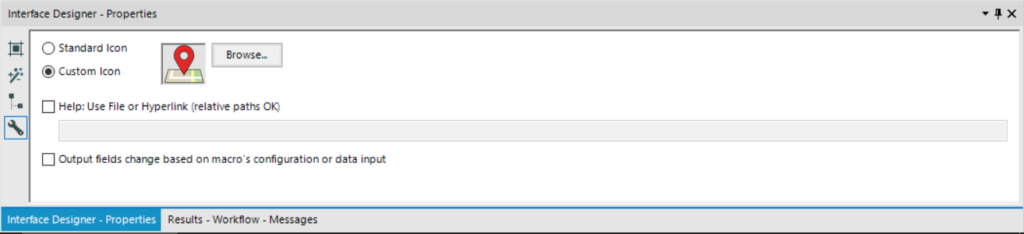
5. The next stage is VERY important. In the Interface Designer (Ctrl + Alt + D) add a customized icon to your macro,
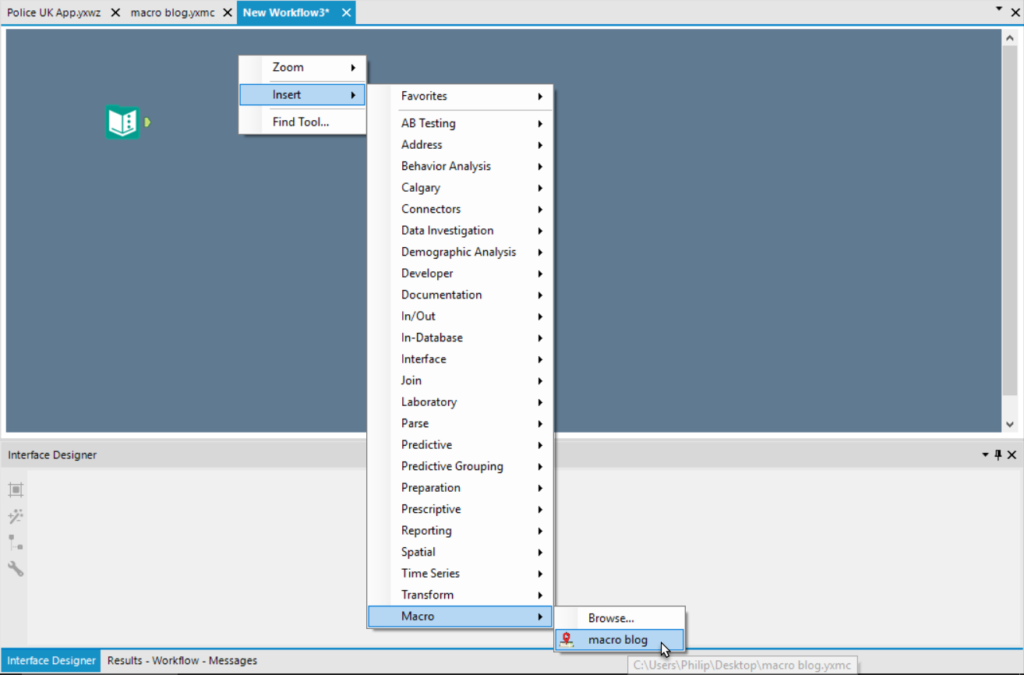
- Remember to save your new macro with a .yxmc file extension. Then, open a new workflow, right click and insert a macro,
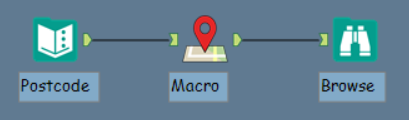
7. And that’s all there is to it. In the workflow below I’ve added a postcode as a text input and a browse to see the returned result,
The next stage is to modify this so that you can run this macro on a list of postcodes that you want to convert to latitude and longitude coordinates. You can read how to do this in my blog post: How to Batch your Macro: …………..