A guide to assigning multiple images to a Dimension using custom shapes using the images obtained through an API in Alteryx.
An amazing day 3 of Dashboard week, we got to play with a Rick and Morty Application Program Interface (API), which is a fan base holding all sorts of information about Rick and Morty Episodes, Characters and Locations.
After obtaining all the data available, we noticed that the character information contains links to images for all the 436 characters who starred in Rick and Morty so far. Below, I will walk through how to obtain images from the API and export them as image files to then use them as custom shapes in Tableau!! This led to my dashboard off the day:

1. Alteryx API image collection
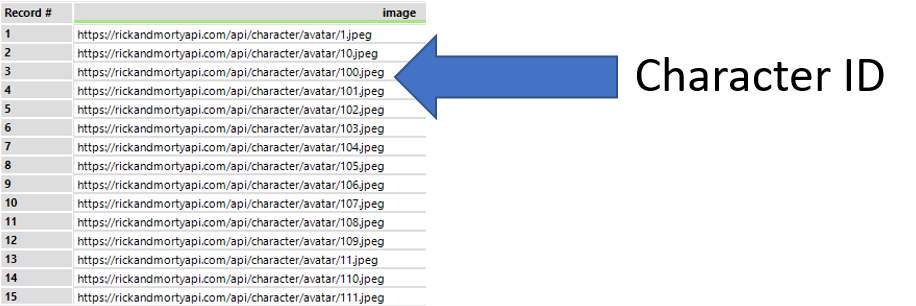
The API was conveniently setup as it stored the character images according to their character ID, easily collected with a Summarise tool in Alteryx and exported as a csv looking as follows:
The next step is to start up a new workflow and use the list as an input file, connect it to a download tool – change the setting to Blob, add a Image tool behind it – get image from binary data in field (download data) and stick a browse tool after it.

The last part is to export your images as individual files. For this we use the blob output tool and we have to create a field containing the Character ID (text to columns from the URL) to name the image files.
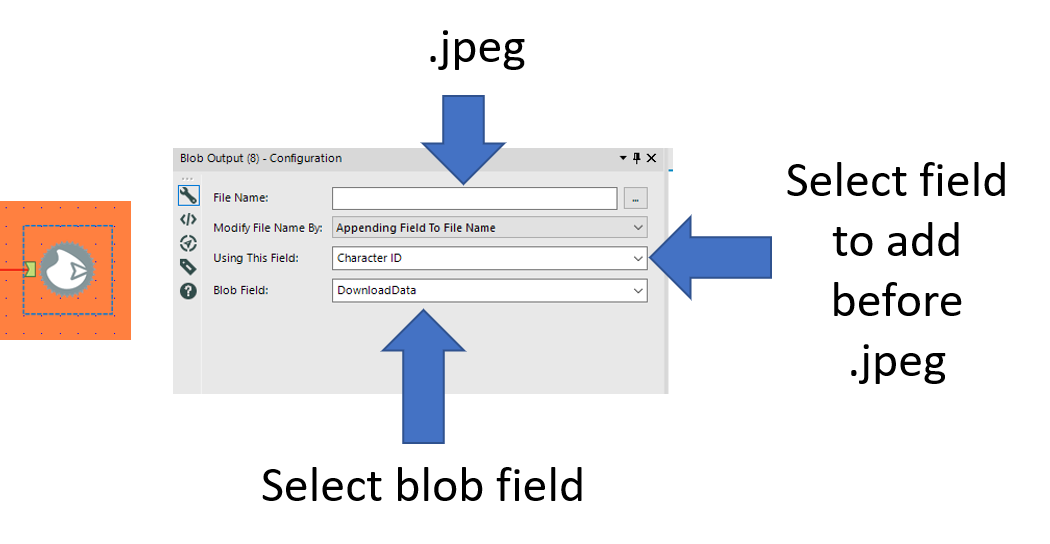
Select a folder to save all the files to in File Name (.jpeg as name), append field to file name, select the field containing your unique identifier (Character ID) and select the blob containing image field.
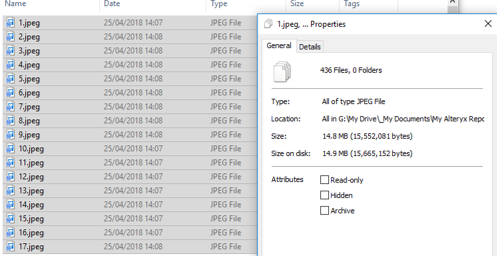
Run the workflow and voila, 436 images named by character ID!
2. Assign multiple images as custom shapes in Tableau
Now that we have the images all named according to a field, you need to add the folder to your Tableau Repository (*\My Tableau Repository\Shapes\New folder).
You can name your new folder whatever you like, just make sure it only contains the images you want to use.
Open your Tableau, add a sheet and drag the unique identifier Dimension you used to name your images (Character ID in this case) to Rows, change your Marks to Shapes and the same Dimension to Shapes.
Next is the subtle trick that makes this all work: sort your Dimension to Alphabetical order, ascending. Why? because the shapes are ordered in alphabetical order when you open up your shapes window! This will now allow you to use Assign Pallet, rather than doing 436 images separately….
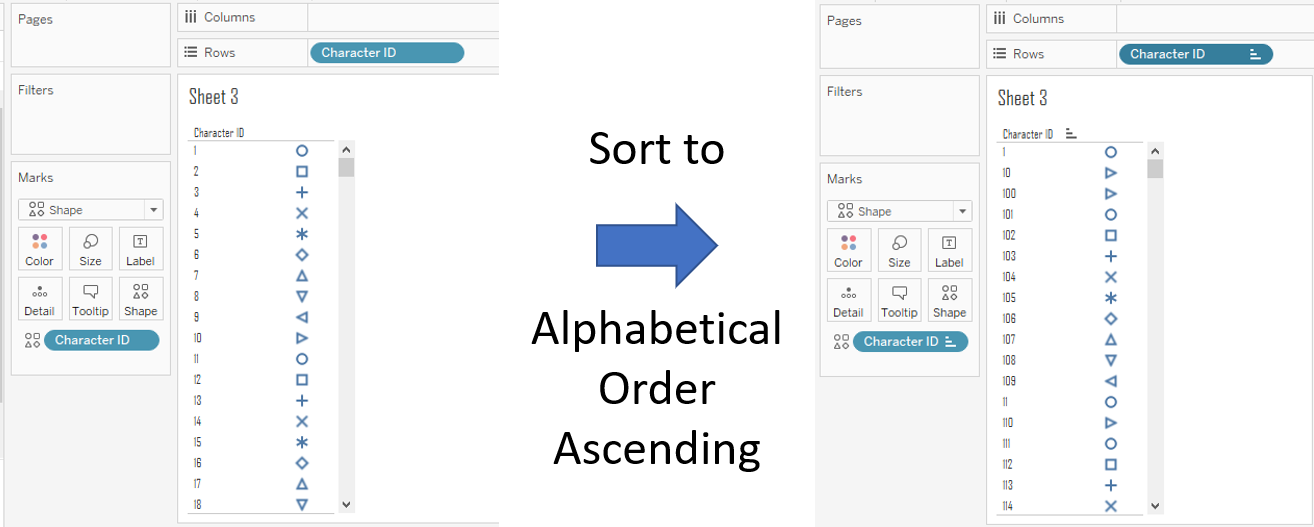
Next up is the Shape assignment, follow the GIF below and you’re all set to clear your sort and use the images to your liking!
That’s it for now, feel free to contact me about any of the content on Linkedin or Twitter @RobbinVernooij