


This is part 2 in a two part series. See part 1 for a description of what containers are and how to use them.
Today, I want to answer some more FAQs about containers!
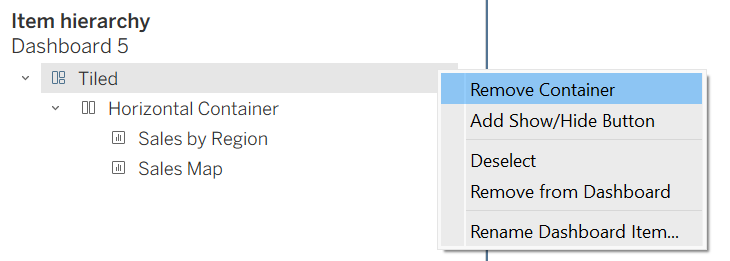
What are the “tiled” items appearing in my item hierarchy?
These are Tableau’s way of trying to help structure your dashboard. You’ll see them appear, for example, when you create a blank dashboard and drag a non-floating container onto it.
I find tiled containers to be more annoying than helpful, as they tend to make the hierarchy more confusing. One of the best pieces of advice I’ve gotten is to delete the tiled containers as you go. As soon as you see “tiled” appear in the item hierarchy, just right-click it in the hierarchy delete it. The horizontal and vertical containers inside will stay on the dashboard, and your hierarchy will be cleaner and easier to manage.
How should I start my dashboard?
A commonly recommended approach (shoutout to Curtis Harris’s super helpful video) is to start with a floating container positioned at x = 0 and y = 0, then resize it to match the full size of your dashboard. This now becomes your master container. From there, you drop all of your other containers inside it.
This is helpful for a few reasons:
- It gives you a single parent container that controls your entire layout
- It helps prevent Tableau from creating weird extra tiled layers
- It keeps your item hierarchy clean and predictable
- It makes resizing and restructuring your dashboard easier
From there, your additional hierarchy and nesting of horizontal and vertical containers will depend on your specific desired layout.
Why did my horizontal container just turn into a vertical container?
When you first drag in a container, Tableau may change it based on how you add the next object. For example, if you drag in a horizontal container and then place another object to the right of it, it will remain a horizontal container. But if you drag an object below it, Tableau will automatically convert it into a vertical container.
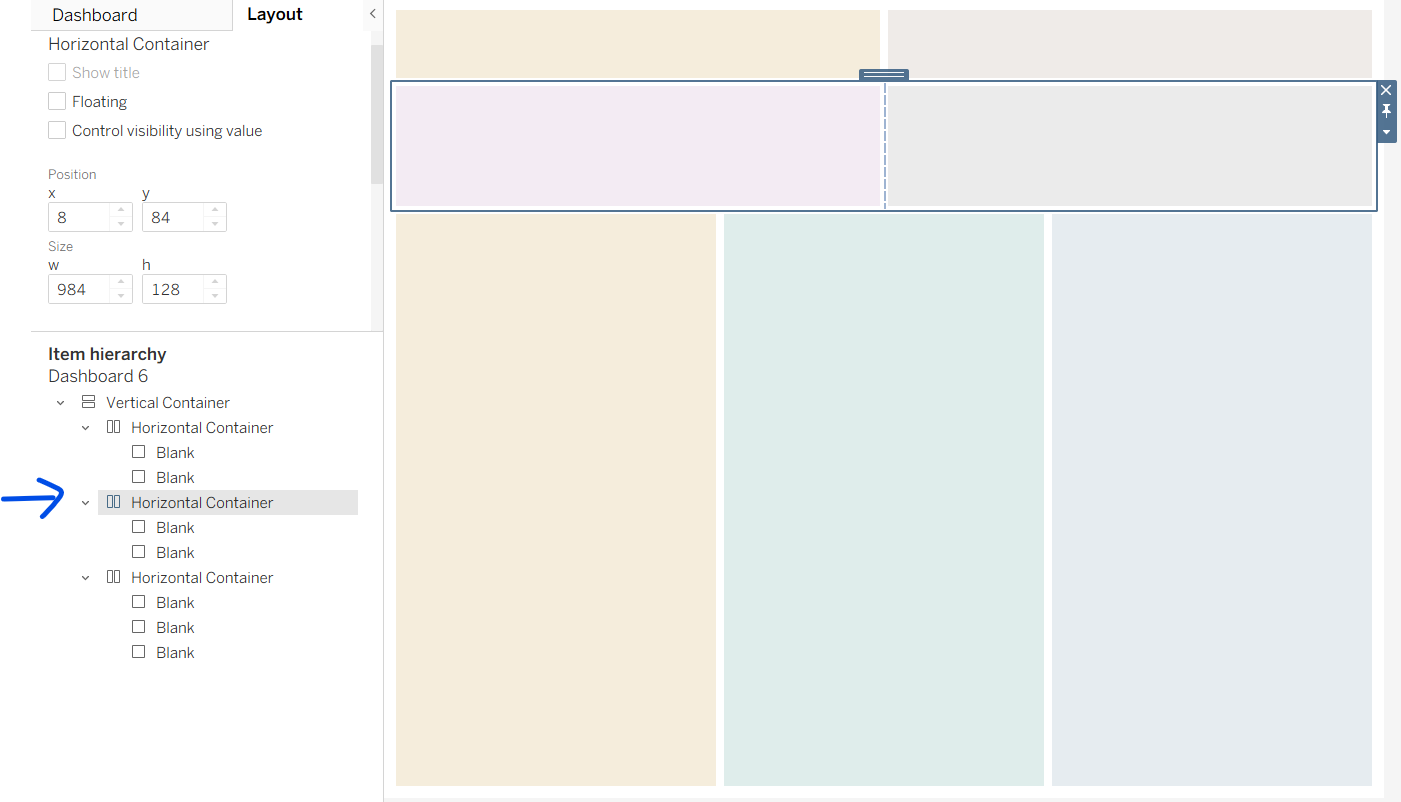
How do I select a container once it’s on the dashboard?
Sometimes it’s hard to select a container directly because other objects are sitting on top of it or nested inside it. When that happens, select the container from the item hierarchy instead. This will automatically select it on your dashboard, where you can move or resize it. It’s often the fastest and most precise way to grab the exact container you want.
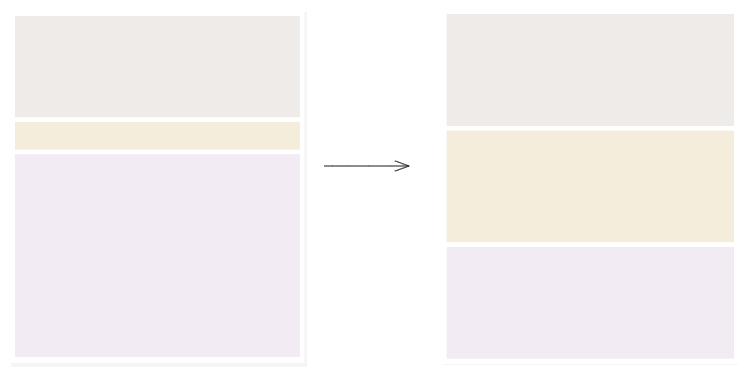
How do I keep everything evenly sized within a container?
Click on the container in the item hierarchy, then click “Distribute Contents Evenly.” If multiple objects live inside the same container, this option will automatically make them all the same size.
One thing to note: if you distribute contents evenly and later decide you don’t want everything to be the same size, you’ll need to go back and uncheck that option. Otherwise, you may not be able to manually drag to resize individual objects within the container, which can feel confusing if you forget it’s turned on.
Can I resize my dashboard but keep certain containers the same height?
Sometimes you want to make your dashboard larger, but you want certain elements like your title to stay the same height.
Click on the container you want to remain a fixed height in the item hierarchy. Set its height to your desired value, then click “fix height.” Now, when you resize your dashboard, that container won’t grow taller.
Why won’t my containers drag all the way down to the bottom of the page?
If your containers are all nested inside a floating master container (as described above), and they won’t drag to the bottom, this may be because all of your containers are fixed in height. Try this:
- Click on one of your containers and undo “fix height.”
- Or, edit the height of your bottommost container so that it’s tall enough to extend to the bottom of the dashboard.
Why can’t I drag and drop a container where I want to?
Start by checking the item hierarchy in the layout pane. The item hierarchy shows how every object on your dashboard is nested, including which containers hold which sheets, text boxes, and blank objects. Thinking of it like a folder structure can help – containers are the folders, and your views and objects are the files that are inside them.
If something behaves strangely, it’s generally because it’s living in a container you didn’t realize it was in, or because you have extra “tiled” containers. Drag in your containers one by one, ensuring they’re populating the item hierarchy the way that you expect. Delete tiled containers as you go. Adding colored blanks as you go can also help you visualize the dashboard building process better.