It is week 3 of The Data School and we have just been introduced to Power BI and Power Query! Here I will take you through how to do Week 1 2022 of Preppin' Data challenges in Power Query. If you are new to Power Query, then this blog is for you!
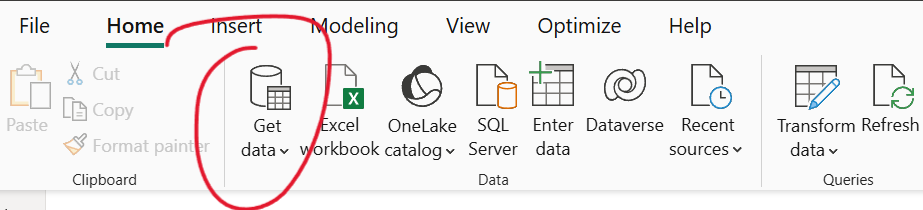
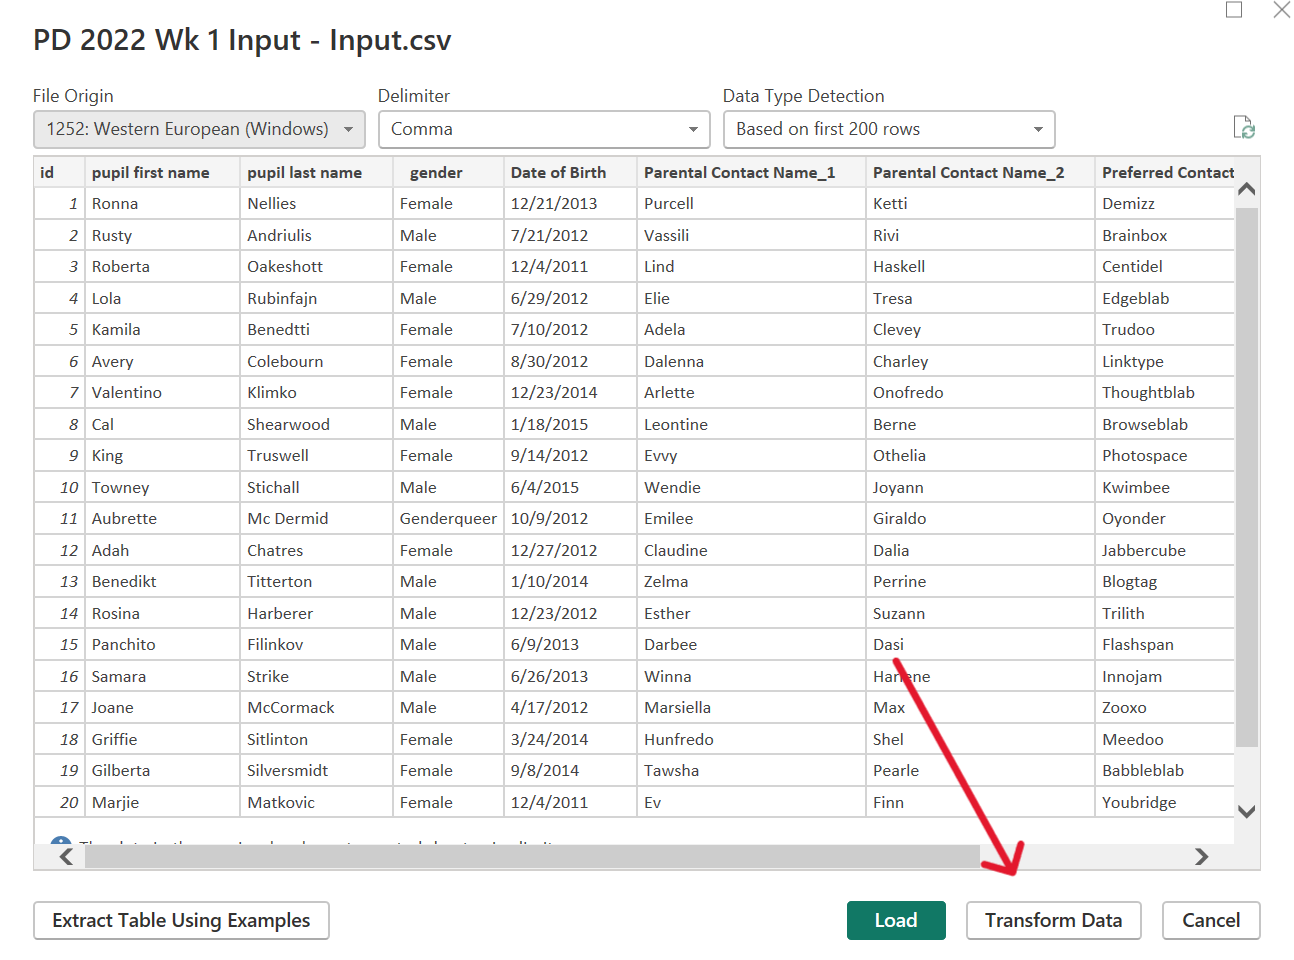
Before you start, you'll need to open Power BI and 'Get Data'. Once you're data has loaded you then select 'Transform Data' to open up Power Query.
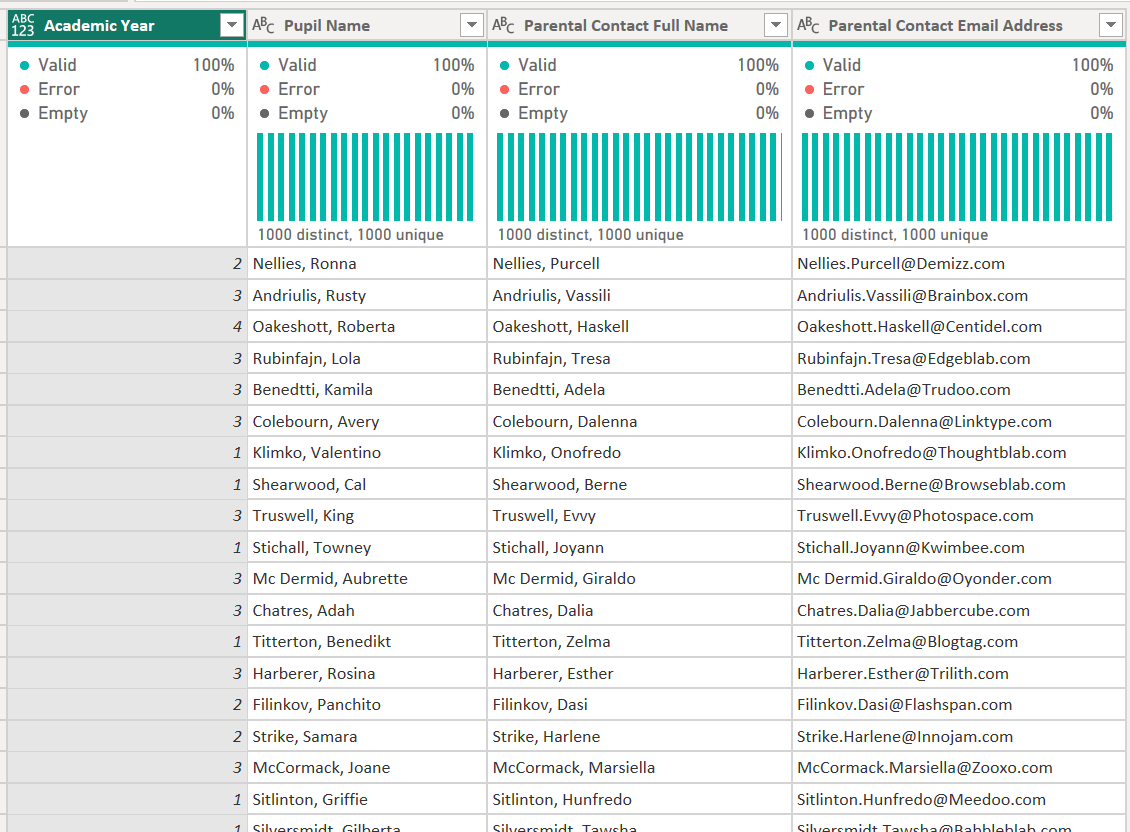
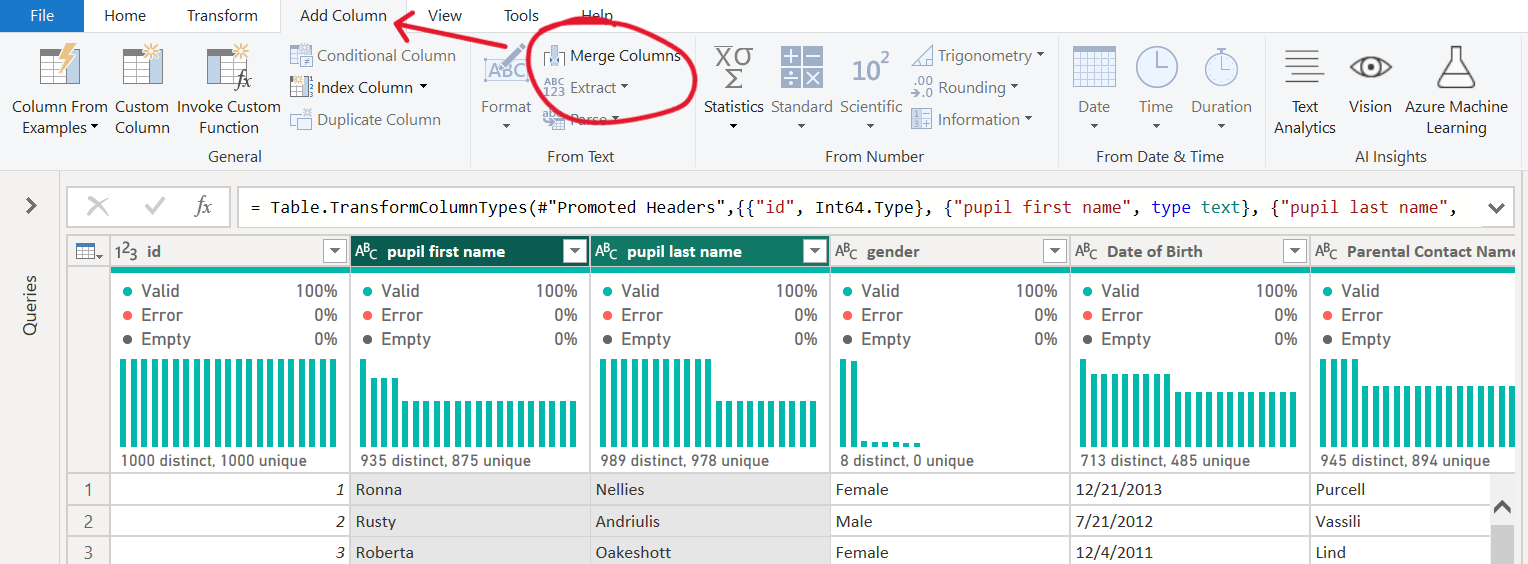
Now you're ready to get started! The first thing to do is to merge the pupil's last name to their first name, separated by a comma. Select pupil last name first, and then pupil first name (this will affect the order they are merged) and click 'merge columns' (make sure this is in the 'add column' tab as you'll need pupil last name again later). Then merge your columns using a custom delimiter of ', ' and rename your new column. That's the first step done!
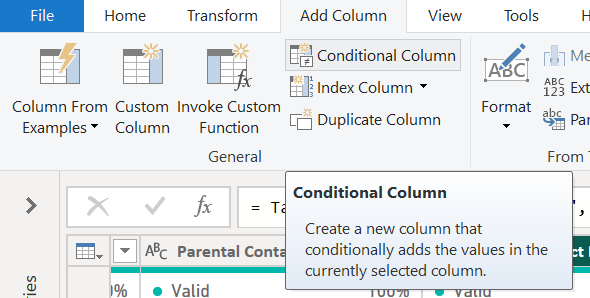
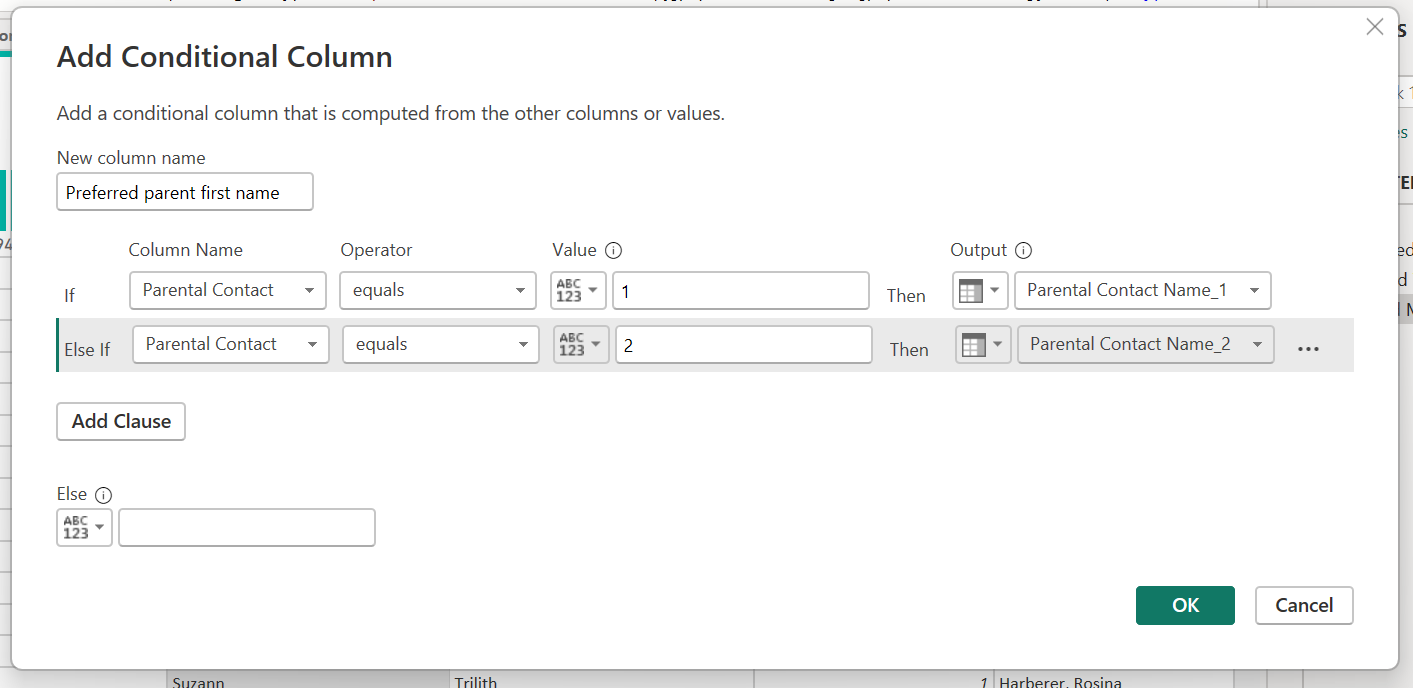
Now, we want to form the parent's name. There are two columns for parental first name and we only want the name if they are the chosen parental contact. To do this we will first make a new column with the preferred parent first name. We do this by creating a conditional column. In this condition we state that we only want the parent's first name if it matches with the parent contact column.
Now that we have the preferred parent's first name, we can merge it with the pupil's last name similar to earlier (by going to add column, merge, and using custom delimiter).
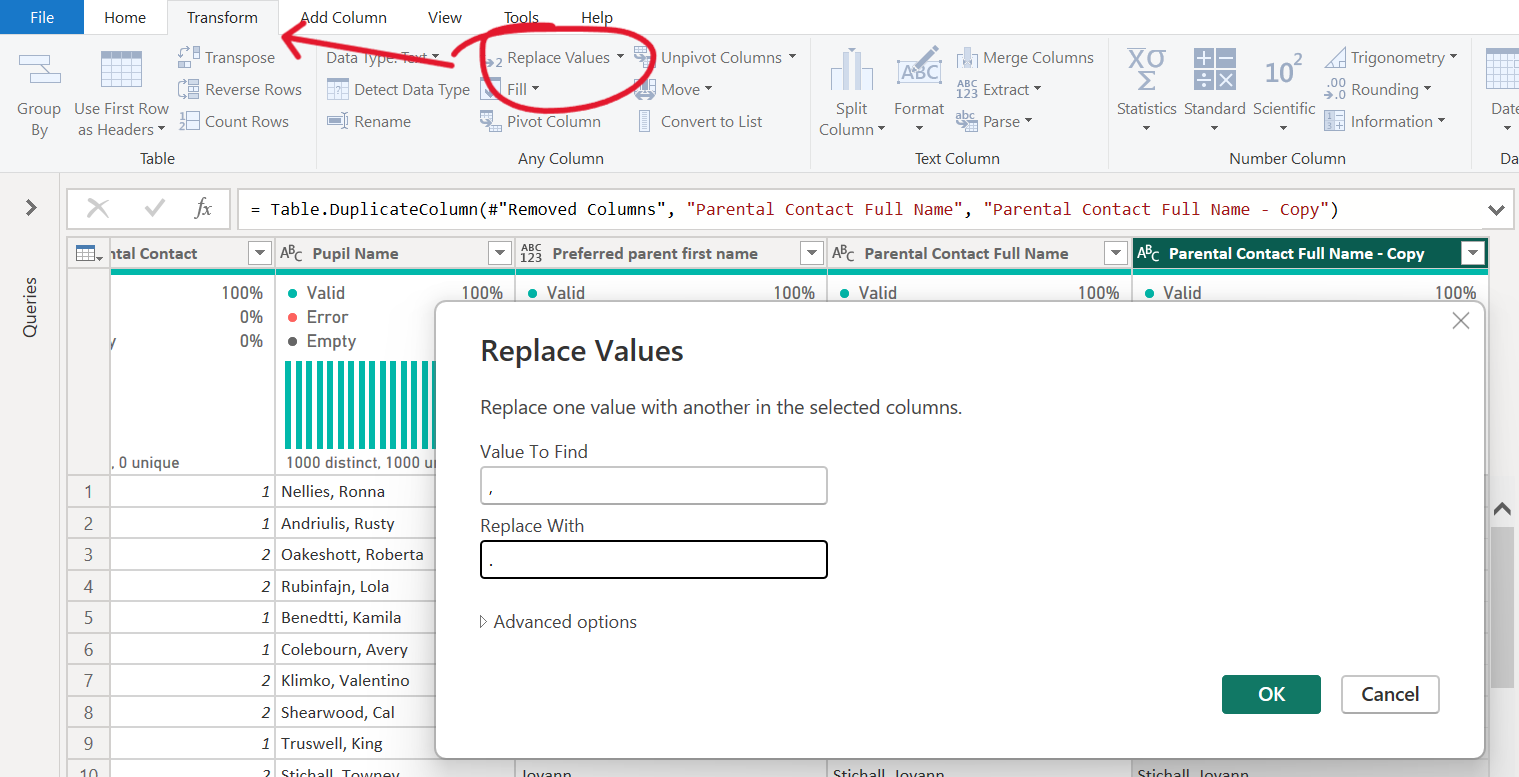
Next, we want to make the parental email address. To do this we want parental full name and parental company. The email address calls for a '.' between the first and last names, however currently we have ', '. To solve this, we duplicate the parent full name and use the replace function to replace the comma with a full stop (we do this in the transform tab as this function is not available in the add column tab).
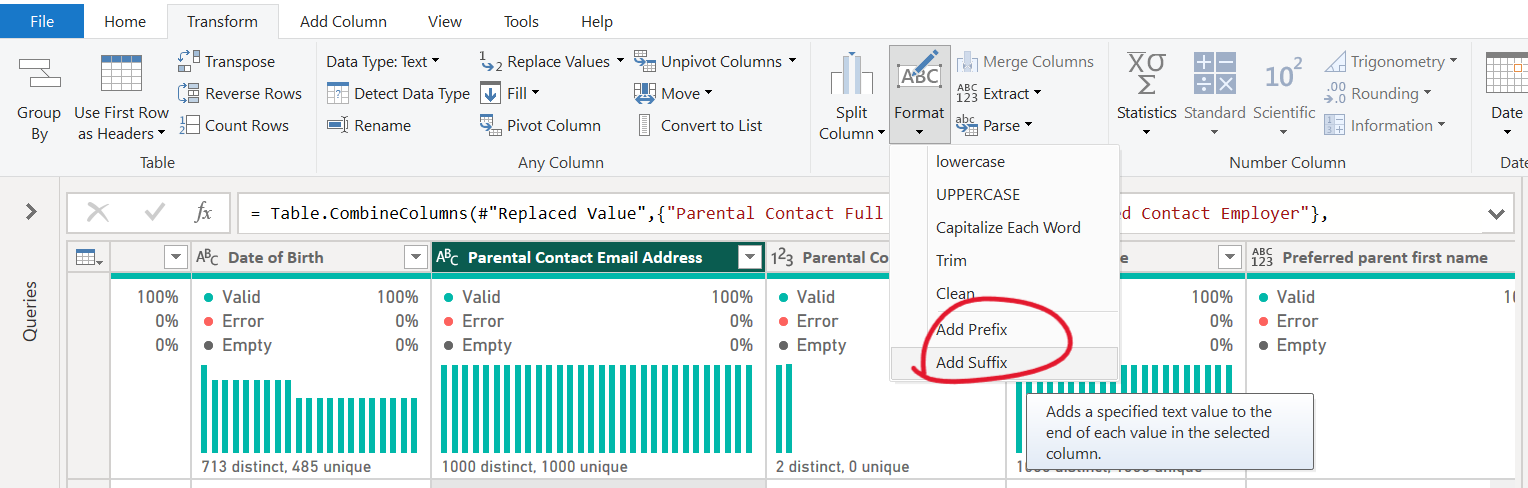
Now we can merge our new column with the parent's company using a custom delimiter '@'. We now have the main part of the email address! To finish we add a suffix of '.com'.
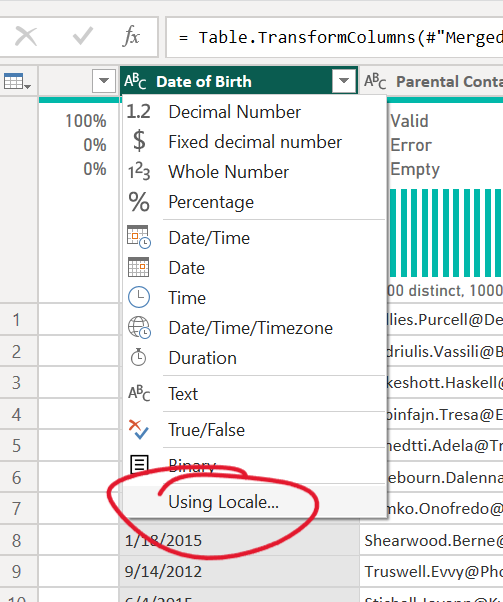
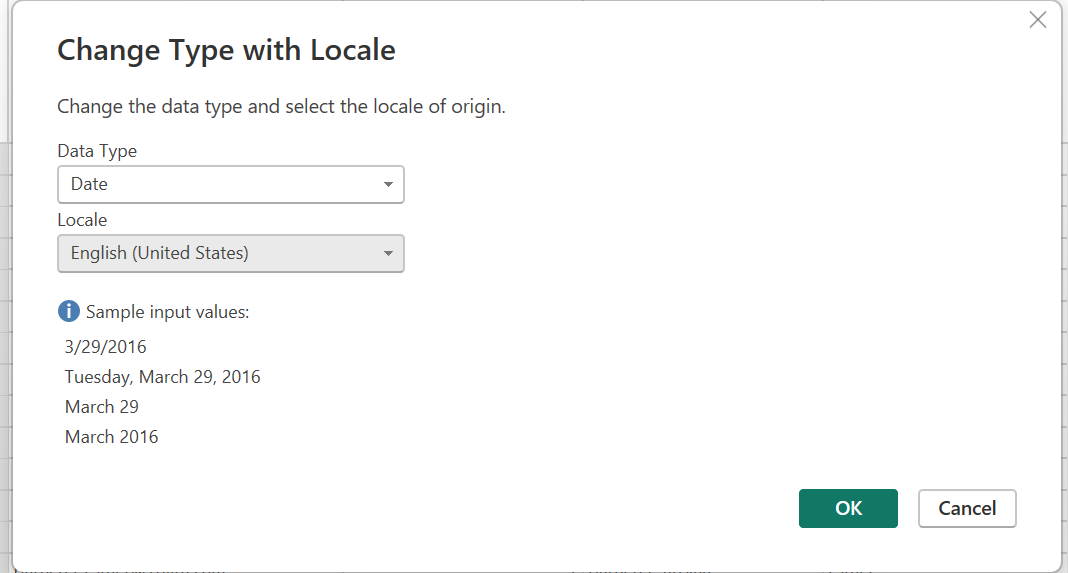
The last thing we need to do is create the academic year of the pupils. To do this we use their date of birth. However, date of birth is not a date! To change the data type of the column click on the icon next to the header. If you change it directly into a date you might get some errors (depending on the country of your system). If this happens, go to 'using locale...' at the bottom of the dropdown and change the data type to date and the locale to the US.
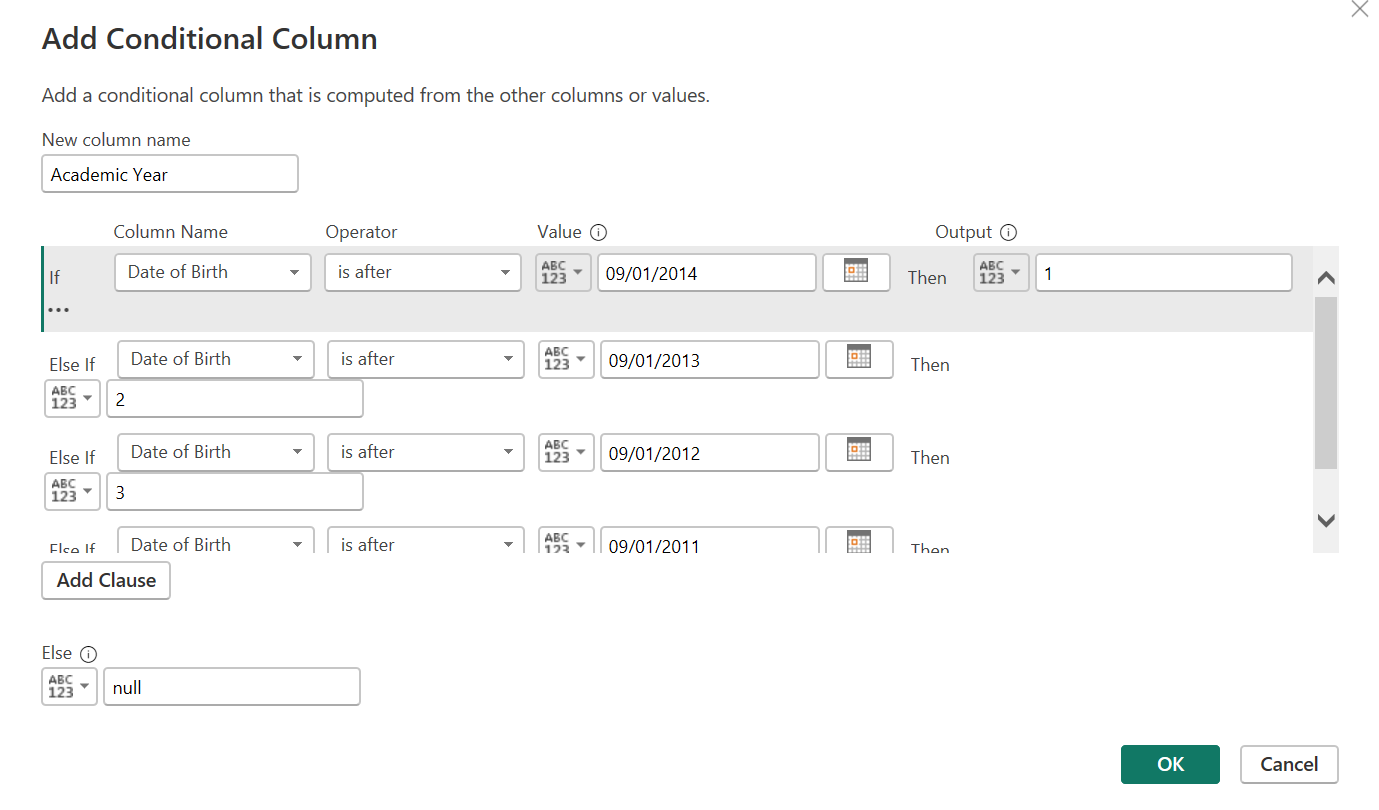
Finally, to create the academic year of each pupil, you need to make another conditional column like earlier. In this condition, state the ranges of the pupil's date of birth that coordinate with the academic years as stated in the challenge.
To finish up, delete any unnecessary columns and you're done!