


Power BI has a lot of advantages as a data visualisation software: it has an intuitive UI for chart building and customisation, an in-built suite of data preparation tools, and - most notably - it's free! One downside, however, is that the range of fonts it allows is very limited: only 23 font families are available, which is far fewer options than are available in other Microsoft products. But what if your organisation uses a specific font family for their report, or you have a specific vision for what you'd like your report to look like?
The method isn't entirely straightforward, but it's possible to import custom fonts into Power BI.
Installing custom fonts
Before a font can be imported into Power BI, it must first be installed on your computer. You may have done this already, in which case you can safely skip this section. If you haven't, don't wory, this part is very easy!
First, you'll want to find to find a custom font to download. There are plenty of free ones available if you search online. For the purposes of this blog, I'll be installing the Amoria Font (https://www.dafont.com/amoria.font).
When you press download, you'll find a zip file in your downloads. I recommend you move it to somewhere sensible, like a fonts folder in your documents, just to keep things organised - but it doesn't really matter where it is, as long as it's on your computer. Unzip the file in whatever location you desire and open the folder.
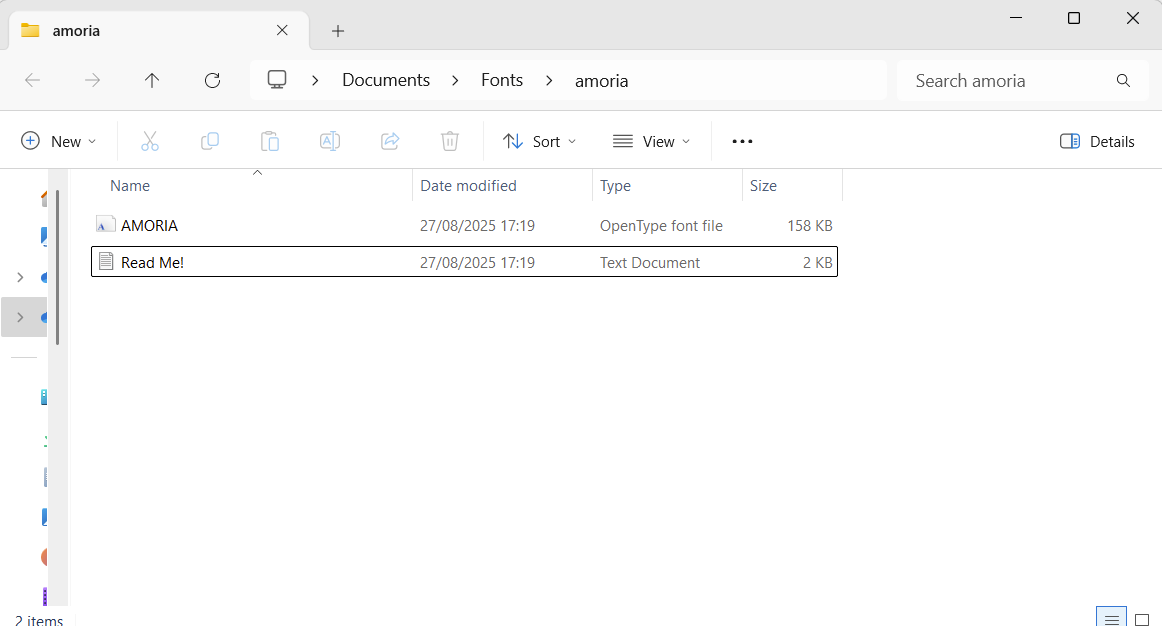
In this case, we just have a readme file and a .ttf file. This font file is what we want to install. Open the .ttf and you'll get something like this:

Simply click install and you're done! You can close the window; your font is now installed on your computer. For some fonts you might have a few files in there, such as an italics and bold version of the same font. In that case, you'll need to repeat this process for all the versions you want to use.
Create a custom theme in Power BI
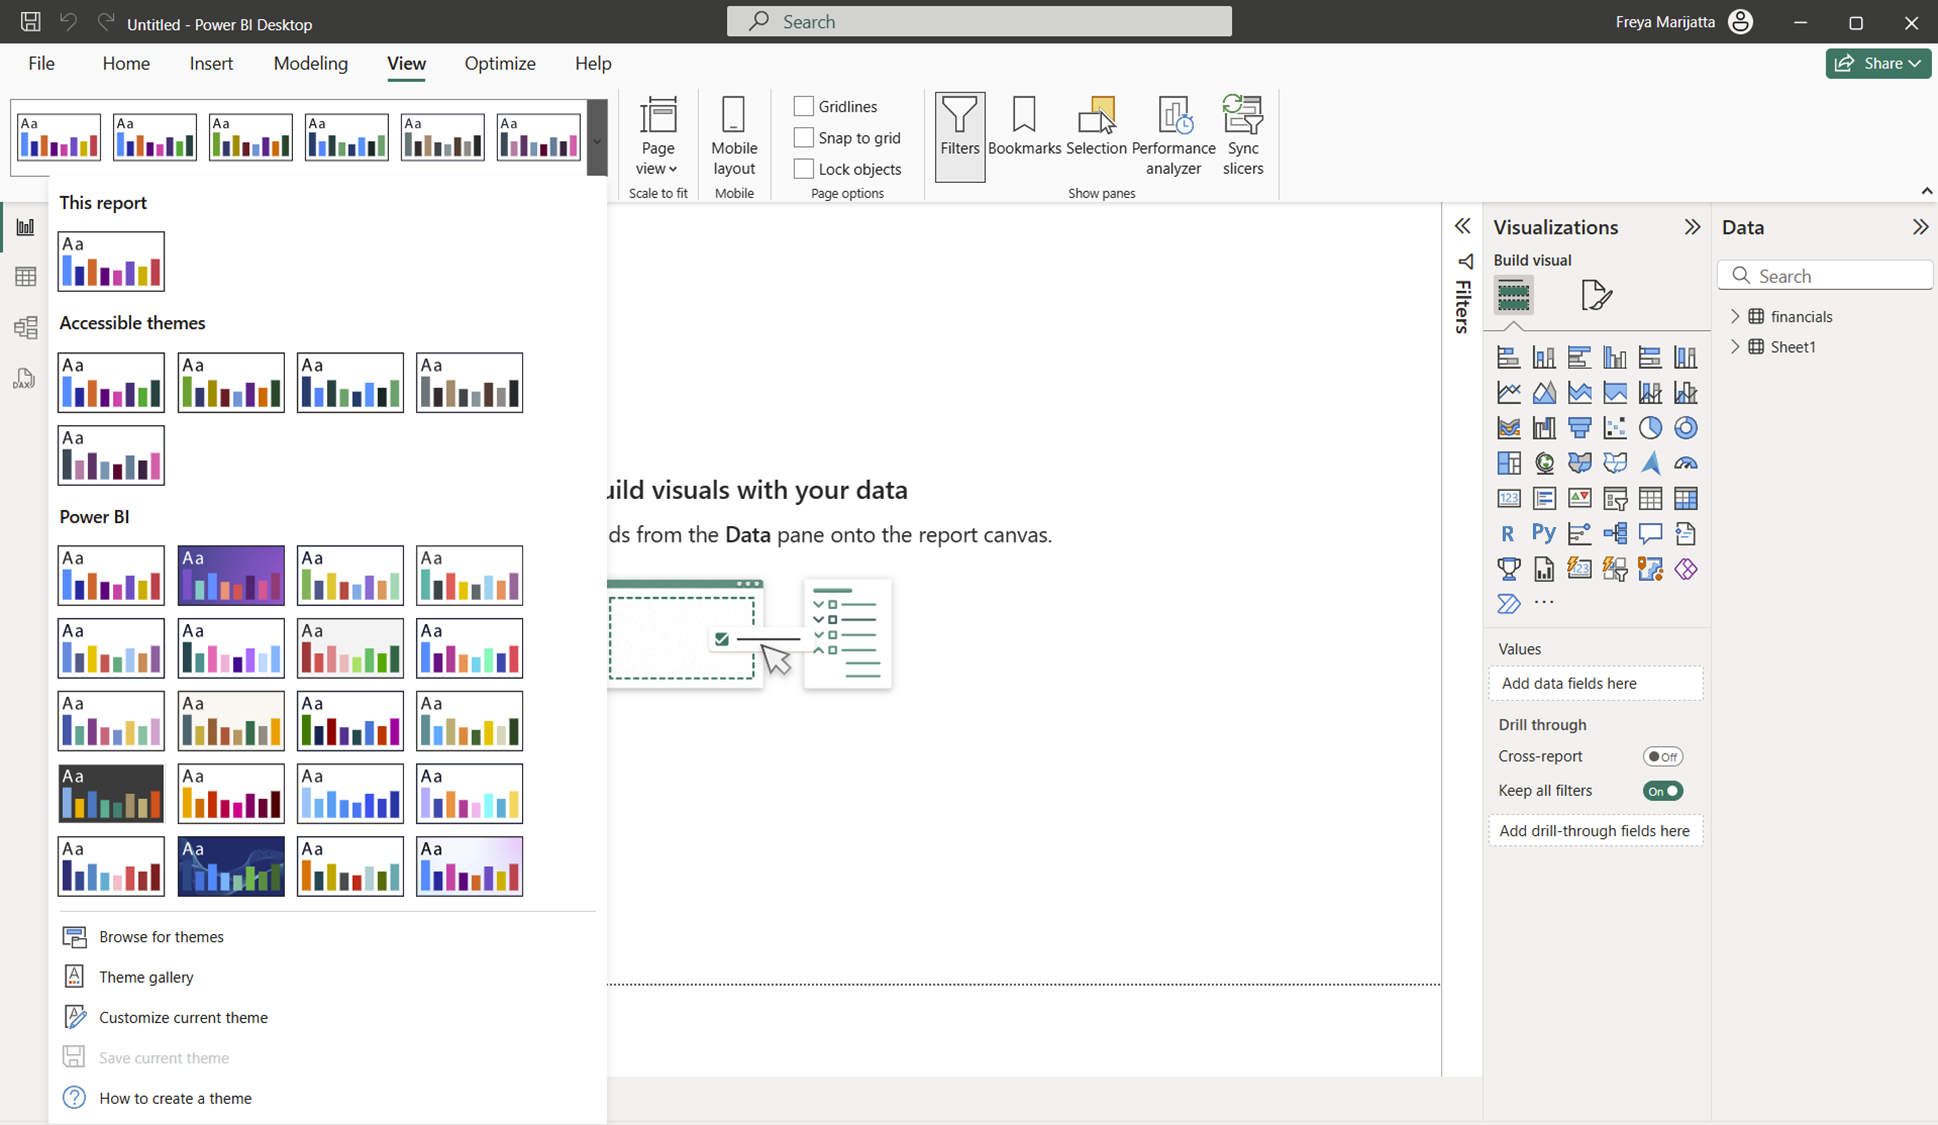
Now that our desired font is installed, we need to make a custom theme in Power BI. Open Power BI, go to the View tab and press the arrow beside the Themes. Select "Customize current theme" at the bottom of the menu.
You'll see a menu pop up called "Customize theme", which will contain all the settings for your current theme. If you'd like, you can name your new theme in this menu under Names and colors. I've named mine "Importing Custom Font".
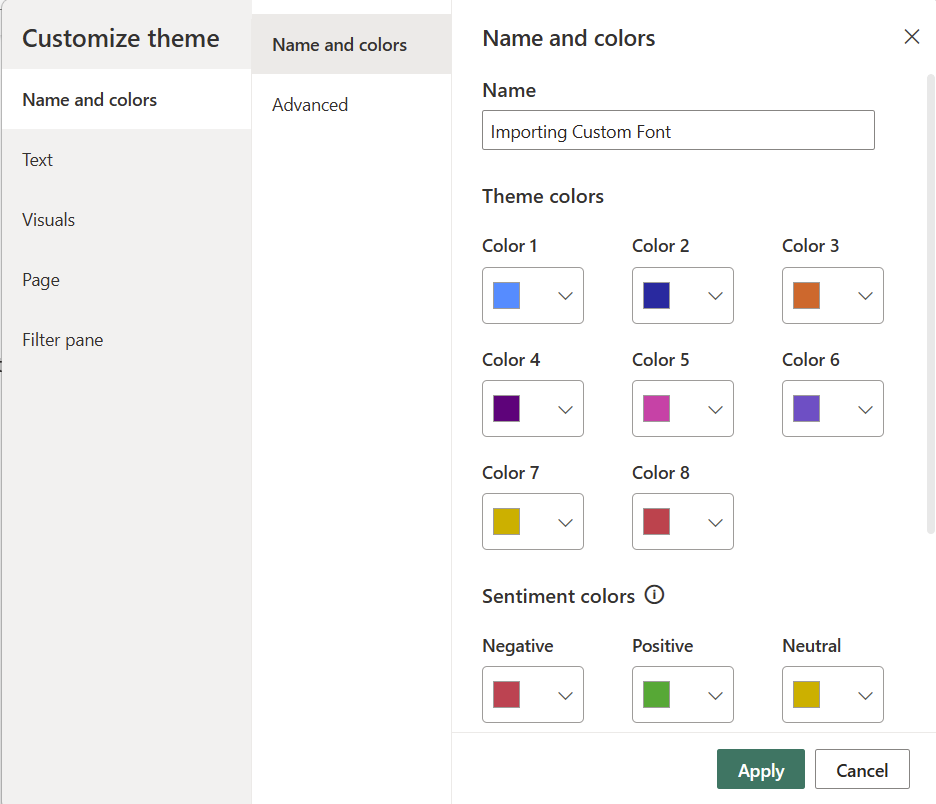
For our purposes, the specific settings don't matter: we're going to change them ourselves anyway. But you'll need to manually change all the fonts from the default. Go to Text and, for each of the tabs (General, Title etc), change the Font family to something else. I've changed all of mine to Arial. Once that's done, click Apply.

Now go back onto View > Themes > "Save current theme". This will allow you save this file as a .json file. Again, the location doesn't matter. Just name it whatever you like and put it somewhere sensible so you can find it easily again later.
Editing the .json file
Now you'll have a .json file for your custom theme. You'll want to find where you've saved it and open it in Notebook (right-click > Edit in Notepad). You should have something that looks like this:

Fonts can be specified separately for labels, callouts, titles and headers, using the "fontFace" argument for each. But in this case, we're just going to change every instance of Arial to our new font name: in my case, AMORIA.

Save that and close it. Now go back into Power BI and under View > Themes select "Browse for themes". Select the custom theme we just created from the browse window. If your .json file is configured correctly, you should get a pop up saying that your theme was successfully imported.
You might need to close and open Power BI for this to work. If so, you'll need to load in your theme again. But once you do...
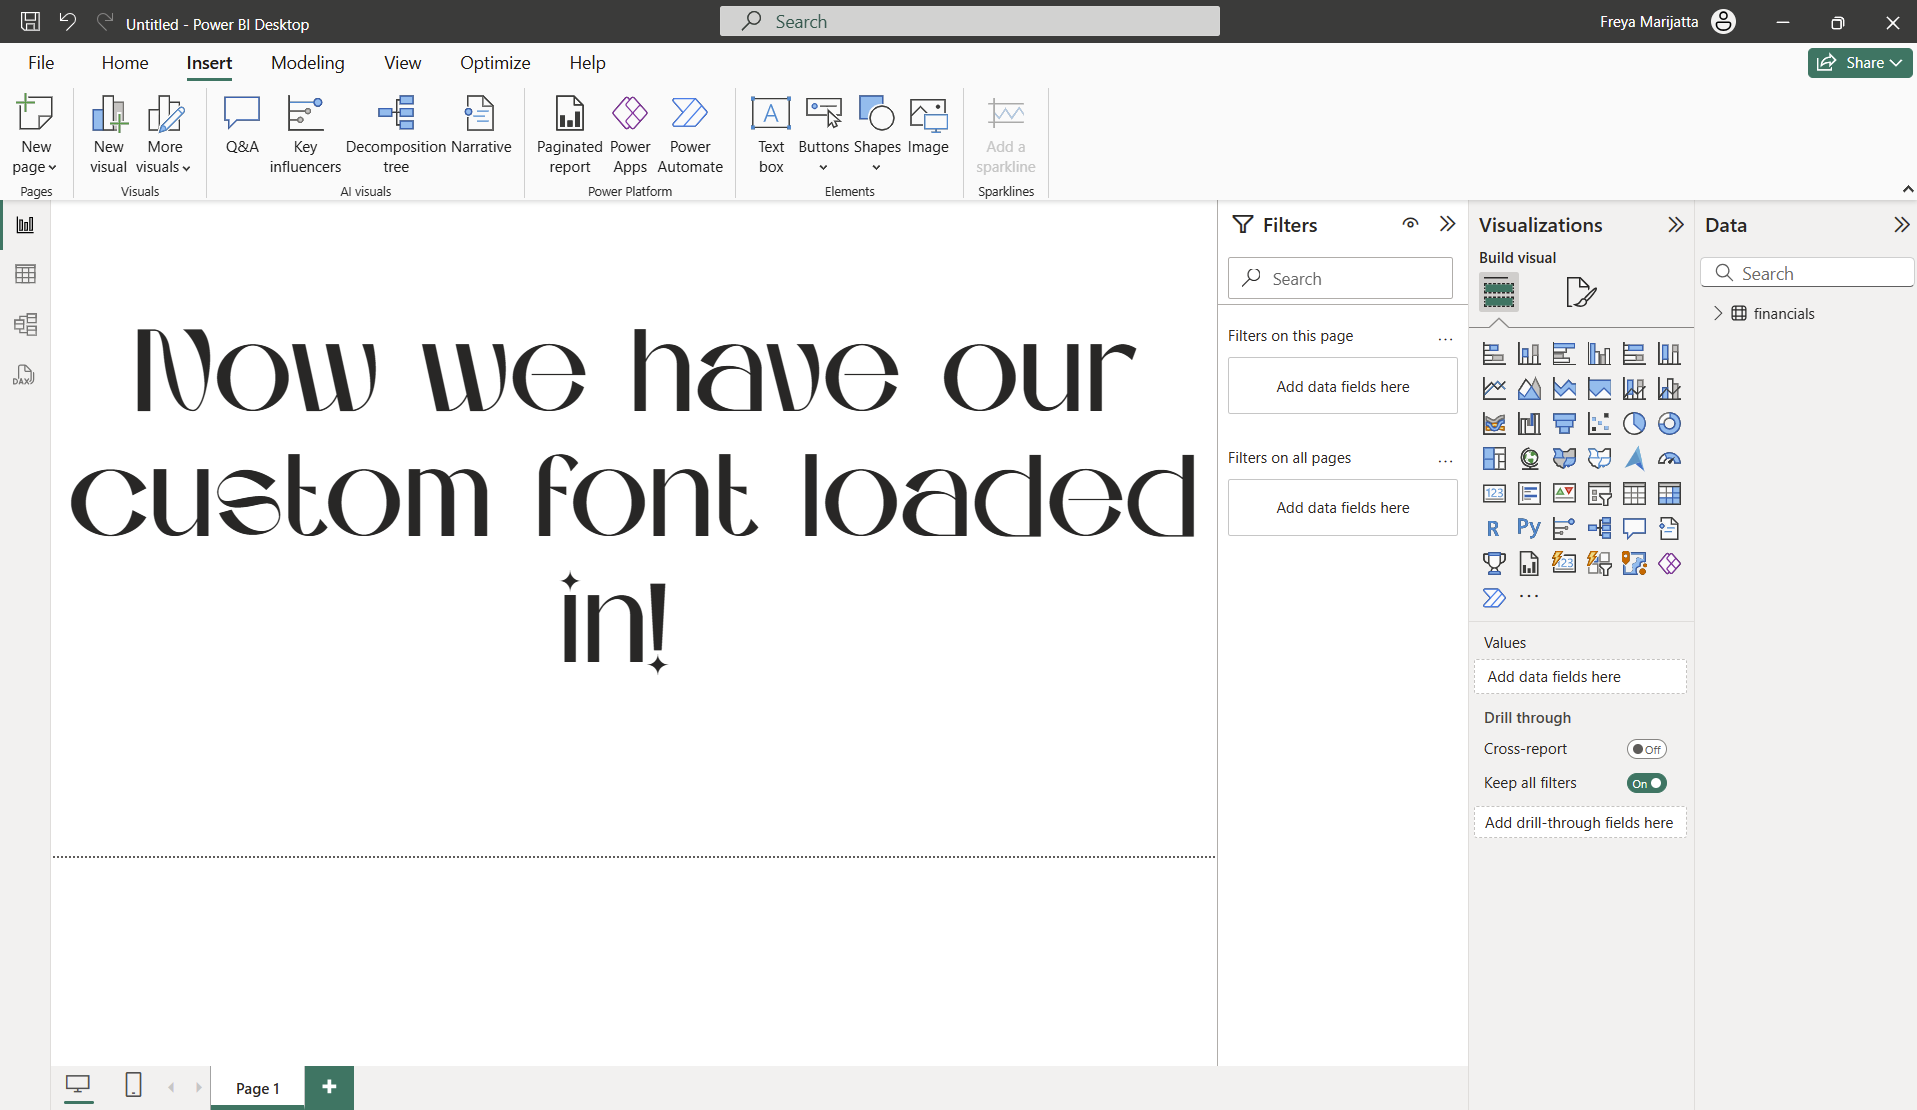
Just like that! There are a lot of steps but it's not actually that complicated. Unfortunately, you can only apply one theme per workbook, which means that you can only load in one custom font at a time (at least, without making things a lot more complicated). Still, this is very useful when you want one custom font across your whole report, which is applicable in many cases.
Enjoy your custom font-ing!