


To upload a workflow to Alteryx server first connect to the server through Options > Manage Server Credentials and then completing the login to the server using the correct URL. You can then begin saving the workflow to the server by choosing File > Save As > Add a Gallery and then again adding your server as an option to be saved to. After this is complete should see your server as an option to save to when hovering over the Save As button. You will then be presented with the screen below.
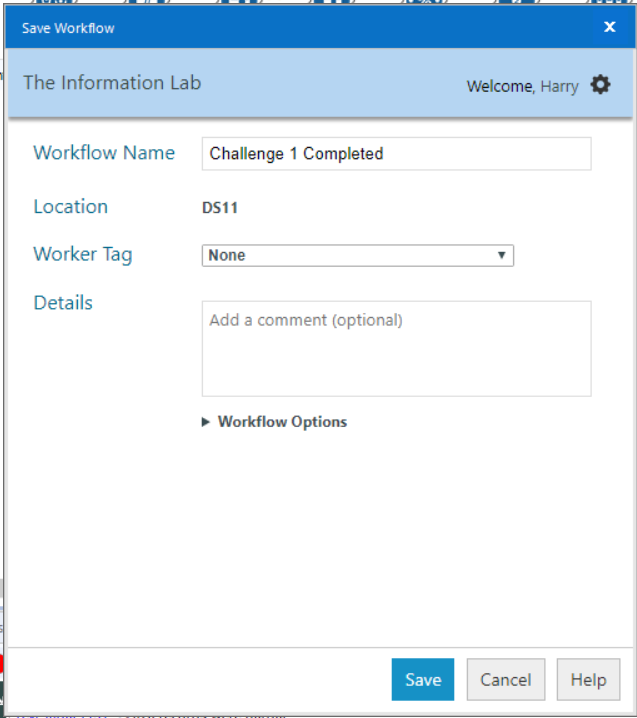
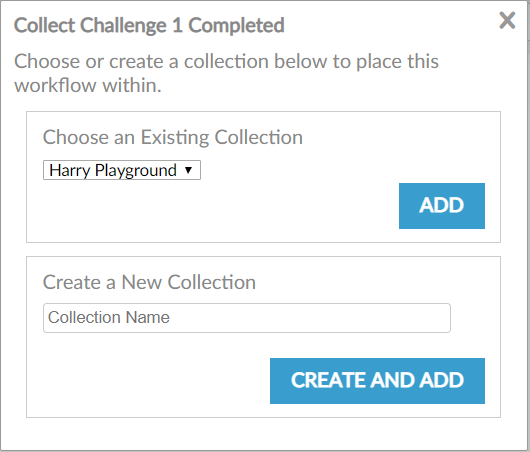
On this screen you can name your workflow and choose where to save your workflow in the server. The options available will be the Private Studios available to you, to which all Artisans within an organisation publish to. The workflow can be added to your personal Collection folder using the search bar within your Collection folder or by selecting the workflow in the Private Studio and then choosing the “Add to Collection” option in the Sharing drop down. 
Going back to the Save As pop up within Alteryx Desktop, you may have noticed there is a Details box. The function of this box is not to give a summary of the workflow or what it does. The Description box in the Meta Info tab of the workflow is better suited to that task. The Details box is actually for documenting changes when updating workflows, as these details are what will show up when looking at the version history of the workflow.
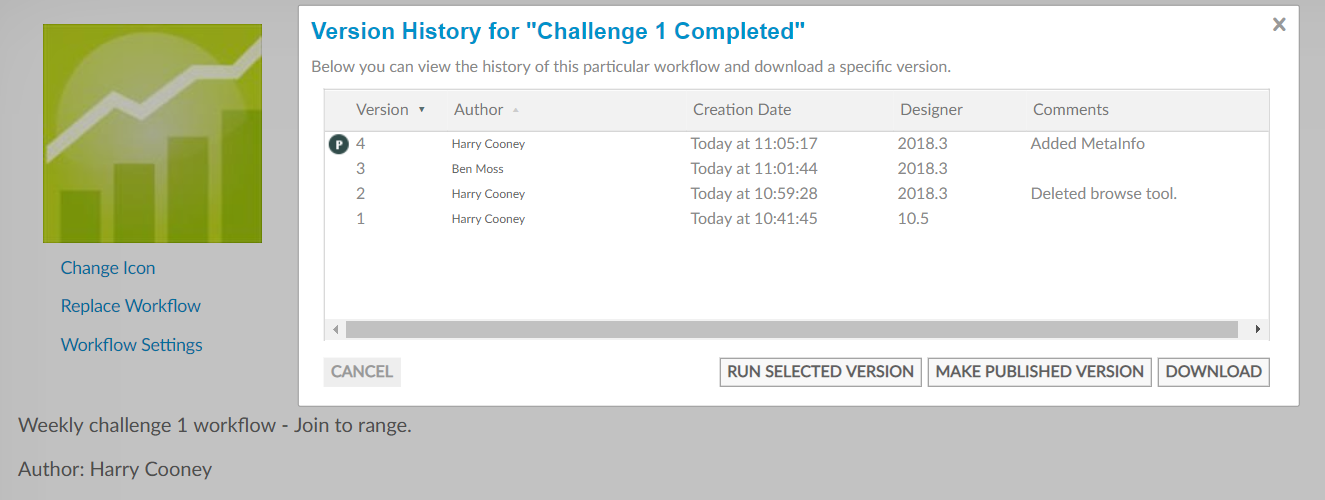
To update an Alteryx workflow on the server do not download the it from the server page and then re-upload as this will not overwrite the previous version, it will be added as an additional workflow. To update a workflow from server connect to it from Alteryx desktop via File > Open Workflow > Your server. Saving the workflow using this method will correctly update the workflow and result in a view-able version history. It is also possible for other Alteryx Artisans within your company to do this and they will show up as the author for the versions they updated.