


Having a drill-down function on your dashboard can be extremely useful when aiming to create an interactive experience for the user.
This will allow you to click on a "category" and then view all "sub-categories" within that selected category.
Step 1 - Make sure your dimensions are set up in a hierarchy
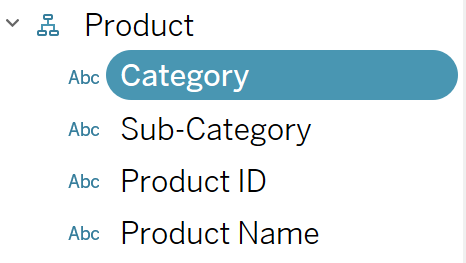
In this example we may want to click on "Category" and see all of it's "Sub-Categories" or click on "Sub-Categories" and see all of it's "Product IDs". These drill-downs will not work unless Tableau knows these are a part of a hierarchy.
To create a hierarchy, simply drag a dimension on top of another and an option to create a hierarchy will pop up.
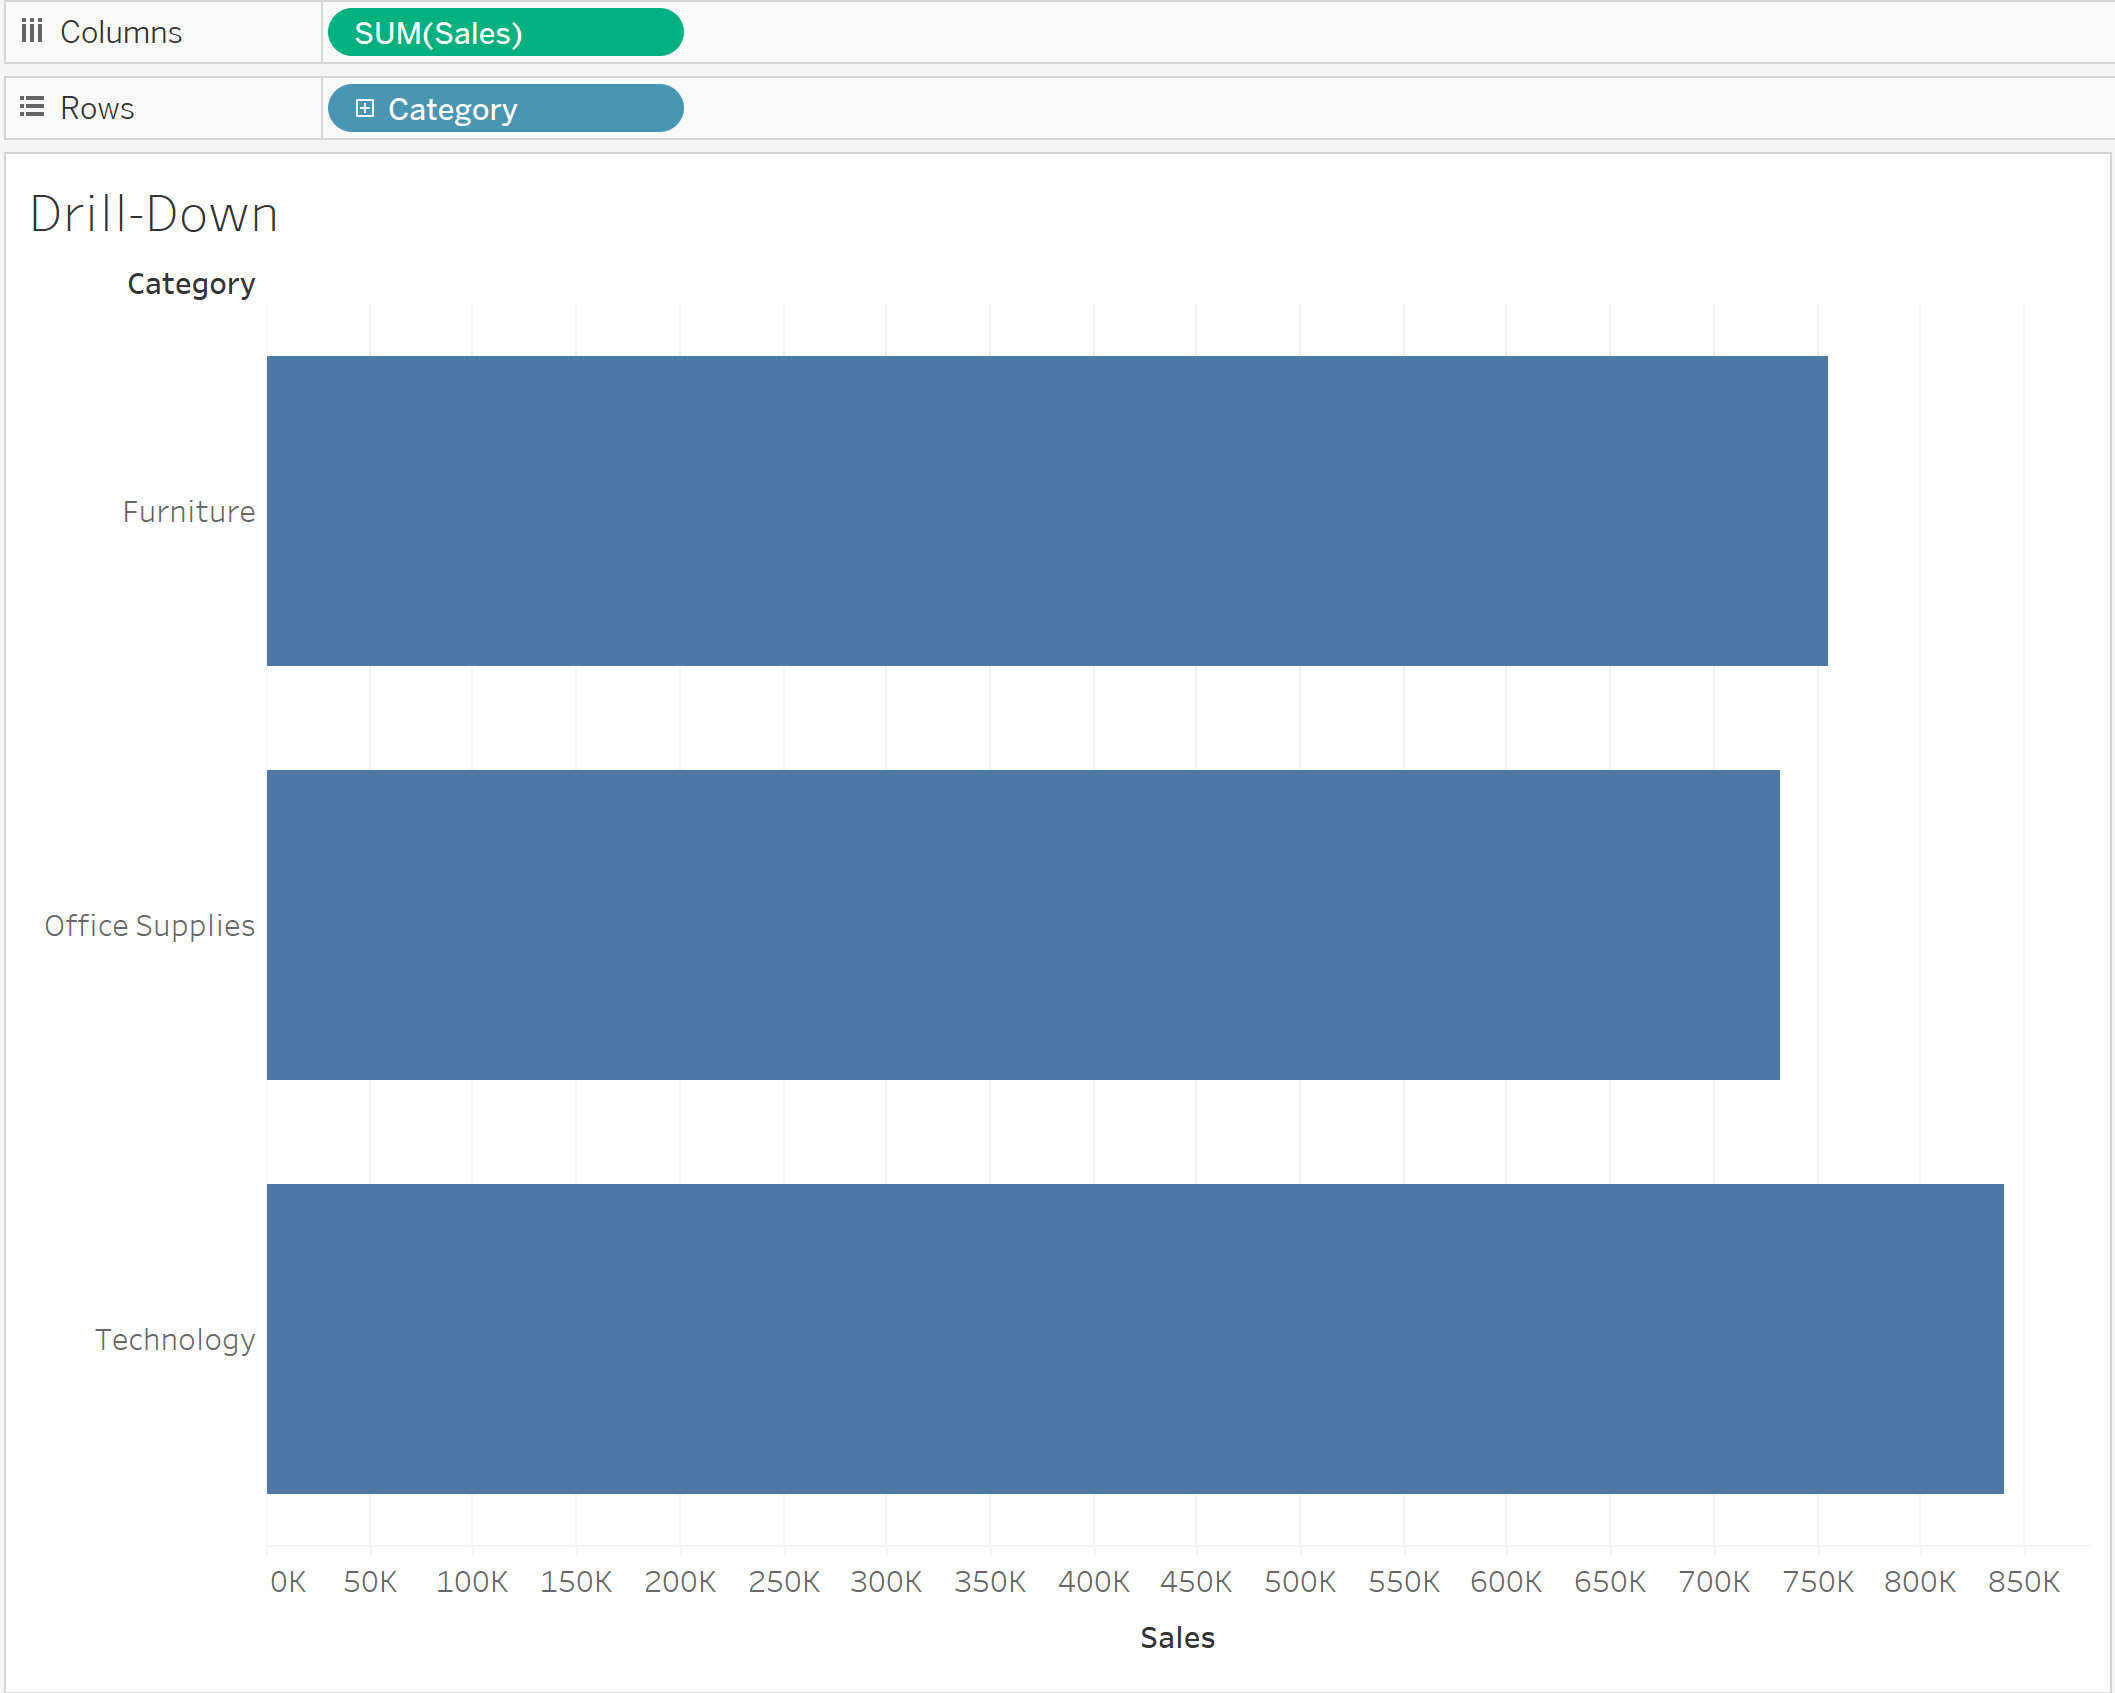
Step 2 - Add your dimension and measure to your columns and rows
Step 3 - Create your set
- Find your dimension in your data pane
- Navigate to "Create"
- Navigate to "Set"
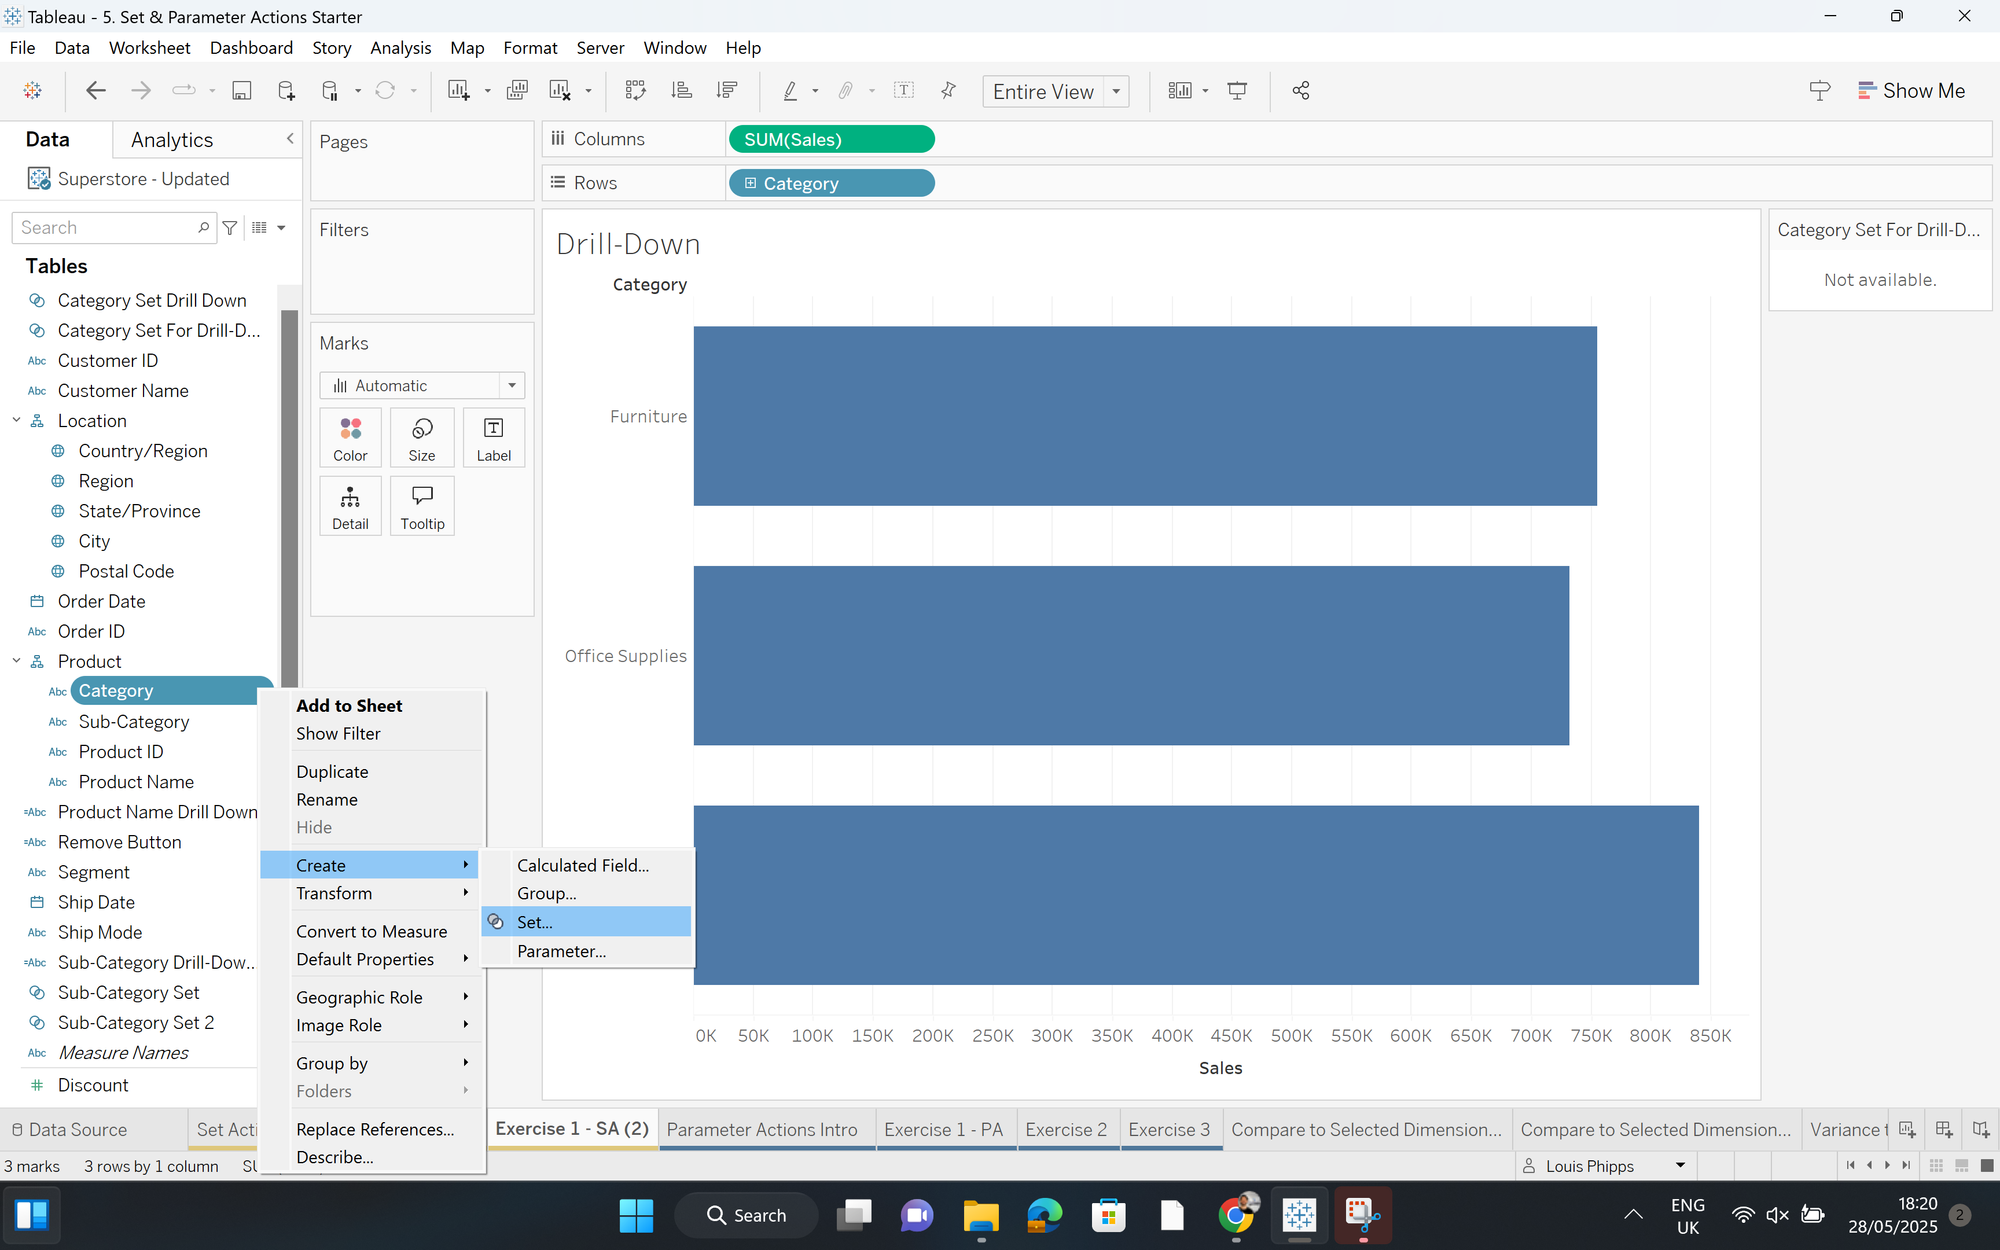
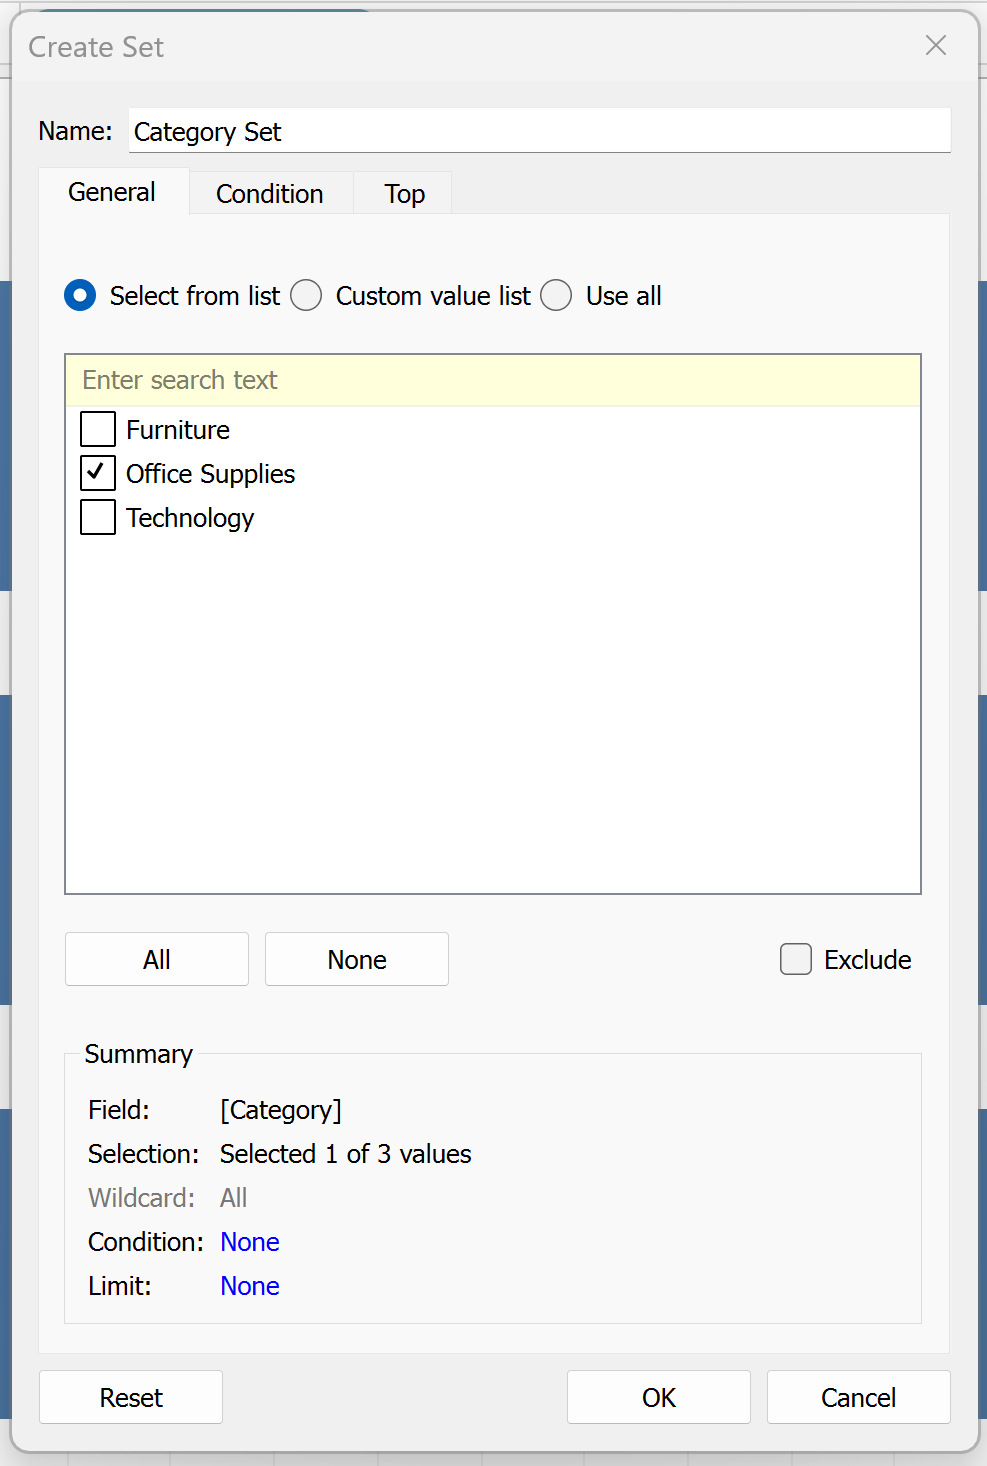
It doesn't matter what you select to include in your set currently, as we will make it so you can edit this on your view.
Step 4 - Create your drill-down calc

This calc basically says if what is "in" your set is selected, then show me all of it's sub-categories.
Step 5 - Pull it all together
- Add your calc onto your rows
- Add your set onto colour
- Click on your set in the data pane and select "Show Set"
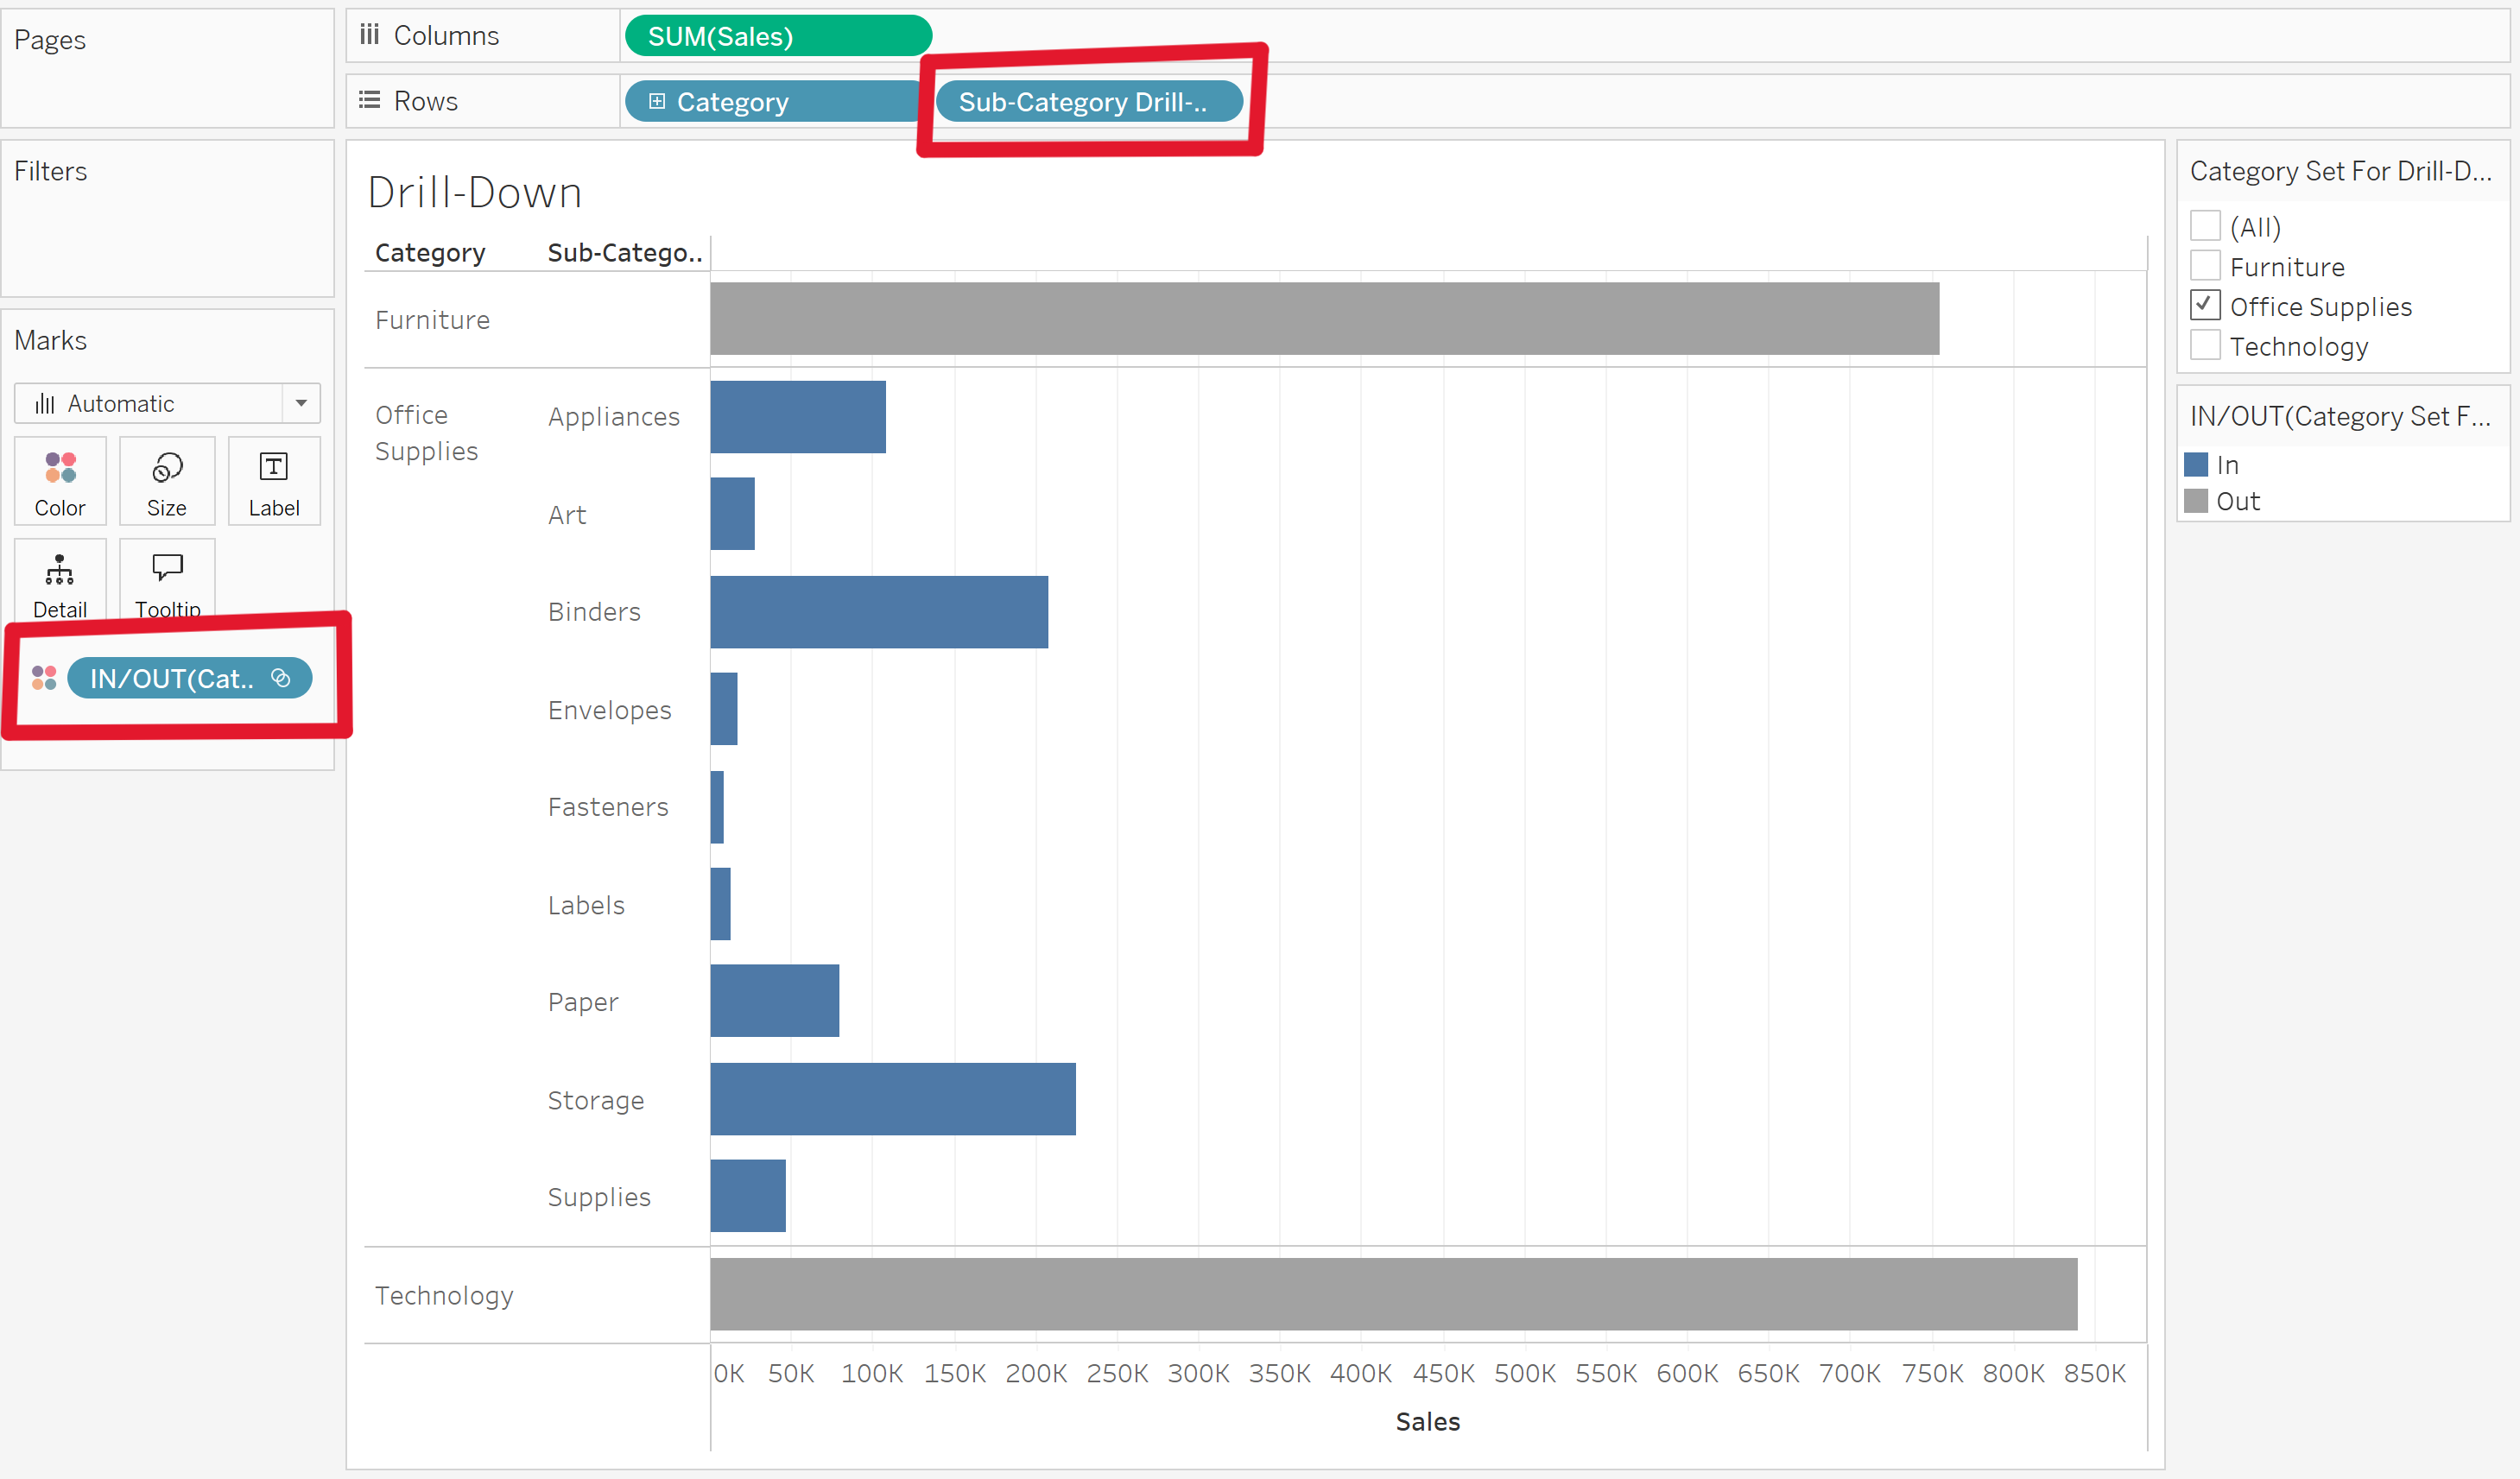
Now your set will appear on the right, allowing you to select what is "in" the set. Tableau will automatically create an action that shows everything inside the set, with the colour also making it easy for the user to identify what has been selected.