


My first tip relates to one of my favourite Tableau features, the ability to upload custom shapes and images to be used in dashboards. There are many uses for this but for tip one I’ll show you how it’s done.
Start by finding the shape you want to use. I have a lot of time for flaticon.com as they have a large selection, most of which is free providing you credit the source, but the image can come from anywhere.
Once you’ve chosen your image you’ll want to find ‘My Tableau Repository’ which is likely to be in your documents folder. When you’ve located it enter the ‘Shapes’ folder and create a new folder for your image to be stored in. Save your new image in this folder.
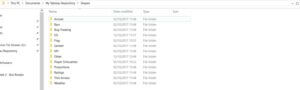
For the purpose of demonstration I have created the folder ‘Other’ and saved some images there.
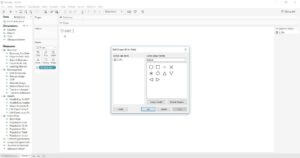
Enter Tableau and place your Dimension or Measure onto shape, then click shape to bring up the following box.
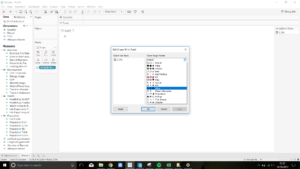
Click reload shapes and you’ll notice that the folder you created is now available in the drop down list.
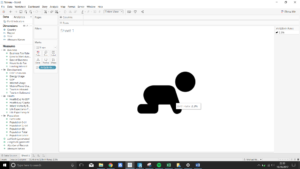
And your newly saved image can now be used in your dashboard as you please.
I find this extremely useful and would say 90% of all of my dashboards include some use for this. My tips throughout the rest of the week will relate to this, and it’s uses as well as some tips on how to avoid common frustrations when using this feature.
Until then you can see some of my uses for this on my dashboards on Tableau Public, https://public.tableau.com/profile/michael.mcfadden6682#!/, and can keep up with my DS progress on Twitter, @McVizzies.
Side tip: Always double down on 11.