


Following my last tip on how to use custom images as shapes – I’m following it up with a use for this but if you haven’t seen my previous post it can be found on my data school blog. /michael-mcfadden
My main use for this tip is to navigate between dashboards, so the first step is to create the 2 dashboards you want to navigate between.
You then want to create the buttons for your worksheet. Find the shapes you want to use and set them up as shapes as per my previous post, I like to use arrows but any shape or use for this functionality is fine – the world is your oyster. You’ll need one worksheet for each button so in this case I’ll be making a “Forward” and “Back” button, but showing the “Forward” button as an example.
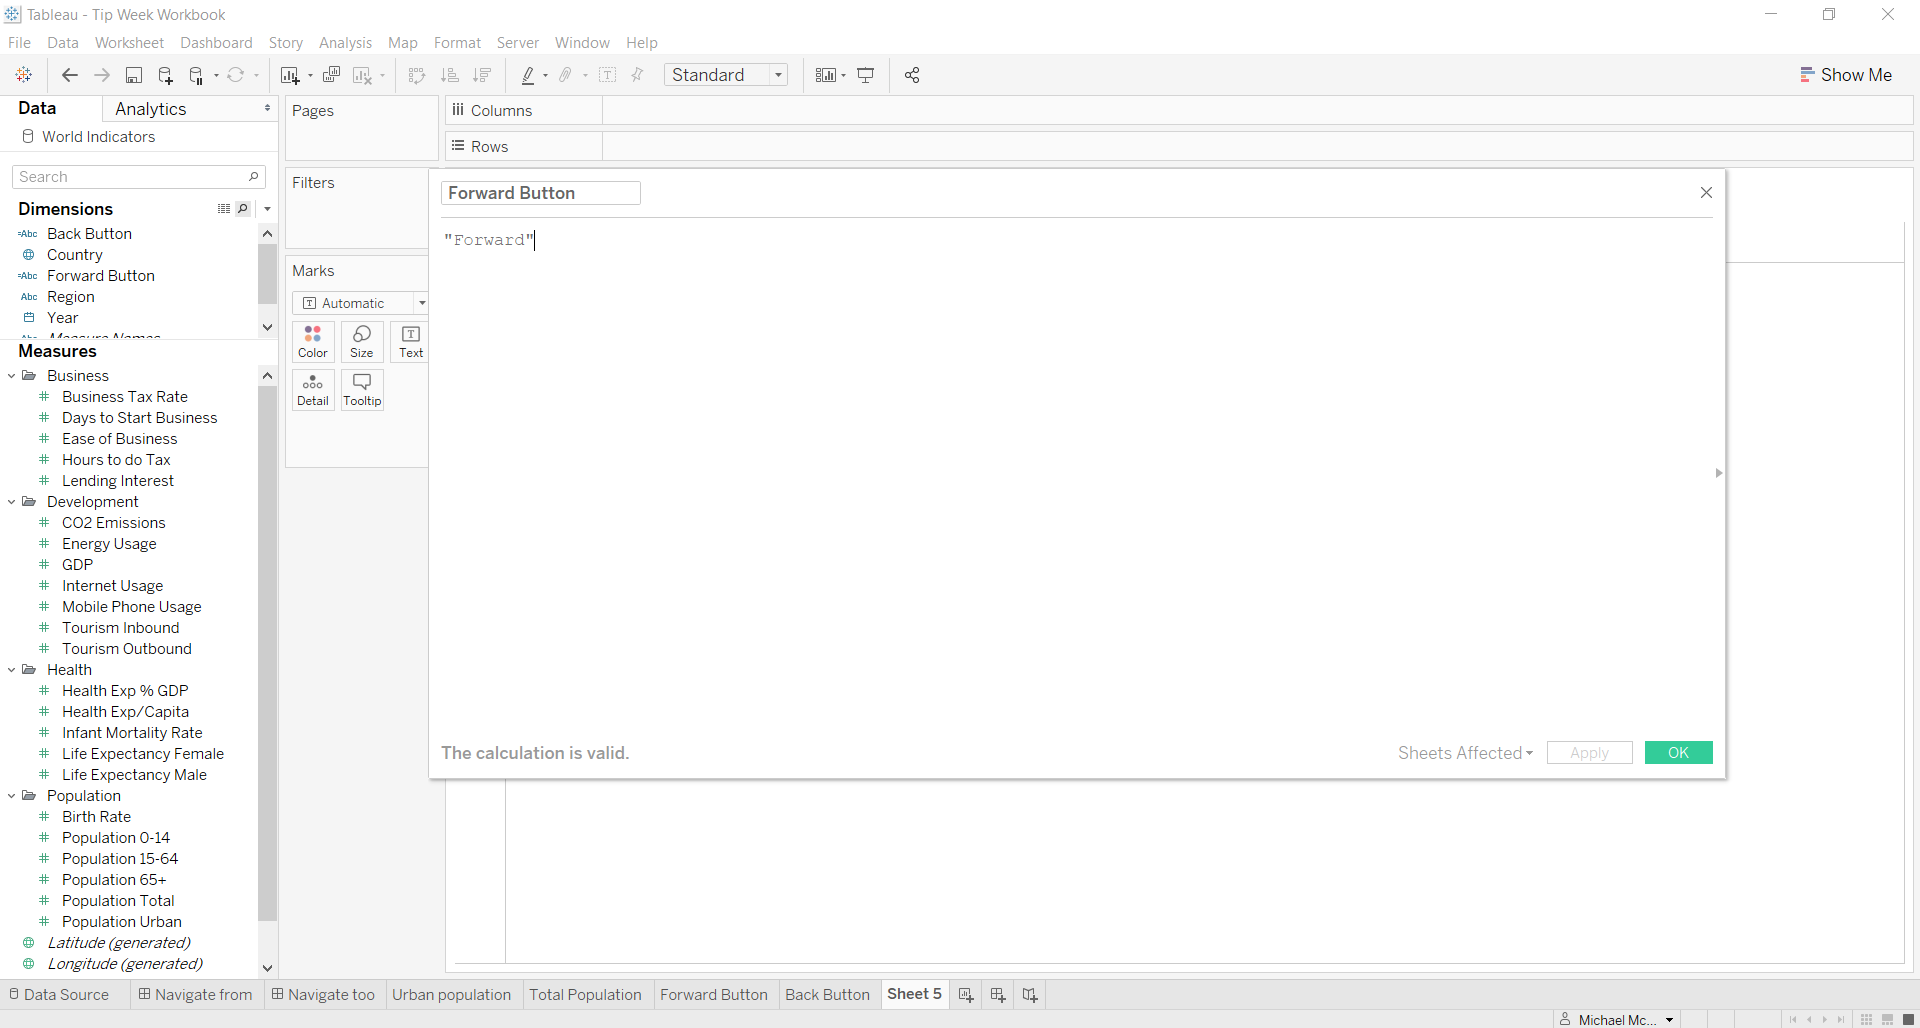
Start by creating a new sheet, and making a new calculated field to represent your button, for my “Forward” button I just create a field that says “Forward” (the content of this field is purely down to preference).
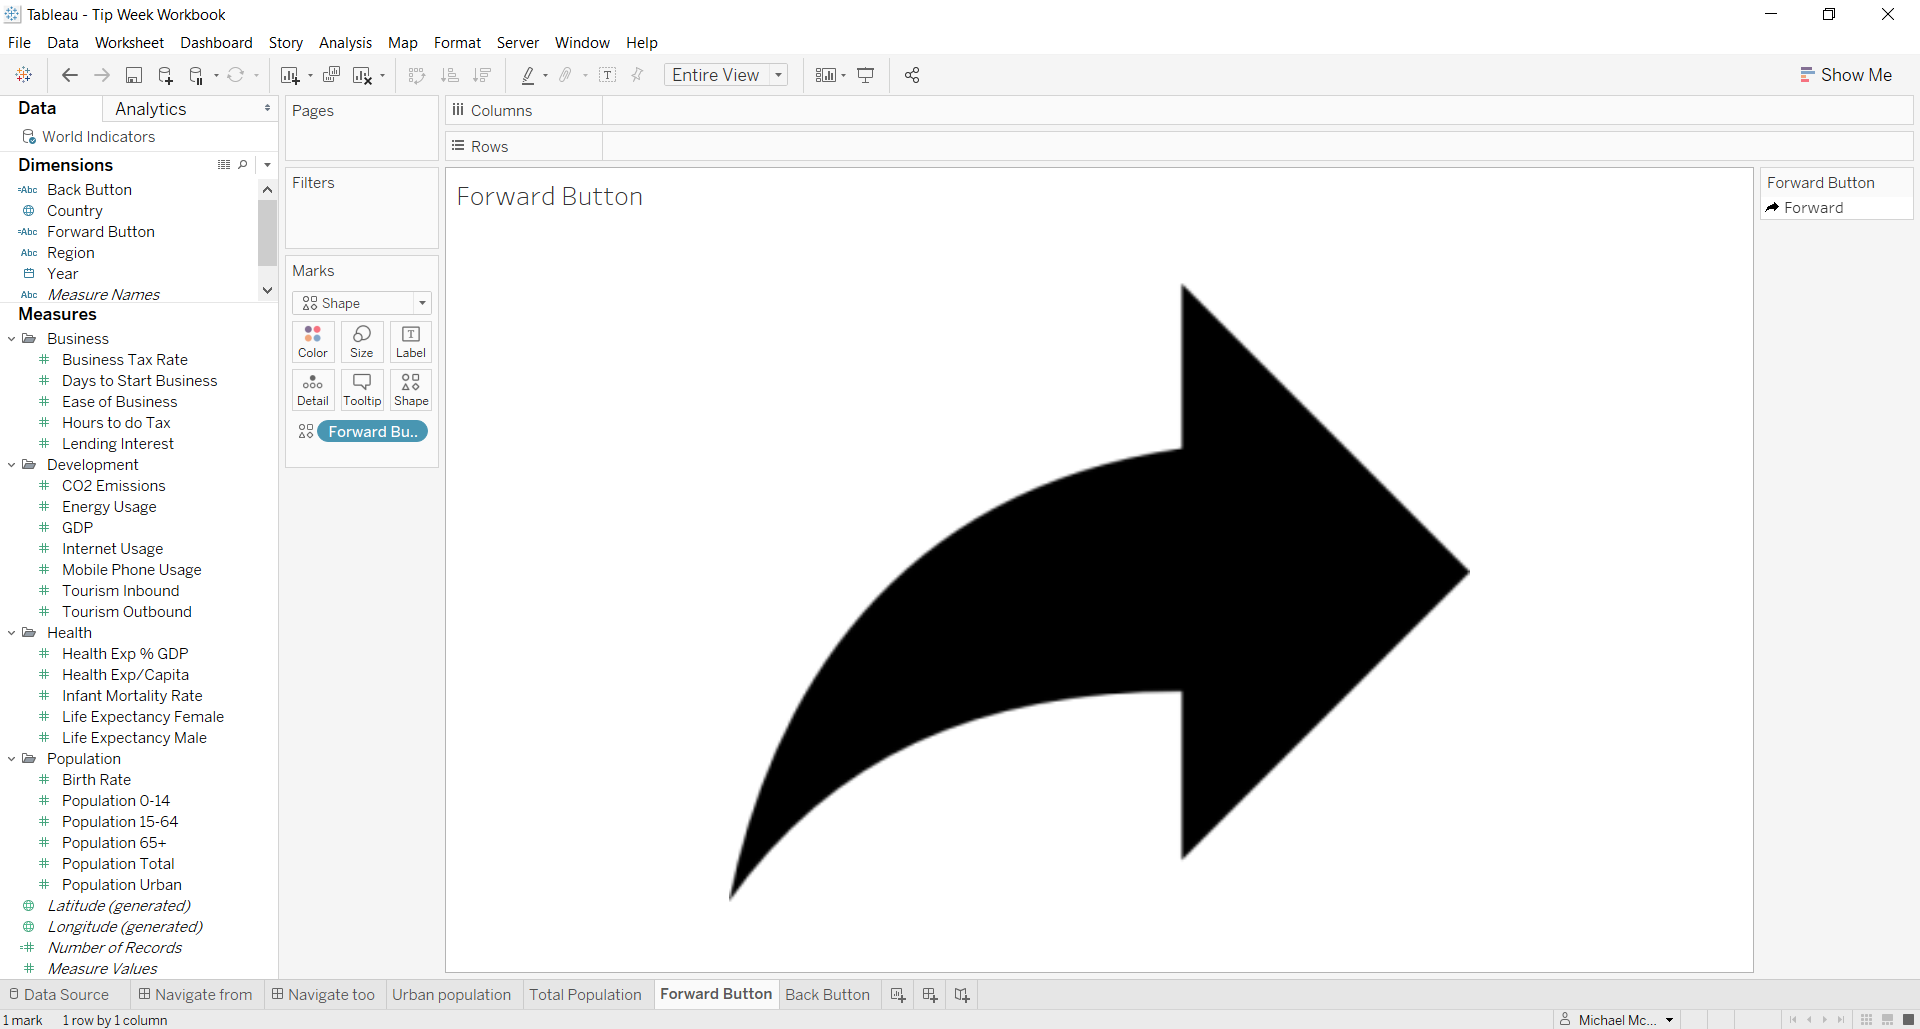
Change your mark type to shape, drag your new field onto it, and then change the shape to be your required image. Make it fit entire view at the top of the worksheet, and increase the size to the marker on the right and you should have something that looks like this…
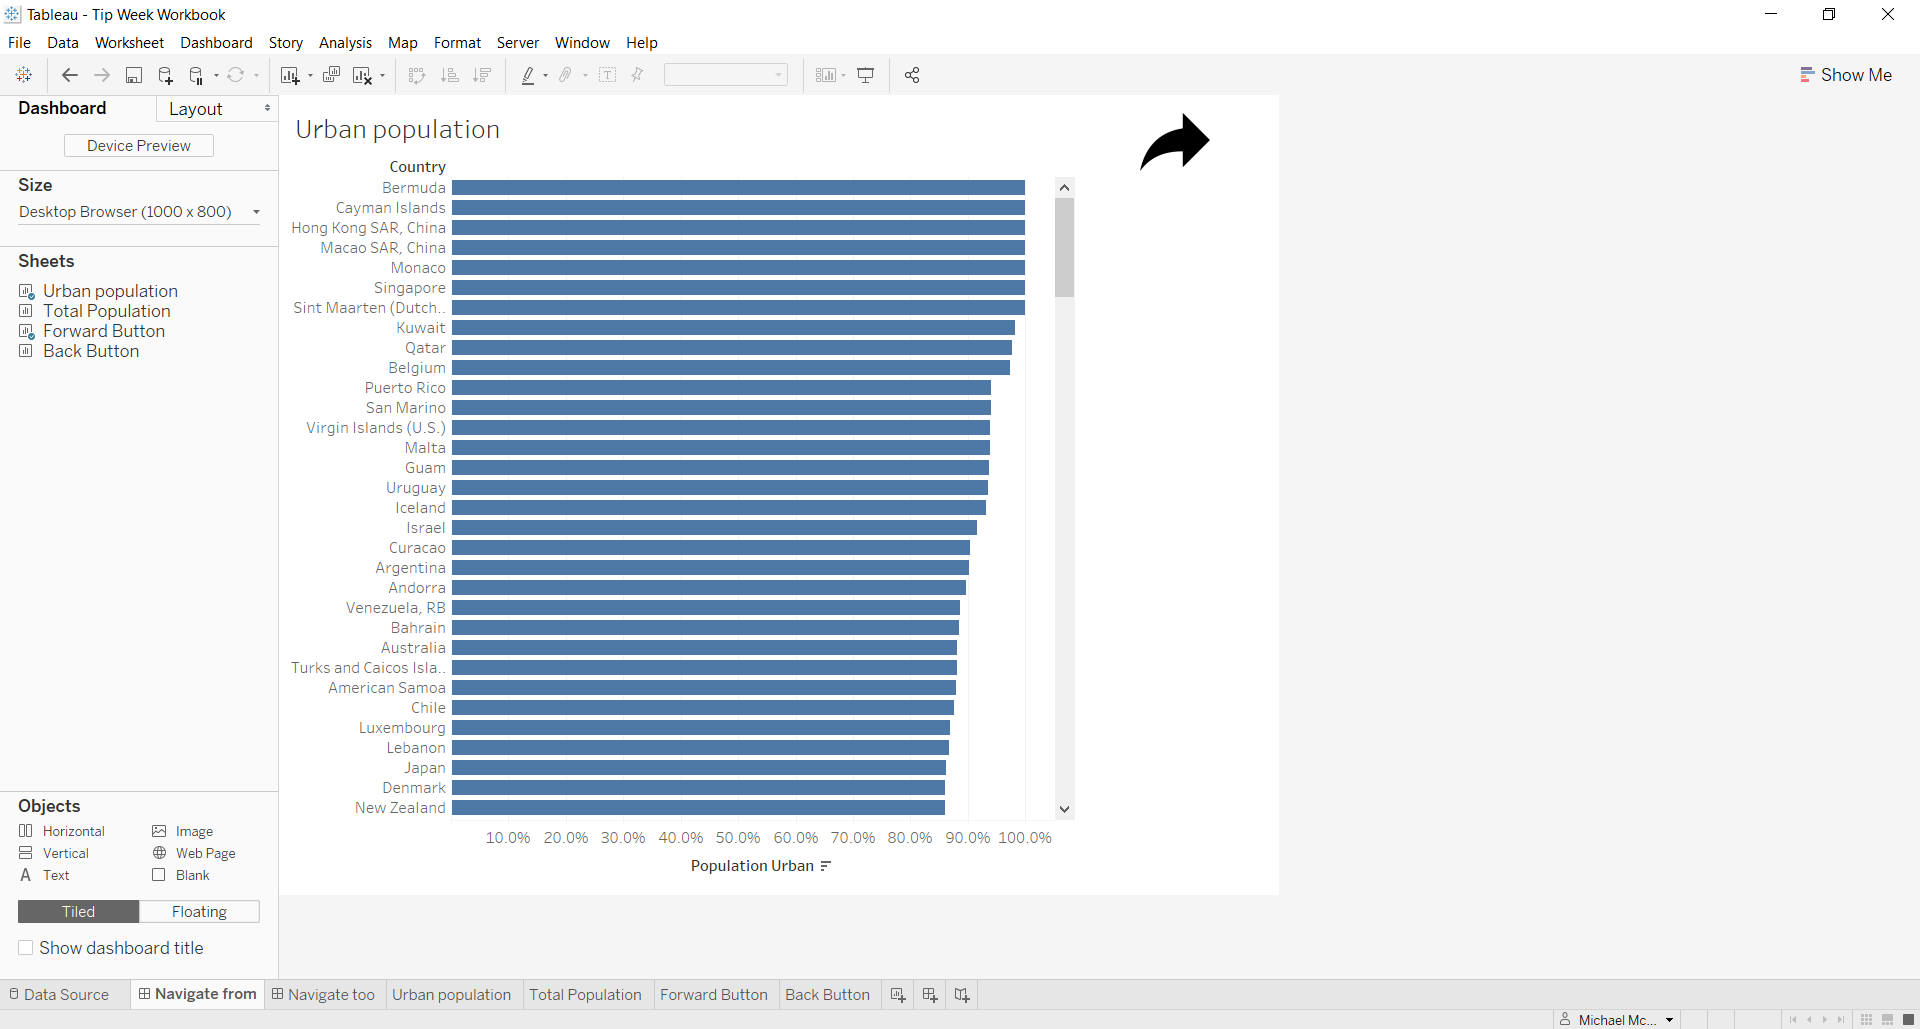
Now go to your first dashboard, the one you want to navigate from and drag your new worksheet to where you want your button to be…
The last step is to set it up so that it performs the action you want – in this case to navigate to another dashboard. To do this go to the dashboard you’re looking to navigate from, and then Dashboard > Actions and click Add Action > Filter…. and you’ll open the ‘Add Filter Action’ window.
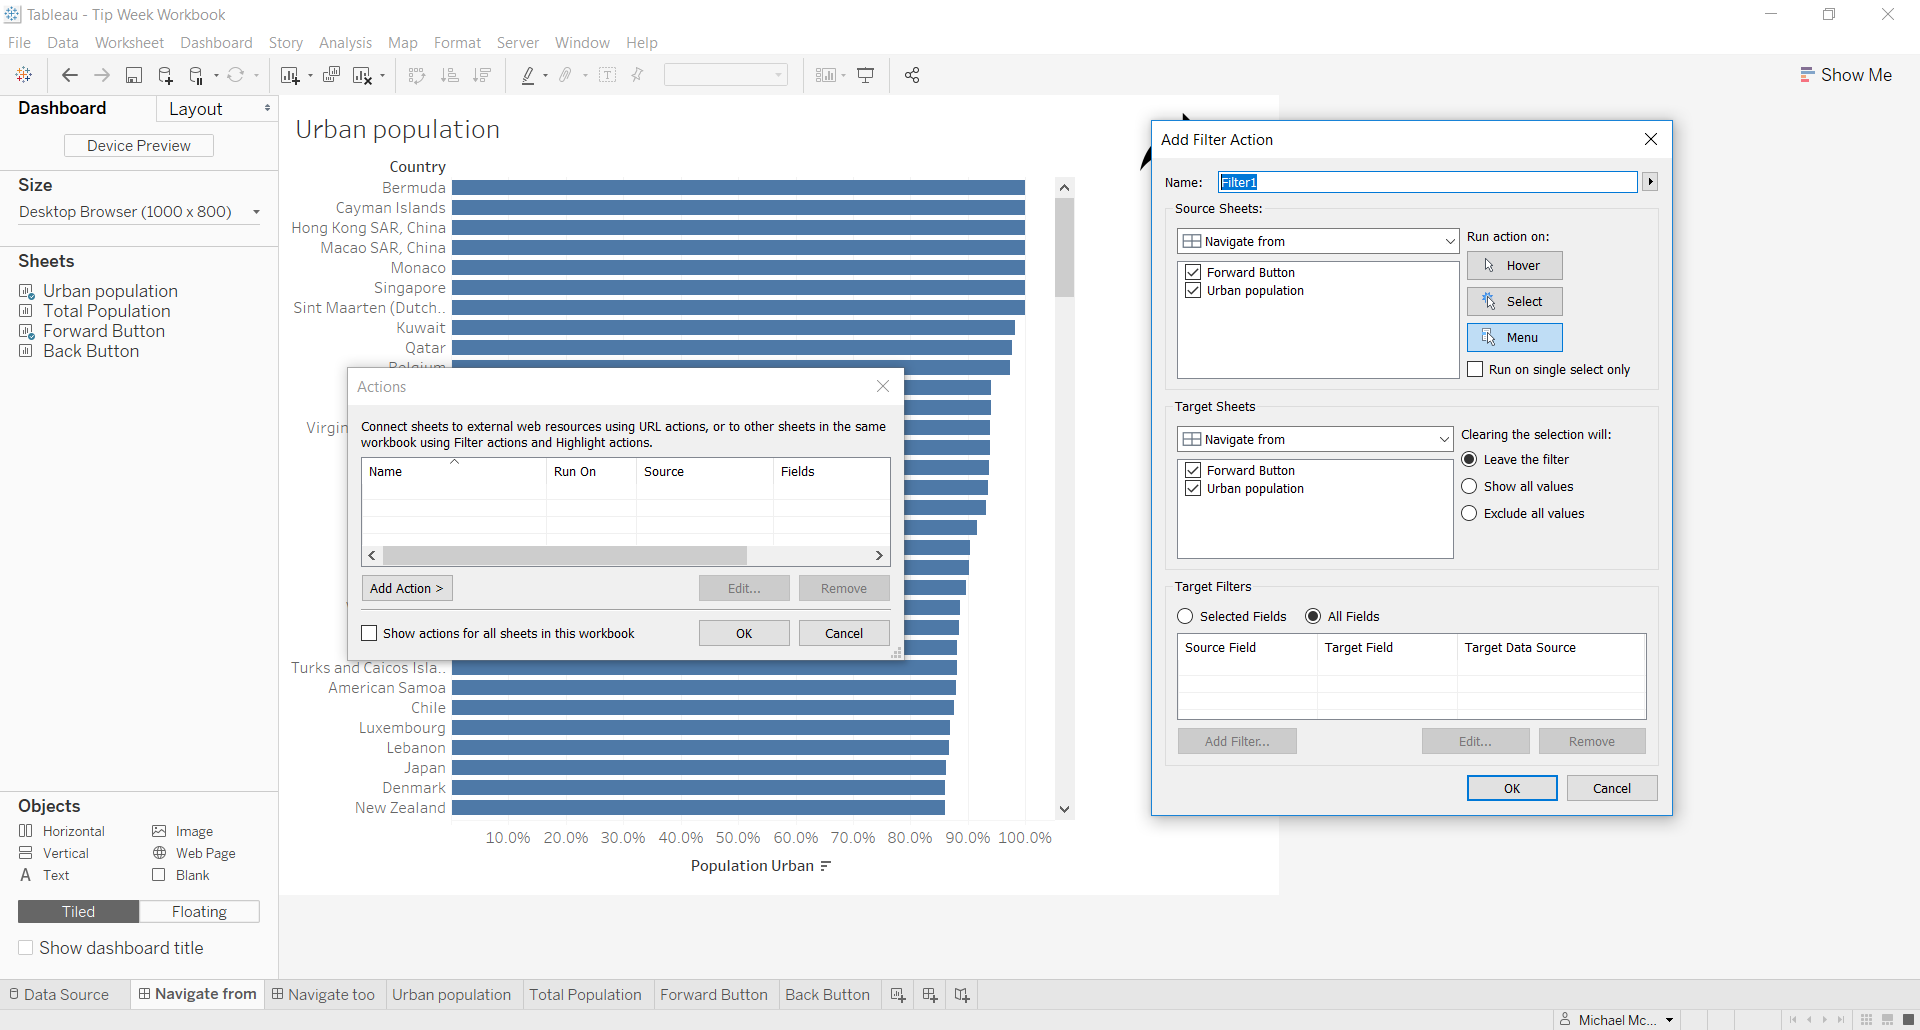
You then want to set up your action filter so that your source sheet is the dashboard you’re navigating from, and you have the worksheet with your button image selected. Run action on ‘Select’, this is preferred over the other 2 options although the others do work.
Your target sheet should be the dashboard you’re looking to navigate too, with nothing ticked. Clearing the selection should show all values and your target filters can be left on ‘All Fields’ as this will not effect anything. Click OK and you’re all set.
Now when you select your image you’ll be directed to your other dashboard. Set up a back button in the same way but navigating back to the original dashboard and you now have buttons that allow you to jump between dashboards at a click.
Side tip: Save petrol by pushing your car to your destination. Invariably passers-by will think you’ve broken down and help.