


Workflows in Alteryx can quickly become messy and seemingly complex without a little effort to keep things tidy and understandable. If you have to hand over a workflow to a colleague or client, the workflow will have to be documented effectively for them to understand what it is doing and why. Even if you don’t have to hand over to someone else, it is helpful to document your workflow in case you have to come back to it after some time – good annotations will save you figuring out your previous work all over again.
There are 3 neat ways to make sure your workflows read intuitively:
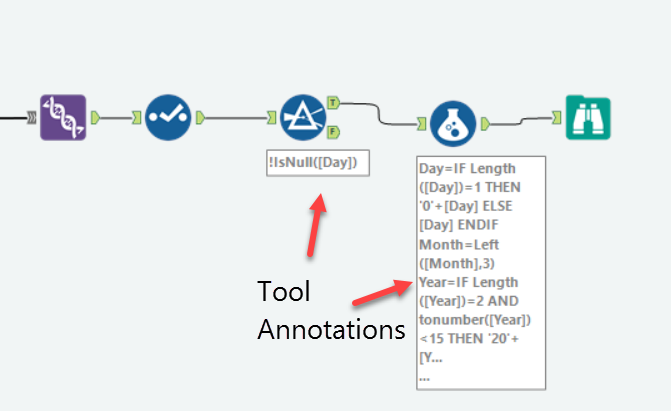
- Tool Annotations
- Comment Boxes
- Tool Containers
For short and brief comments, use tool annotations. Tool annotations are the little boxes of grey text that appear attached to the tools in the workflow. They are usually added automatically for fields with a specific condition such as formulas or filters (see the screenshot) but not all tools have an annotation automatically – see the select and union tools in the example. These annotations can be really helpful, as they stick to the tool and go wherever the tool is moved. They can become messy and annoying if not kept in check though, so some clean up is advised.
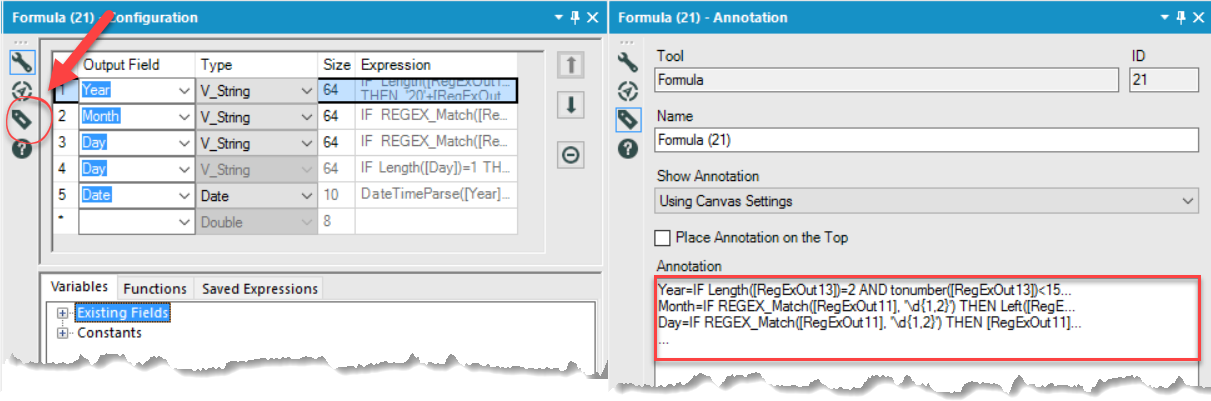
Annotations can be edited by clicking the tiny annotation button (looks a bit like a label) in the configuration window for the selected tool. Just type your new compact annotation with a brief description of what the tool does and you are done. You can specify whether the annotation can appear above or below the tool using the checkbox too.
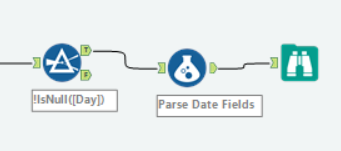
Condensed annotations are much cleaner
Sometimes you’ll need to write a longer explanation of the step being carried out, annotations will look messy with too much text so opt for a comment tool instead. This is essentially a text box that can be moved anywhere, though will not be fixed to tools like annotations are. They can be found in the tool palette under Documentation. They have quite a lot of formatting options available (if you can be bothered – the defaults are good enough for explaining what the tool is doing) , so if you really want you can change the shape and colour of the comment tool, align text, change font styles and even add a background image. These can be resized and moved around at will, so are helpful for a more in depth explanation of a workflow when necessary.

Standard and formatted comment tools
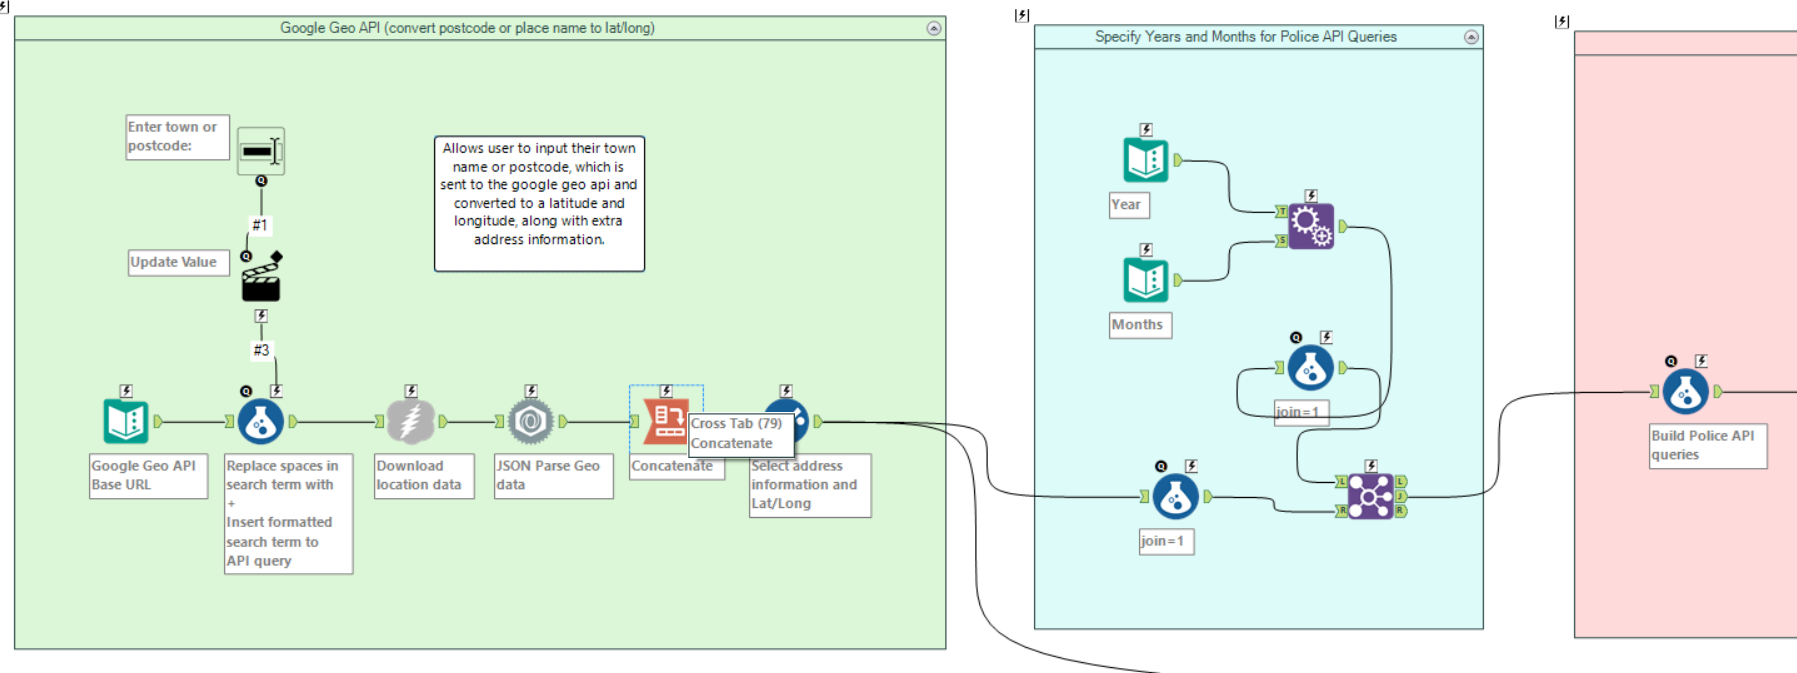
Finally, there are tool containers, which are also found under Documentation in the tool palette. Containers are useful for grouping tools that work together as a distinct part of a process. The container can be named and coloured to help distinguish the function of the tools within. Another advantage is that moving the container will keep the layout of the tools within, so this can also be helpful when tidying things up. If you’ve used comment tools, containers can be a good way of making sure the comments stay near the related tools too.
There you have it, 3 useful ways of clarifying your workflow using some of the features in Alteryx. I like to edit the annotations of the tools as I go, and tend to then group tools in containers and add comments towards the end. I find it helps me keep track of what I am doing whilst I work, but saves me from having to go back and edit tons when I am finished building the workflow.