


During or Tableau session today, we learnt a lot about parameters. I will be running through just a snippet of what I’ve learn and show you how to create parameters to swap between different dimensions in a dataset.
Today we were using the Superstore data which is available directly from the Tableau Server. What we are looking to create is a table that we can change the view to either show the total sales categorized by State, Product Name or Customer Name.
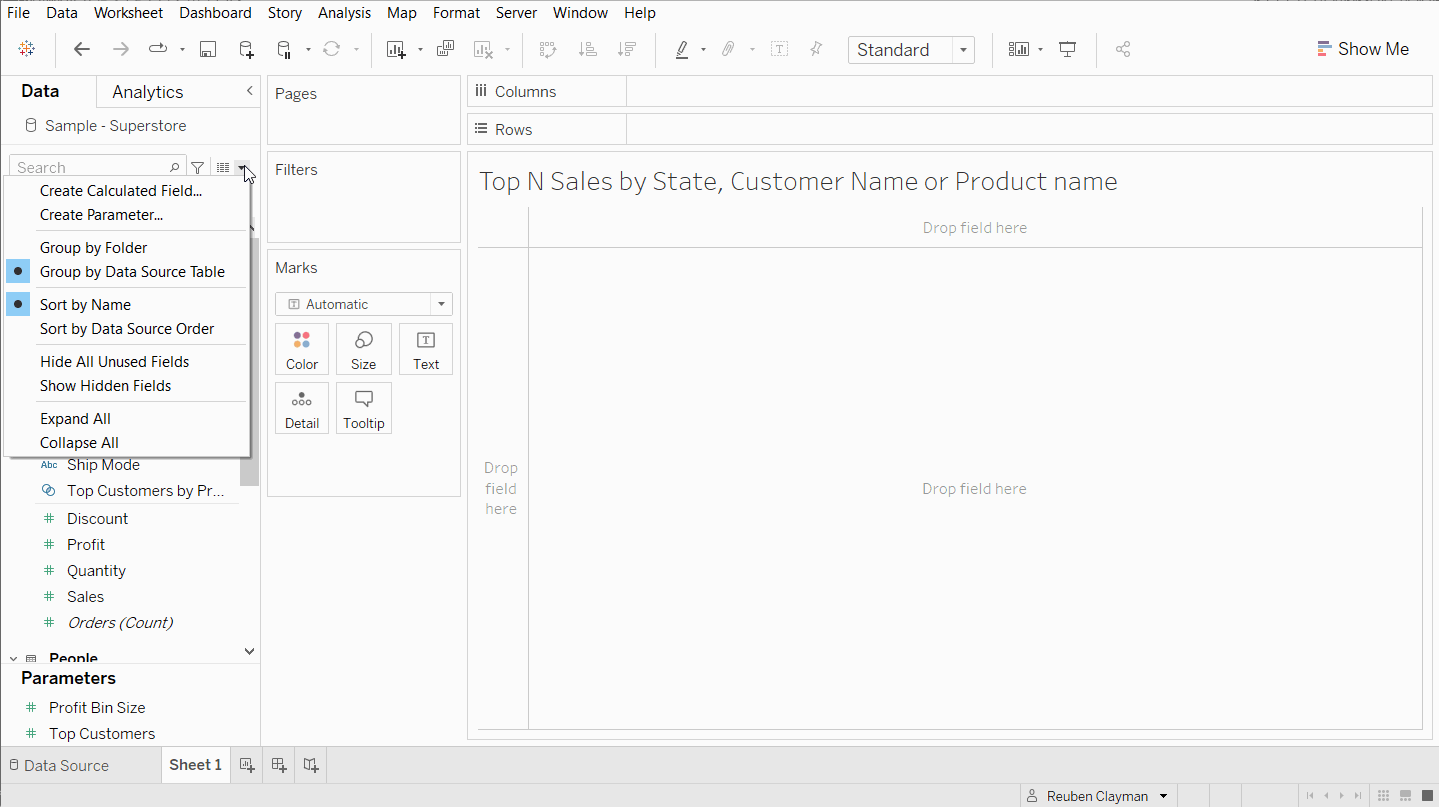
In order to do this we need to create the Dimension parameter:
- On the Data pane select the small arrow next to the search bar, and select ‘create parameter’, change the name so its easy to find I’ve chosen 'dimension parameter'.
- Change the data type to 'string' and allowable values to 'list'. In the new drop down enter ‘state’, ‘customer name’ and ‘product name’ and select ok.
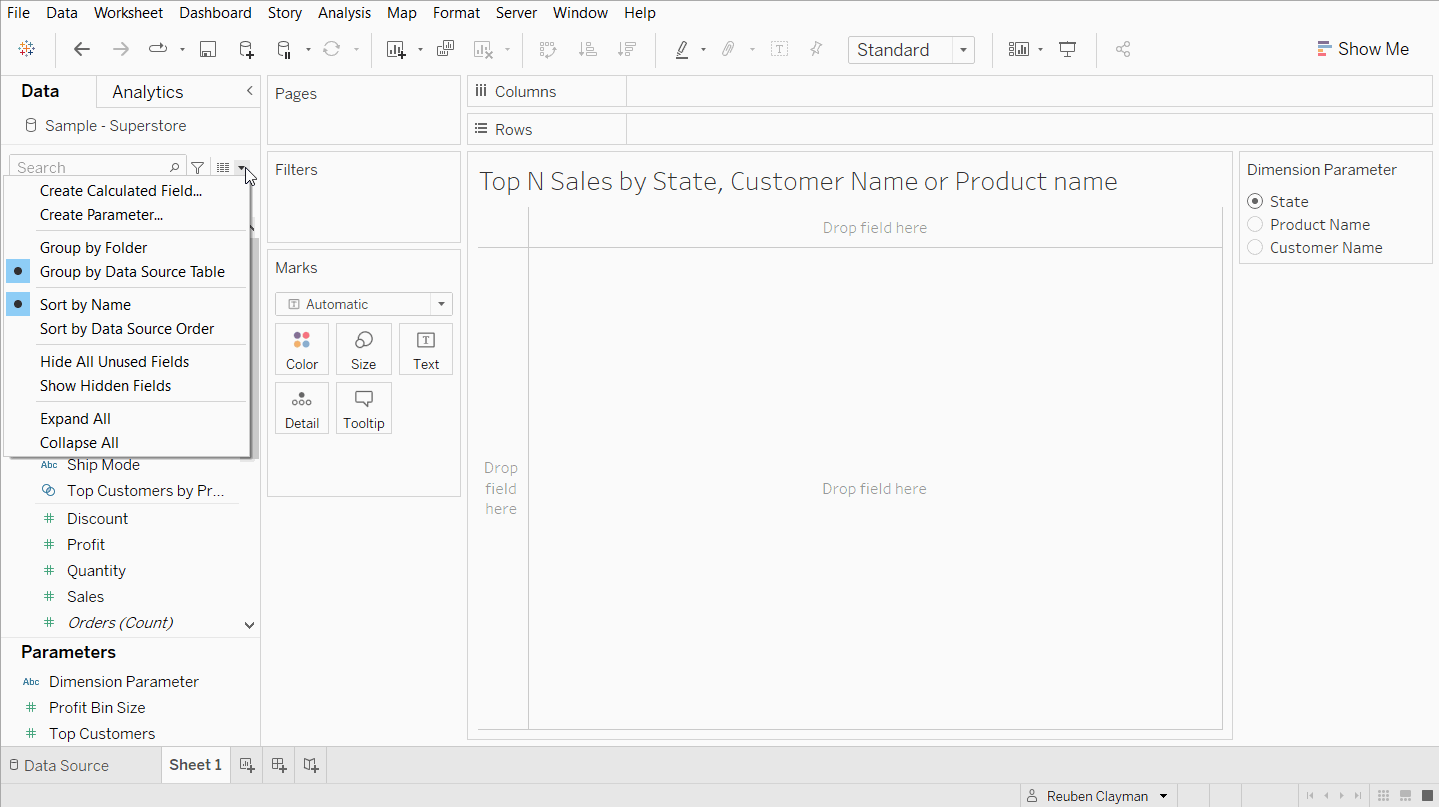
- Once the parameter is made right click and select 'show parameter', so it displays on the right of the worksheet. I’ve also chosen to display the option as a single value list.
Secondly, we will need to make a calculated field that can be used as our new dimension value. This will allow the parameter we have just created to work. I’ve decided to call my new calculated field ‘Dimension Value’. The equation for this can be seen below:
IF [Dimension Parameter] = 'State' THEN [State] ELSEIF [Dimension Parameter] = 'Product Name' THEN [Product Name] ELSEIF [Dimension Parameter] = 'Customer Name' THEN [Customer Name] END
After the Dimension Value has been made add it to the row shelf and add 'SUM(Sales)' to the column shelf. Once this is done you can then use our new Dimension Parameter to change the view.
This is a really helpful tool in order to change between different dimensions quickly without having to remove and add to the column or row shelf.