


It’s the final day of #TipWeek here at the Data School and I’ve saved my best until last! Today I’m going to show you how to add images to your Project folders within Tableau Server, a completely *unsupported but amazing trick!
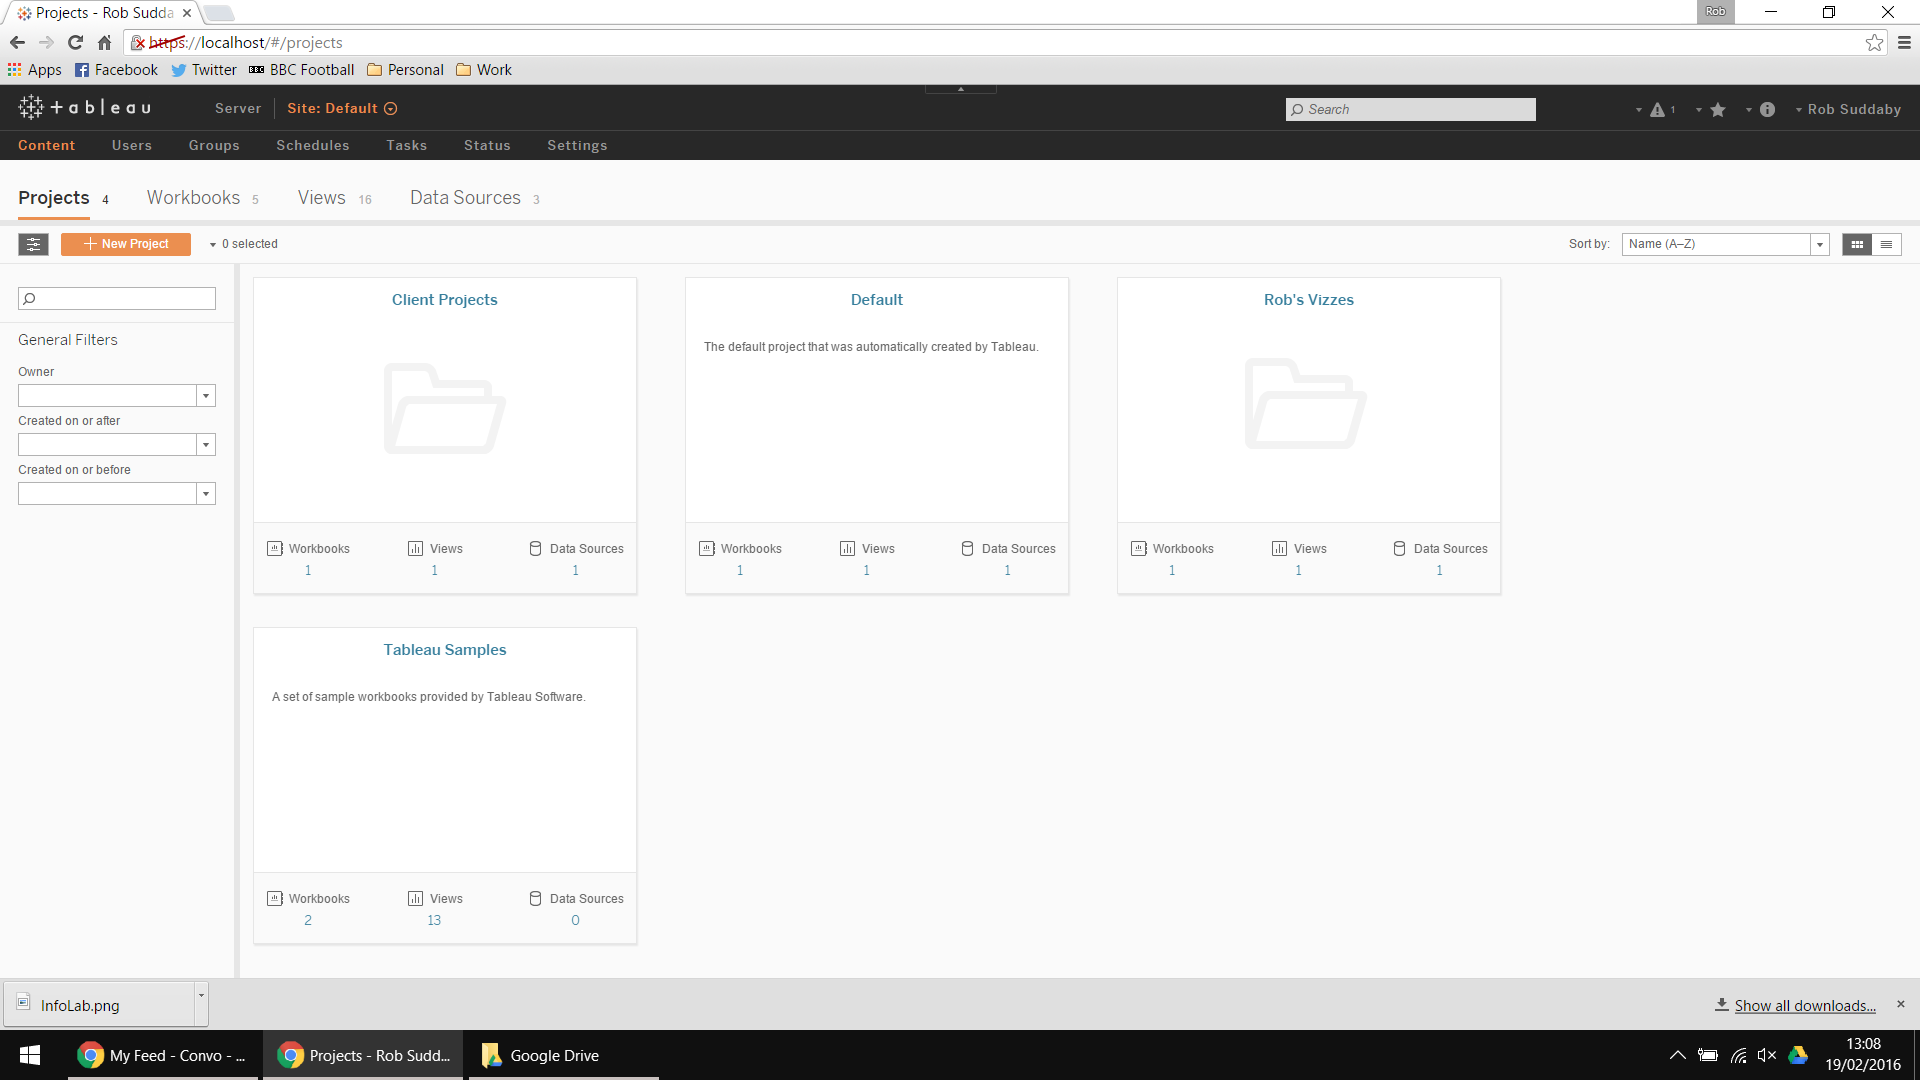
When you open up the content page in Tableau Server, you see a list of all the project folders that have been set-up… pretty bland huh?
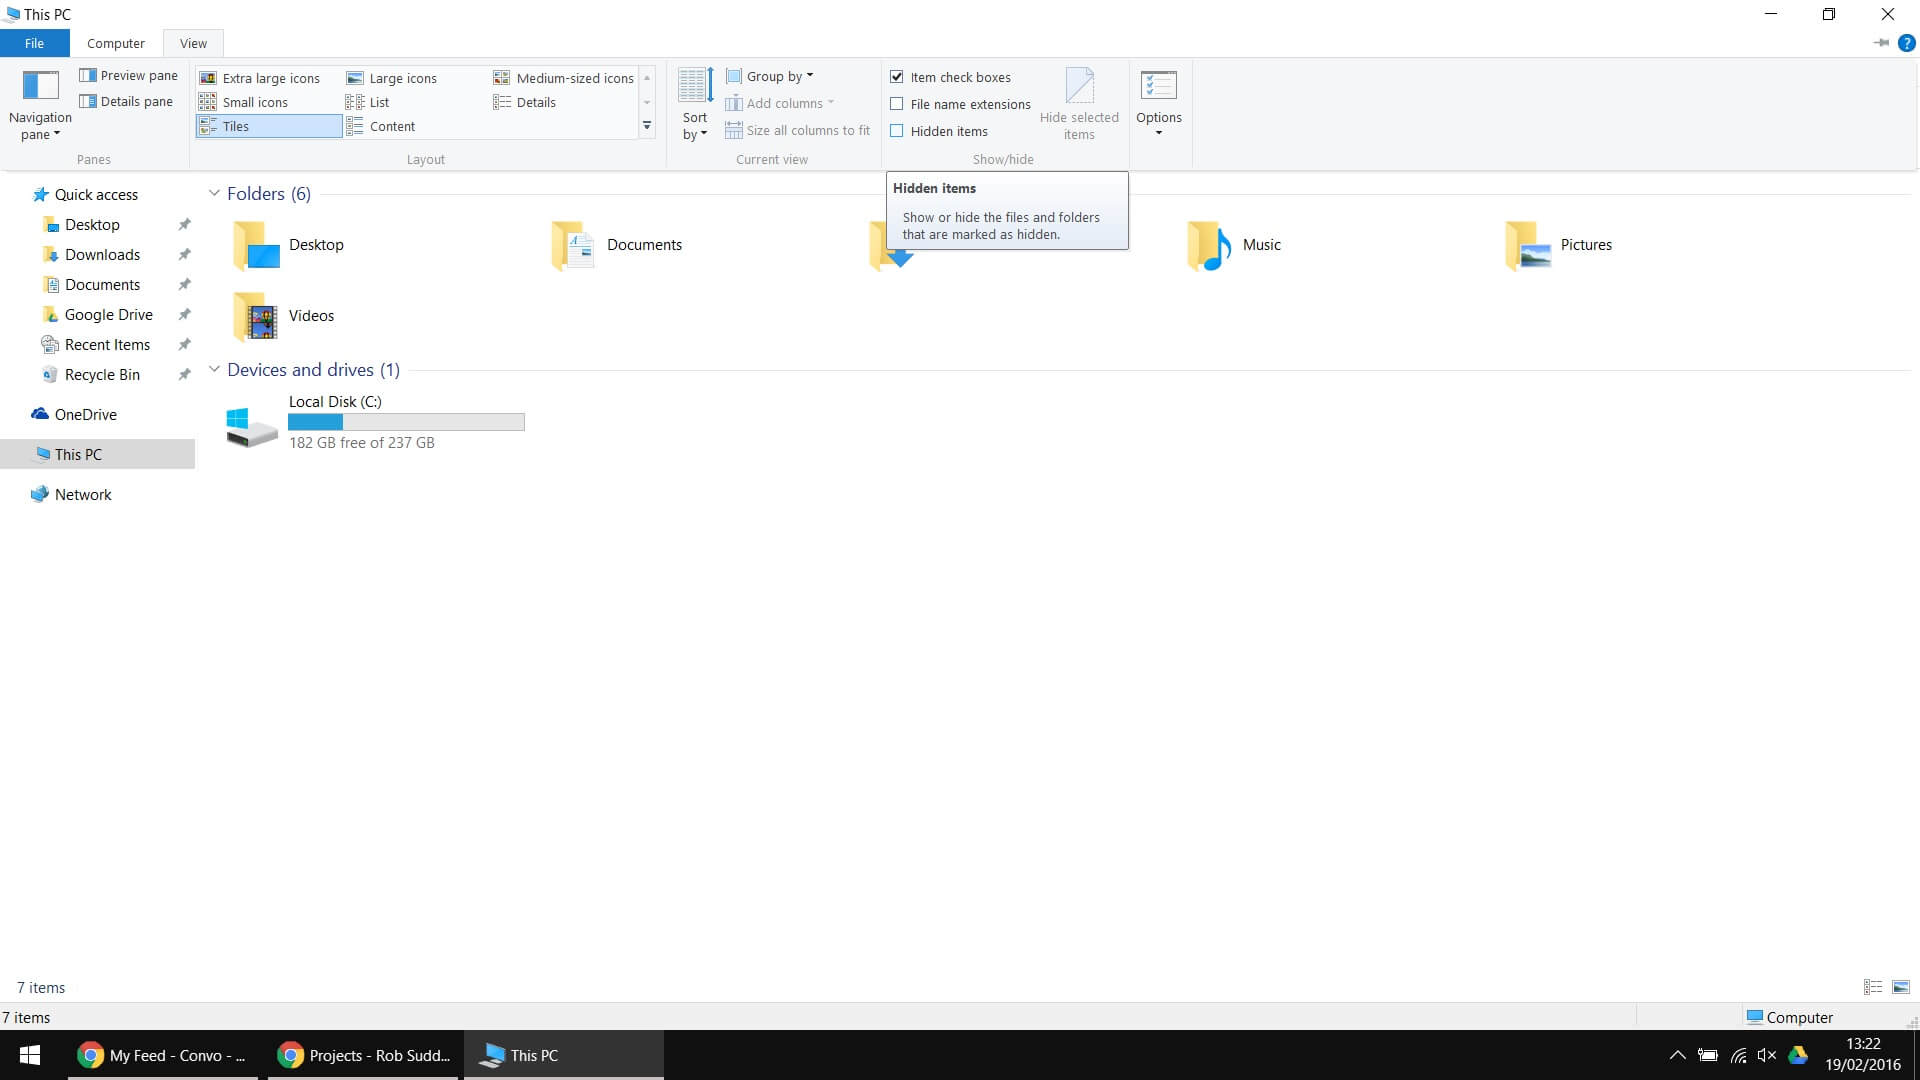
However, in just a few clicks we can customise this page to show project icons. On the server itself, find some images that you wish to use and then open up the server’s file explorer and navigate to the view menu and show hidden files and folders.
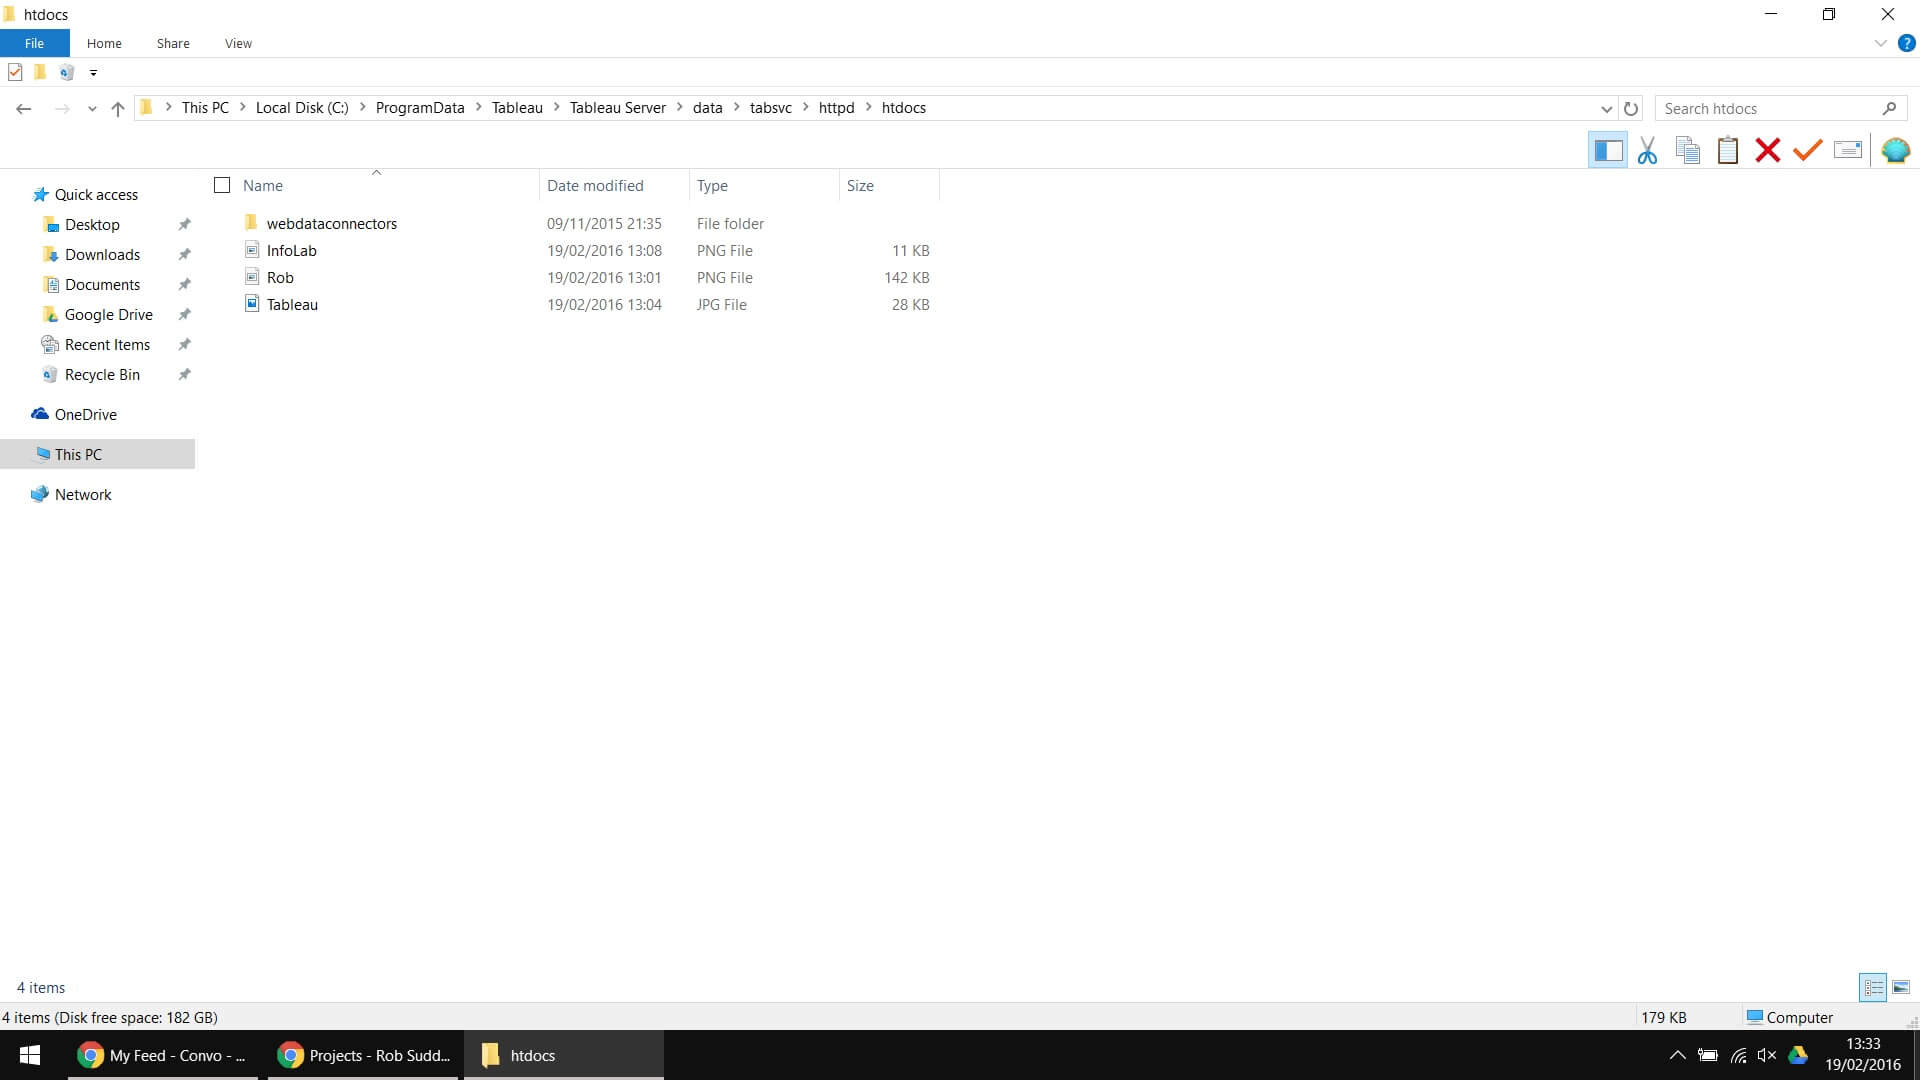
A folder called Program Data should now be accessible under the Server’s C:\ drive. Navigate to C:\ProgramData\Tableau\Tableau Server\data\tabsvc\httpd\htdocs and paste your pictures in there.
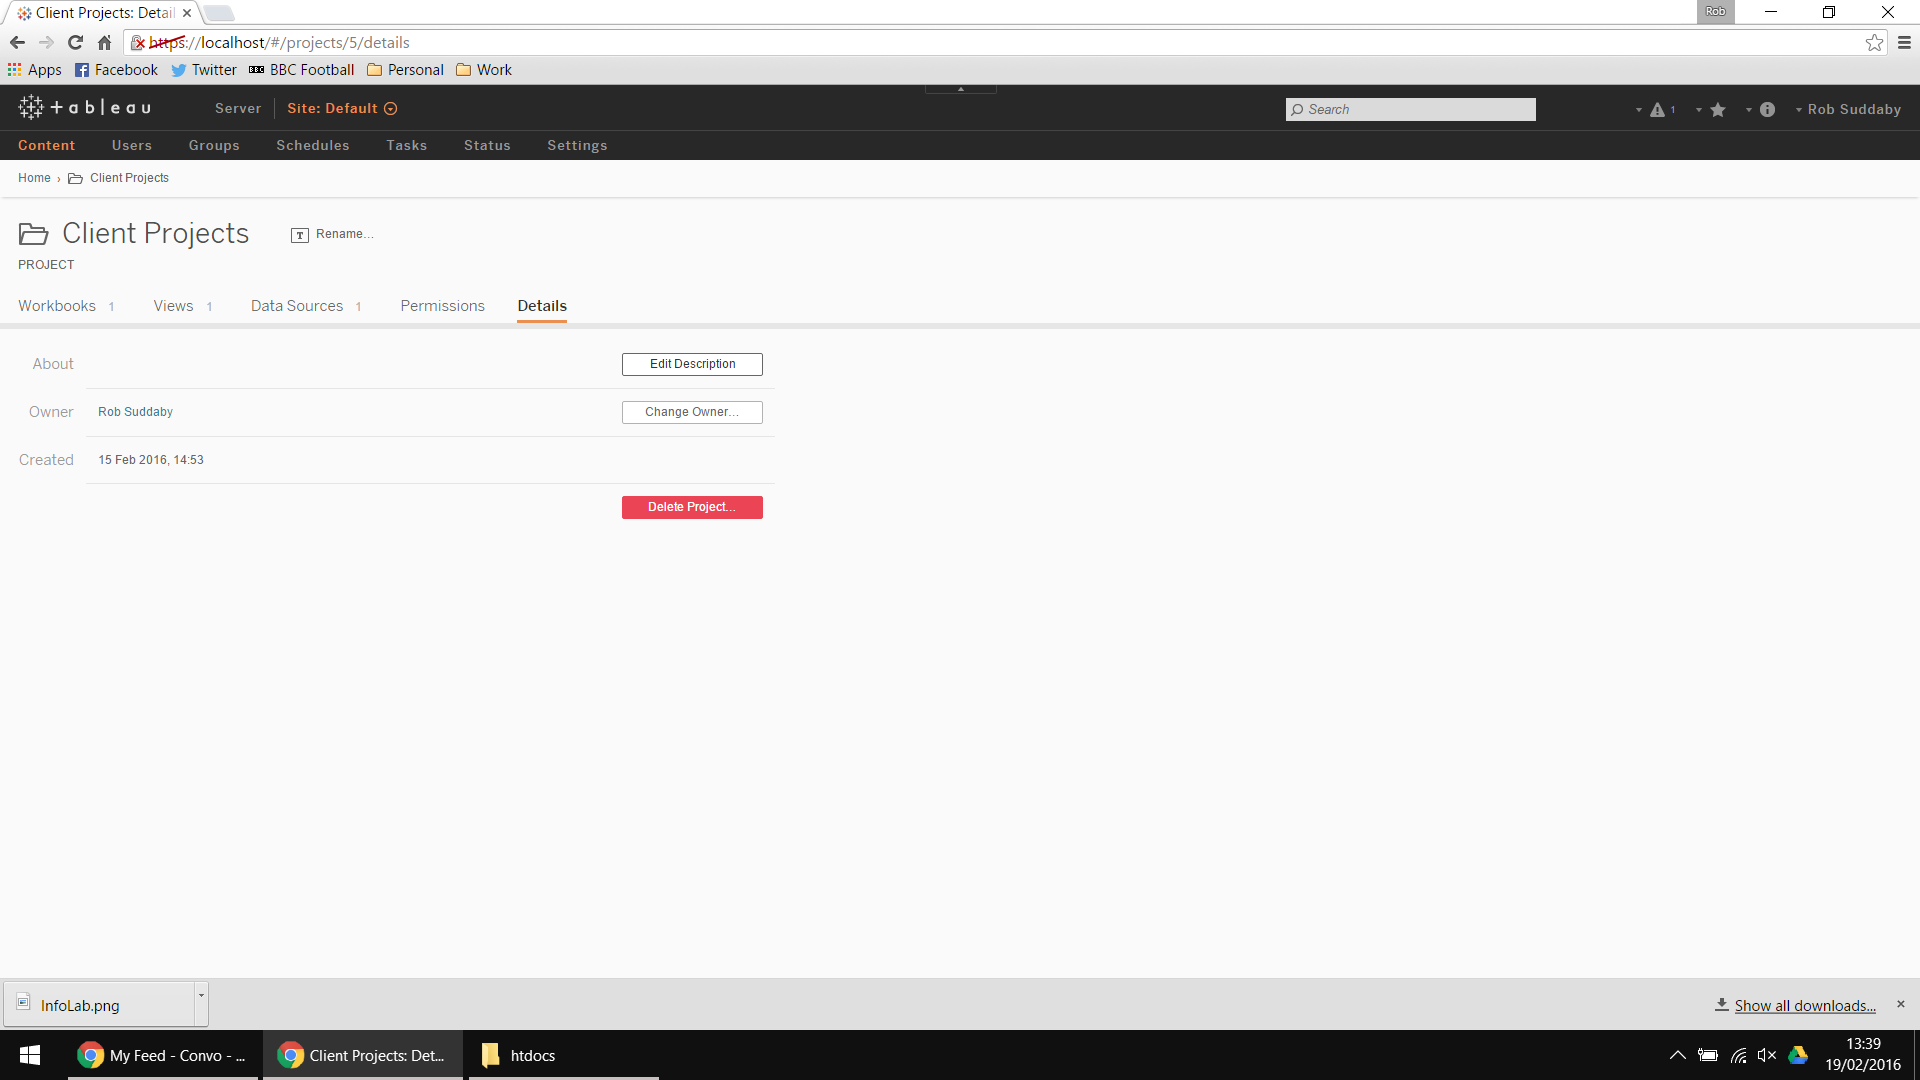
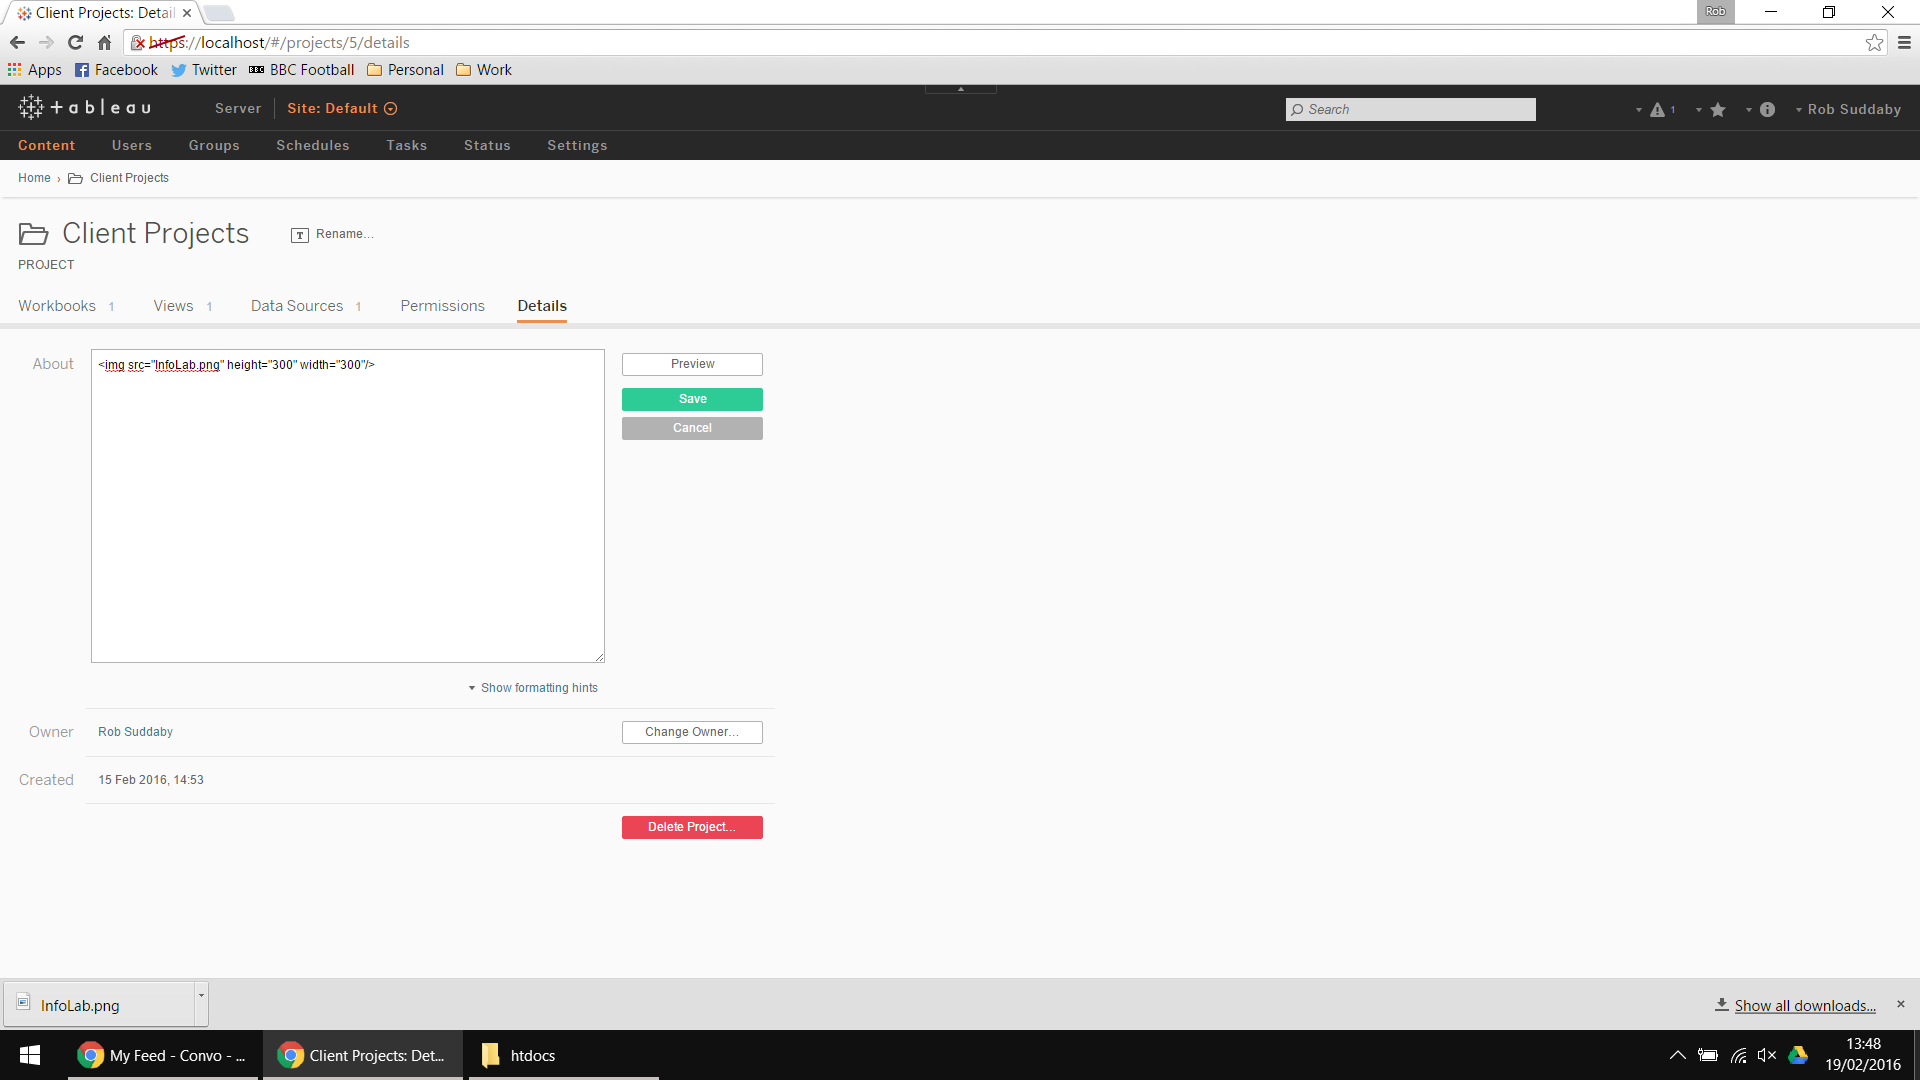
Now open up Tableau Server again and navigate to the first project folder you wish to add an image to, click Details and then Edit Description.
We now need to write some HTML code to make an image appear, as follows: <img src=”image” height=”height” width=”width”/> i.e. <img src=”InfoLab.png” height=”300″ width=”300″/>
Click save and hey presto, you have an image in your project folder!
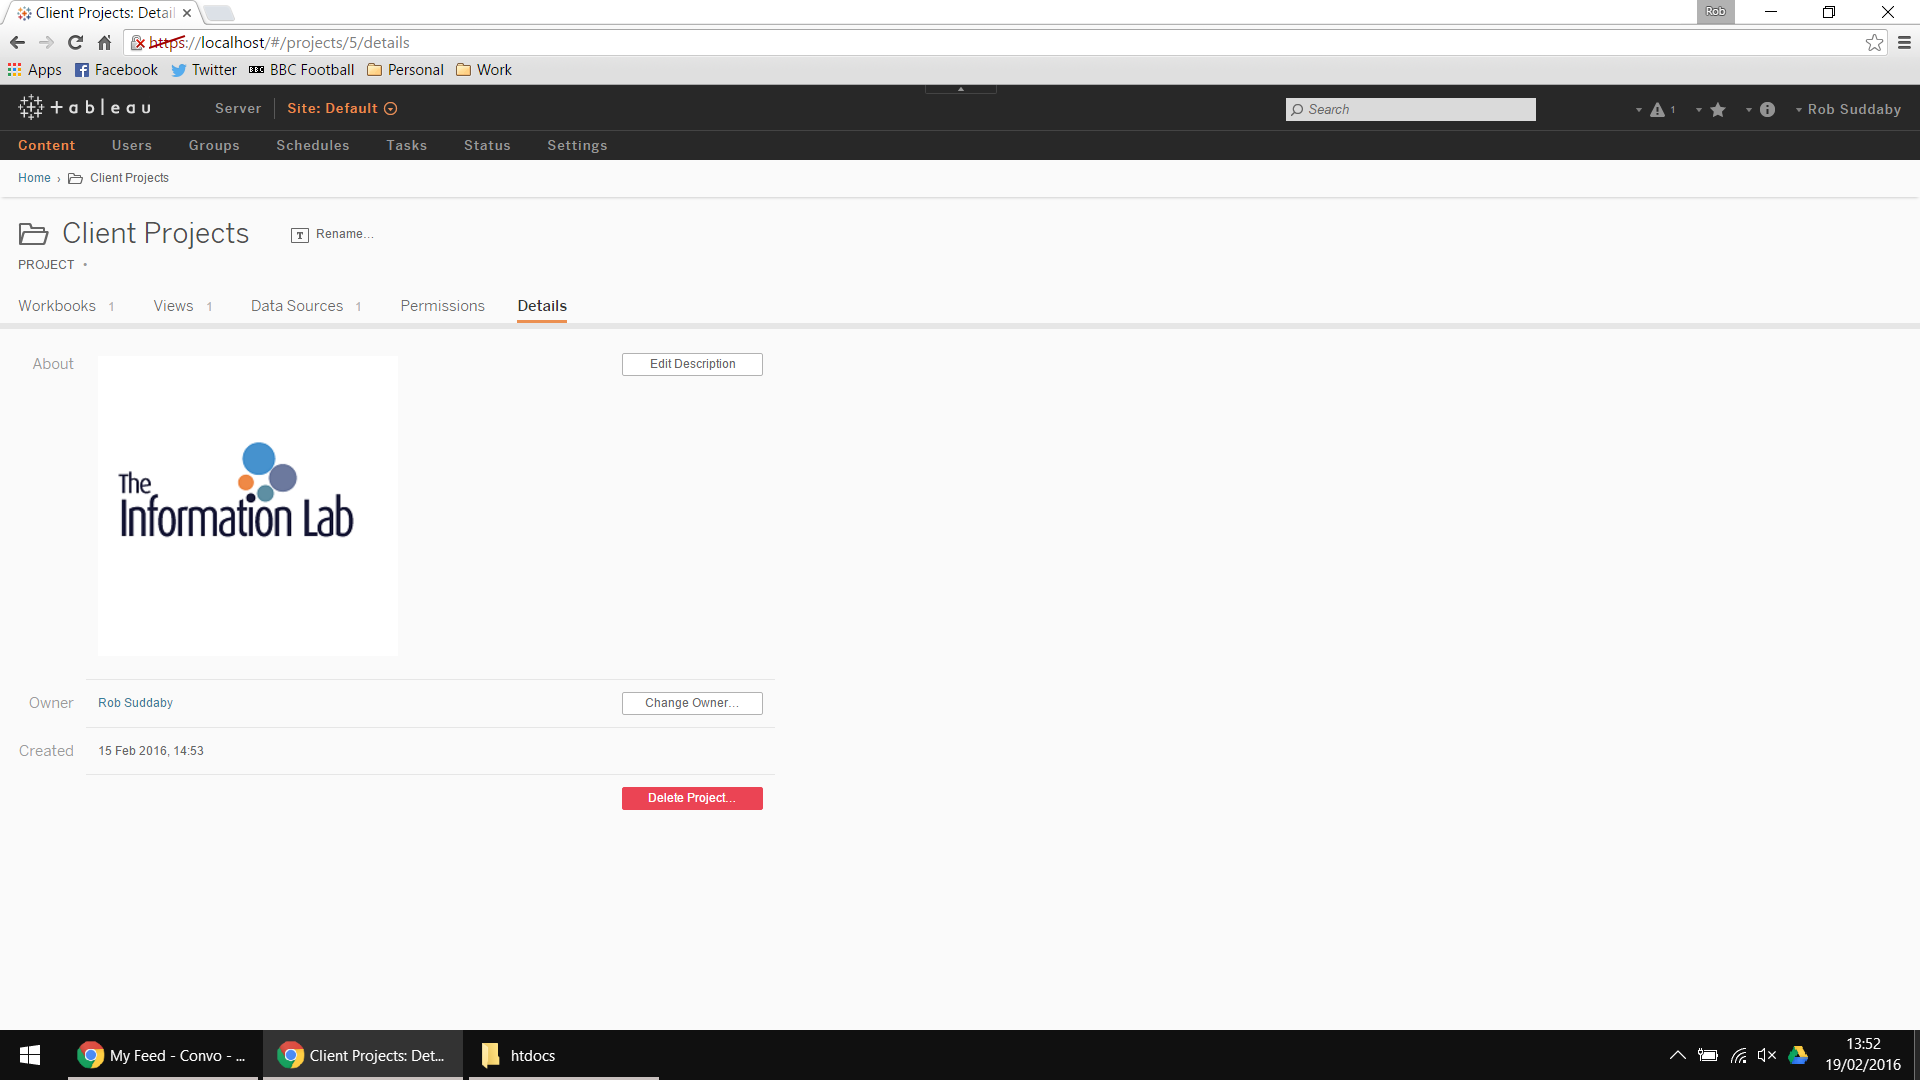
Follow the same process for any other folders you may wish to brighten up your Content page!

Big thanks to David Spezia from Tableau for somehow working this out and sharing it with the community!
I hope you have all enjoyed my tips during #TipWeek, please let me know if you have any comments or questions.