


Welcome to the Tableau Next Blog Series!
In this 5-part series, I’ll walk you through the end-to-end process of working in Tableau Next — from loading data all the way to building a functional dashboard.
Looking for a summary of what Tableau Next actually is? Follow this blog: What is Tableau Next?
This blog kicks things off with how to get started in Tableau Next and load your first dataset. It’s all based on the latest version of Tableau Next (as of July 2025).
What We'll Cover
- Log in and find Tableau Next
- Create a Workspace
- Upload a CSV or XLSX file
Step 1: Log in to Tableau Next
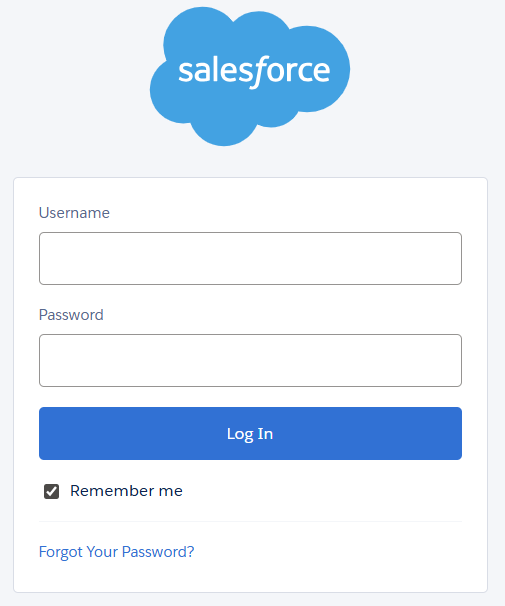
Log in to Tableau Cloud using your company credentials.
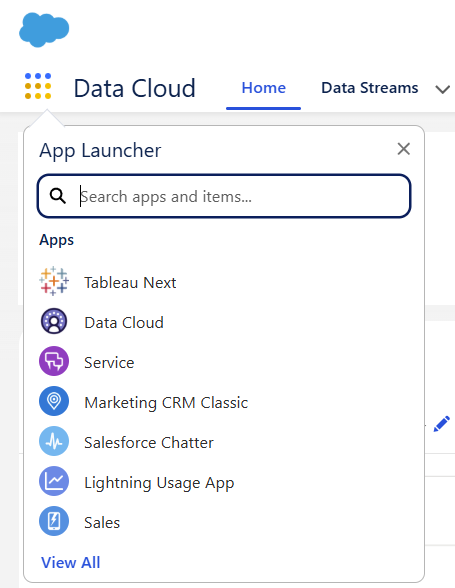
Click the App Launcher (top-left of the toolbar) and Select Tableau Next — it’ll open in a new window.
Step 2: Create a Workspace
A Workspace is like a project folder — where all your data, dashboards, and visuals live.
To create a Workspace:
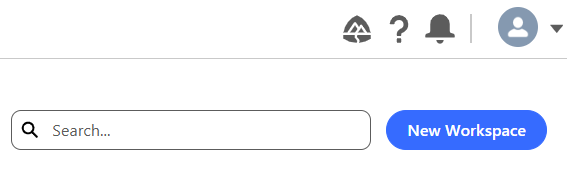
- Click New Workspace (top right).
- Give it a name and description.
- The workspace you create can be seen and edited by others (based on org permissions)
Workspace Buttons to Know:
- Connect to New Data – Upload a
.csvor.xlsxfrom your local drive. - Add Existing Asset – Bring in dashboards, models, or datasets created by others.
- Share – Share the workspace and manage access levels.
- Add – Add dashboards, visualizations, new data, or existing assets.
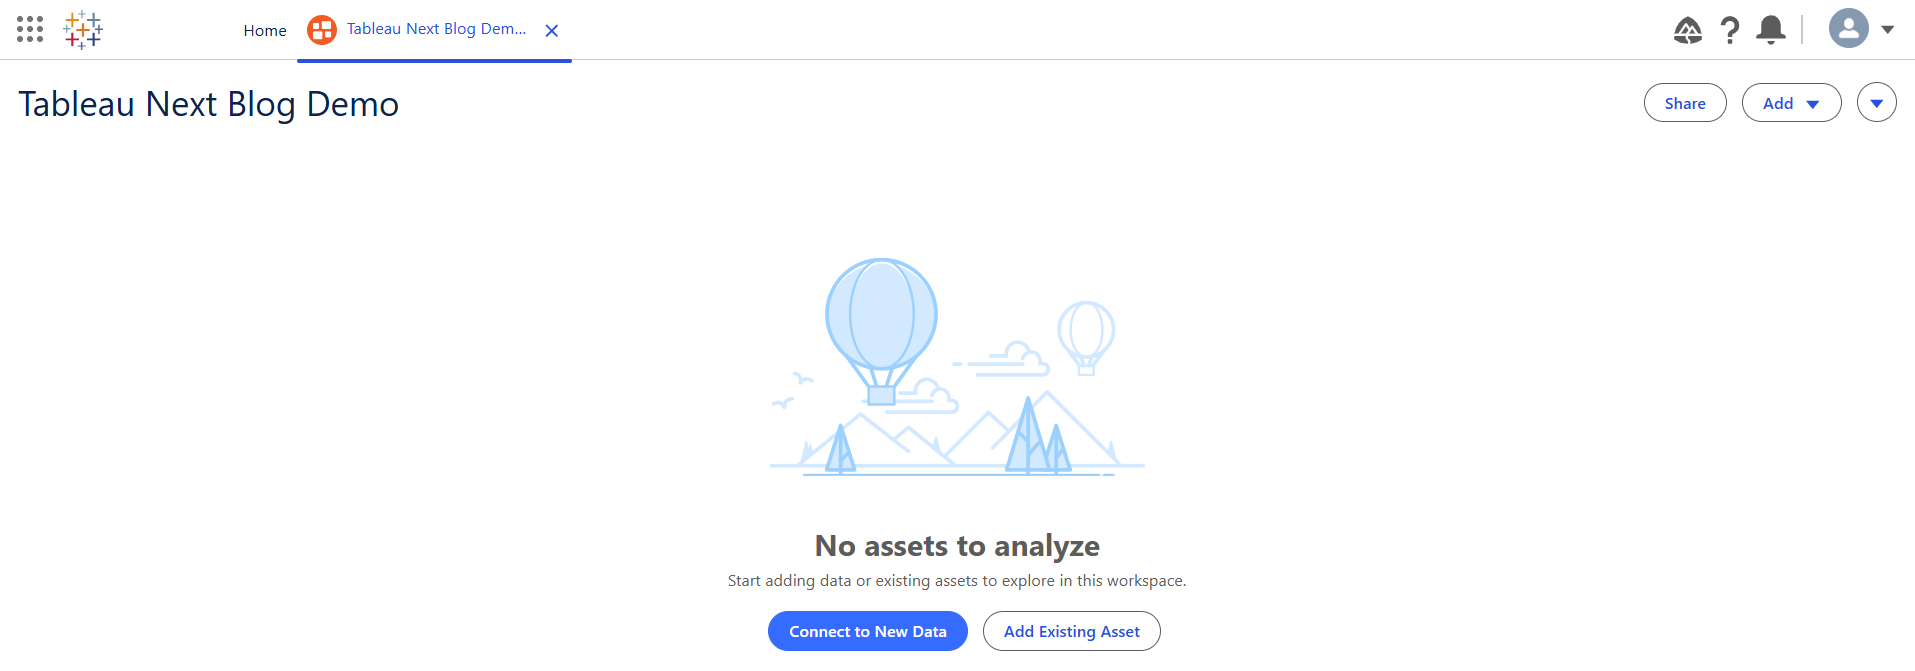
Note: It's best to always start by adding data if you are working on a project from scratch— either from your machine or existing assets within your org.
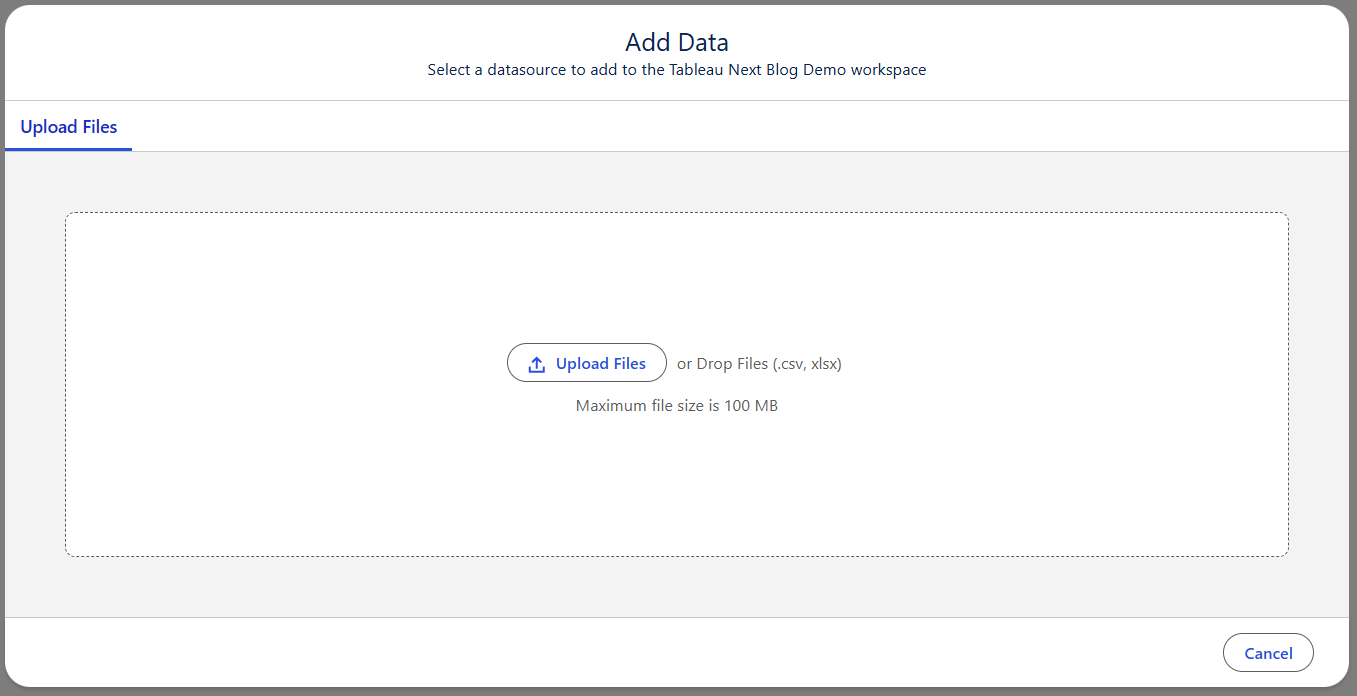
Step 3: Uploading a Data File
To upload your first dataset:
- Click Connect to New Data
- Choose Upload Files
For this walkthrough, I’ll upload the Superstore Orders CSV.
Note: You can only upload one file at a time.
Once the file is uploaded, you’ll see a new window open.
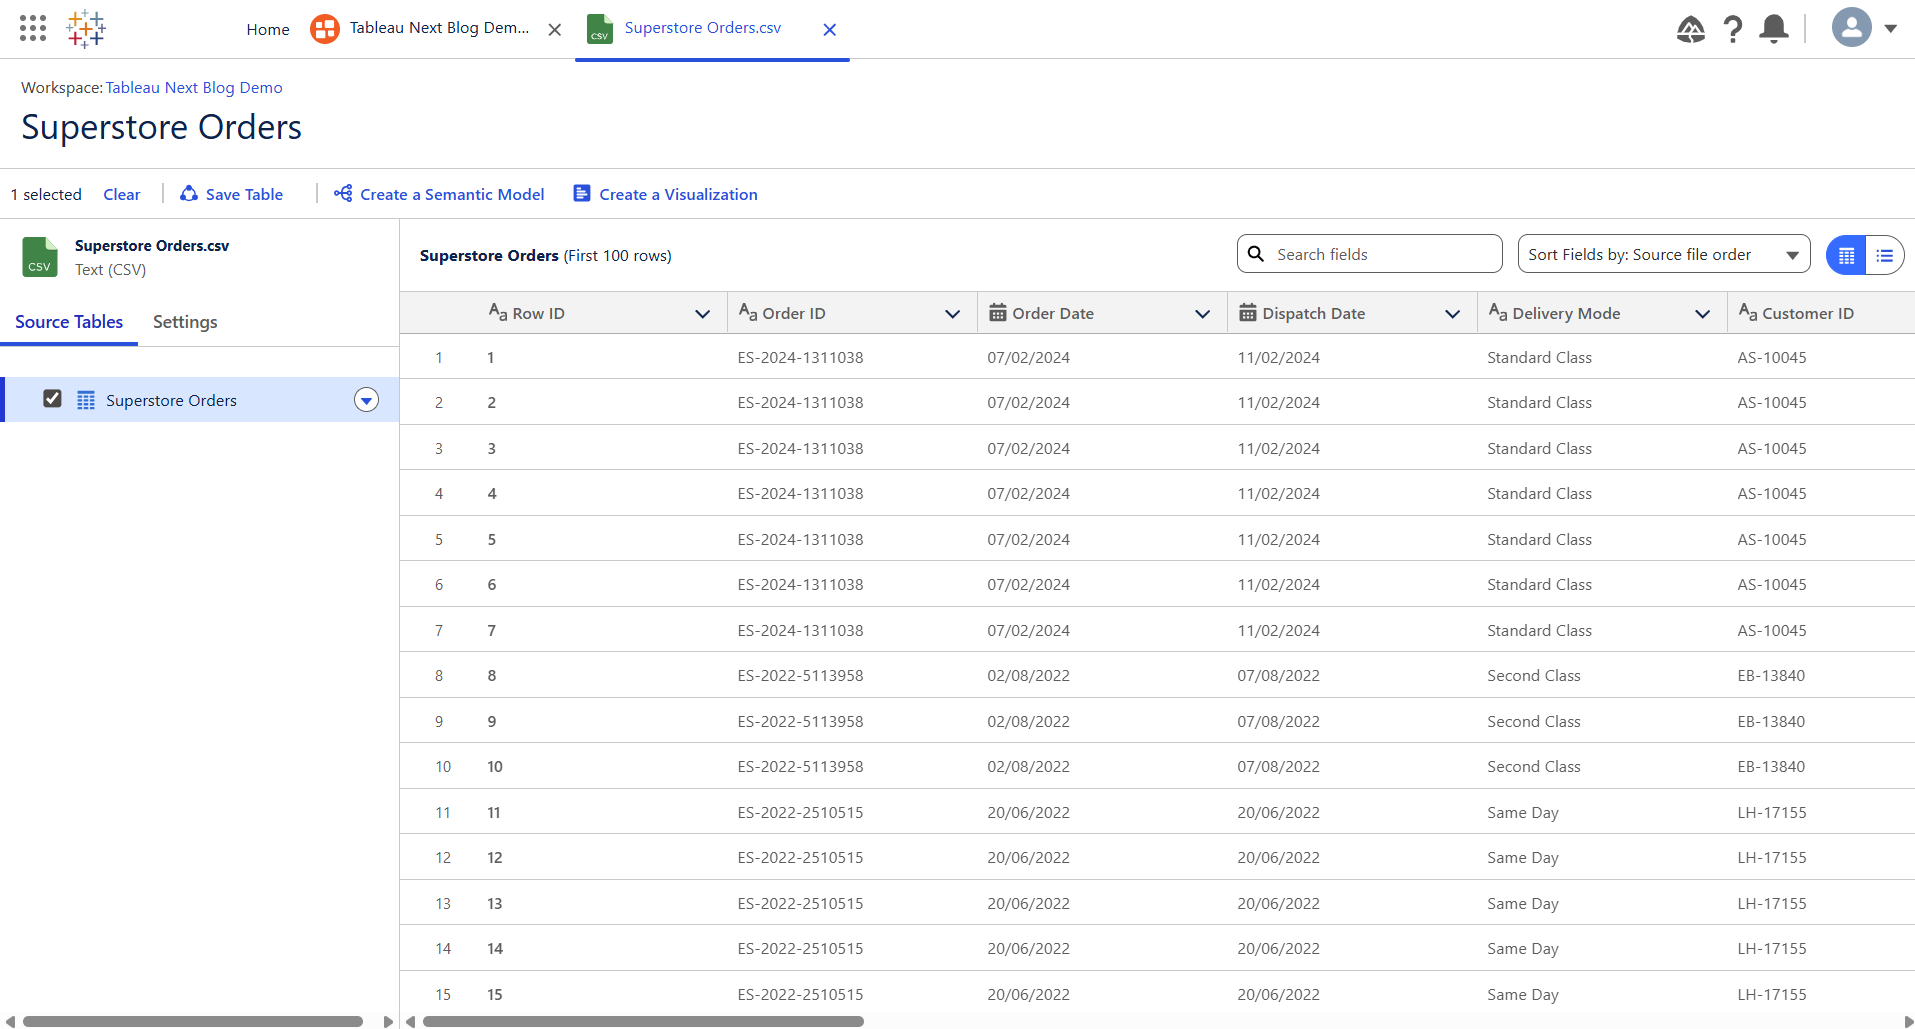
In this window:
The left-hand pane shows the tables in your file (for CSVs, there’s usually just one). You can:
- Save the table as a data object
- Start creating visualizations or semantic models from this table
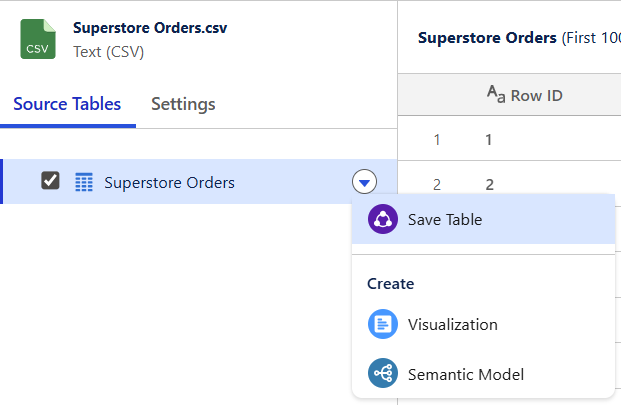
You also have the same options in the toolbar at the top:

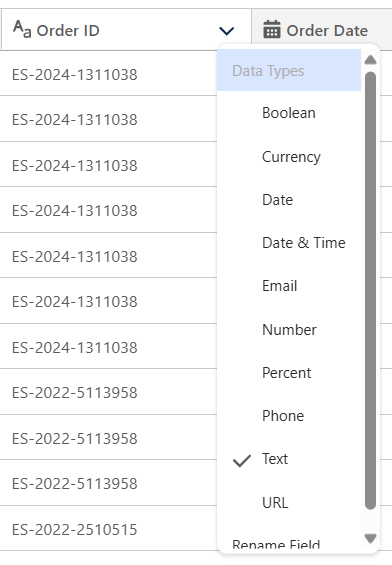
In the main data pane, You can select the drop-down option of each field to change it's data type.
Use the right side of the toolbar to:
- Search for specific fields
- Sort fields
- View metadata

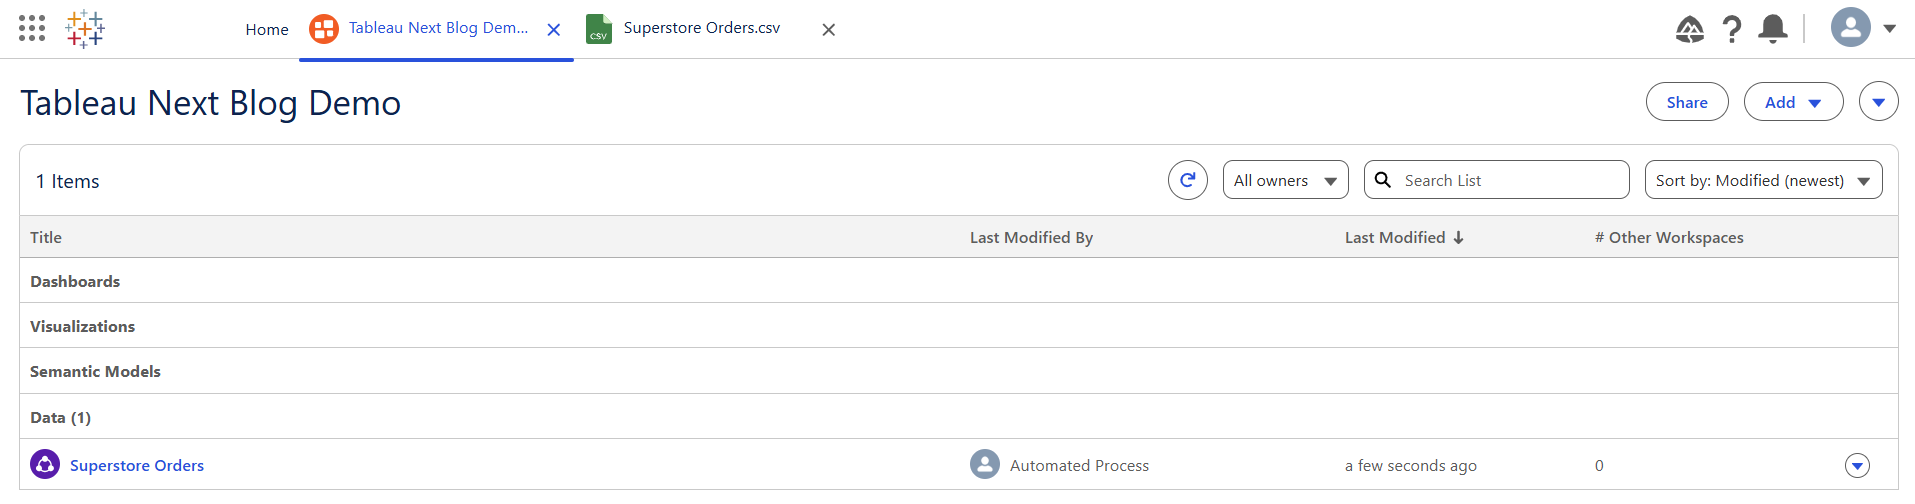
Since I don’t need to edit anything, I’ll click Save Table and store it in my default data space.

Back in the Workspace
After saving, head back to your Workspace tab — your uploaded file should now be listed.
To upload more files:
- Click Add (top right)
- Repeat the upload process
For this blog series demo, I’ll also upload: Superstore Managers and Two Superstore Returns files.
Note: You can only also bring in existing data objects created by others.
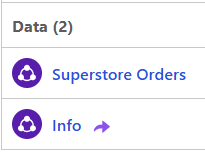
To bring existing data objects:
- Click Add > Existing Asset
- These will be marked with an arrow icon (see image below)
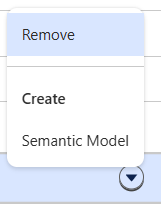
Need to delete something?
- Click the dropdown on the dataset
- Choose Remove to delete it from the workspace
You Did It!
And that’s it — you’ve officially loaded data into Tableau Next! You now have a working workspace with your data ready to go.
Next up in Part 2: We’ll dive into building your first Semantic Model.