So in my last blog about containers I promised I would do a second part which shows a demonstration on how to use them. So here is a layout which I am going to recreate: ( I will be using text boxes where there should be something such as a graph, filter, ban and a title).
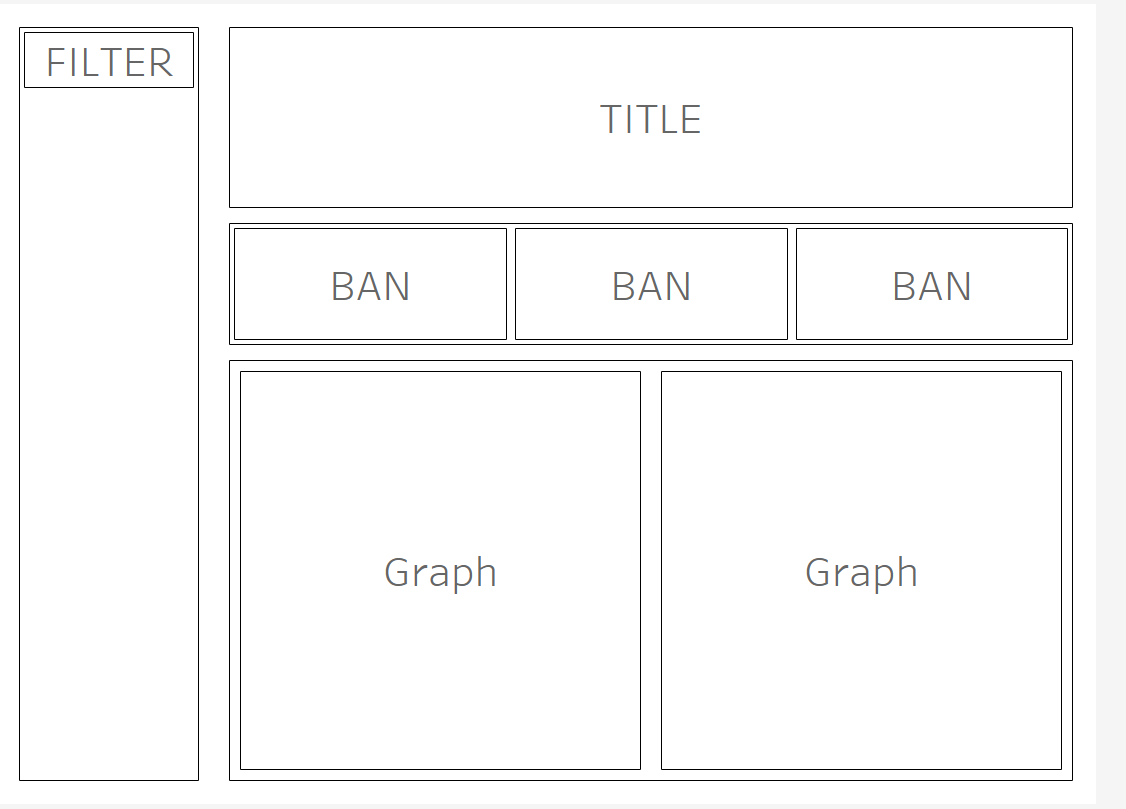
To make this clear I will be adding borders as I go so you can see the containers. So lets start by adding a vertical container. Then a horizontal - this is where the filter section is going.

Now that we have added the filter as this was our first horizontal container. In the larger side on the right we want to add our title and then we want to also add two blanks these are just place holders at the moment. This is because we need to add a horizontal container now so that we can get the sections for BANs and Graphs
For Now I am going to use blanks so that we can get the basic shape for Now then I'll change these two text boxes so that it matches the layout above.
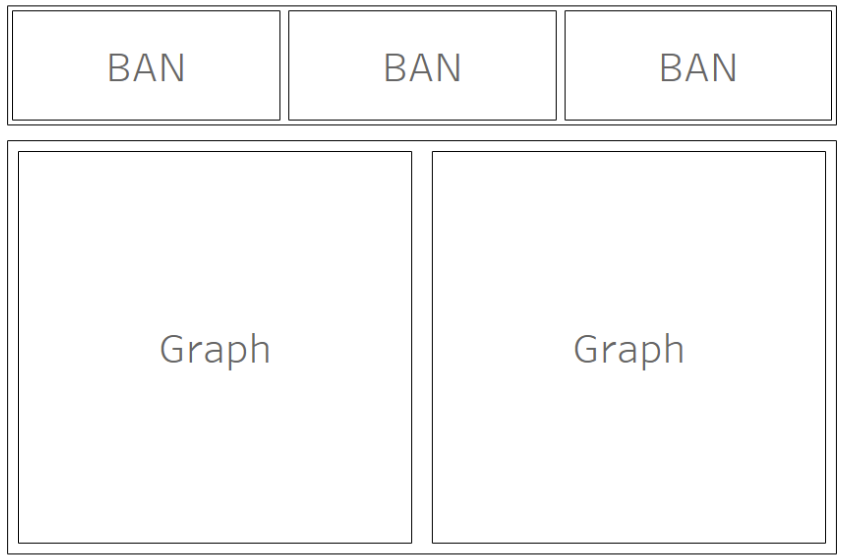
So what we need to do is insert a horizontal where the first blank is, I am then going to move this blank into this horizontal and add two more blanks (with borders) to this horizontal. Now that they are in we can see that they are not distributed evenly so if we click the little drop down arrow we can see press distribute evenly. We now do the exact same thing for the graph boxes so another horizontal container.
Now that we have the basic shape I am going to change these blanks to text boxes so its just clearer to do. The last thing we need to sort is padding. This just creates some space between each box to make it look tidier.