


How Can Parameters be Used To Create User Input Calculations?
User input calculations are a fun way to engage your user with a visualisation. Parameters can be used in Tableau to allow such user input. By manually changing the parameter, a calculation is altered resulting in the dashboard updating. An example of this is highlighted below in Figure 1. This visualisation used data provided by Exasol on Chicago Taxi Data. The user can select a company and how far they are travelling. Using this information the estimated cost of their trip will be calculated and updated on the right hand side of the screen. The full visualisation may be found on the Exasol website, have a play with it if you are interested! I’ll use this blog post to break down how I created this visualisation.

Figure 1. A visualisation that uses a user input dependent calculation.
How to Create This Visualisation
To create this visualisation the following are required:
- A parameter to allow the user to input how far they are travelling
- A parameter to allow the user to select which company to use.
- A calculation to calculate the price of the trip based on these parameters.
A Parameter to Input Journey Distance
Firstly open the create parameter menu, as shown in Figure 2. Rename the parameter, change data type to Integer and select a range for the user to be able to select between, here I used 1 to 100. Then in a new worksheet right click on your parameter in the data pane and select Show Parameter control This parameter is now set up and is ready to be used. Next it’s time to set up the select company parameter.
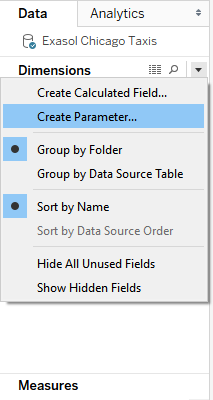
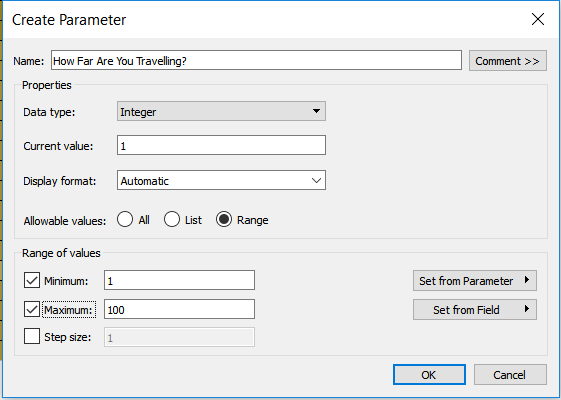
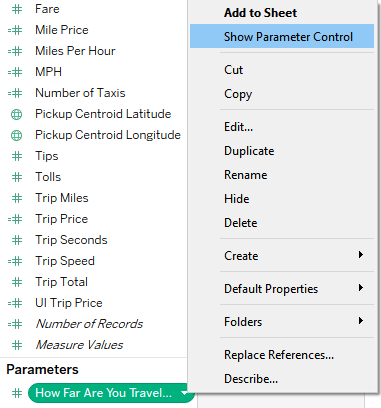
Figure 2. The set up for a user inputted integer parameter.
Select Company Parameter
Follow the same steps as in Figure 2 to open the create parameter menu. Next select the data type as string as shown in Figure 3. Set your allowable values to List. Then click add from field to chose the field you wish. Here I selected Company and the data for this field was populated as shown in Figure 3’s second screen grab. Show the parameter in your worksheet by following the same method as above. The next step is to use these parameters in a calculation.
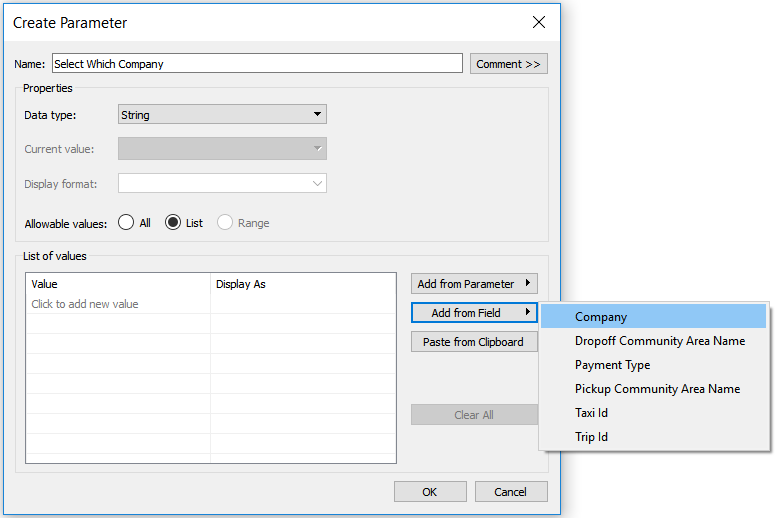
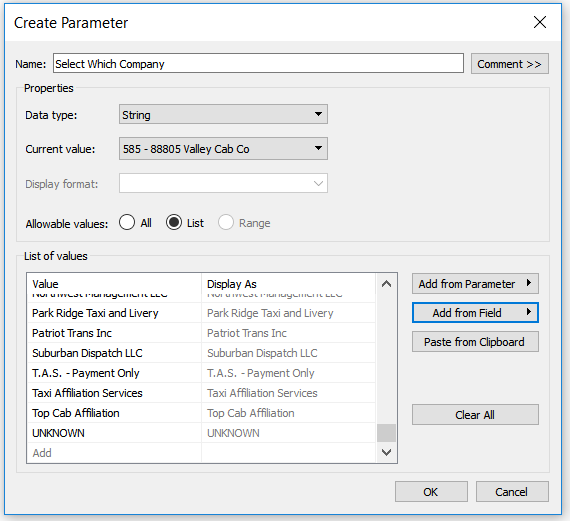
Figure 3. Setting up of a string parameter.
Creating a Calculation to Determine Price of Trip
Parameters can be used in calculations and this example shows the calculation of the price of a Taxi trip in Chicago, use this as a basis for your calculation. Figure 4, shows the set up for the calculation. As a guide functions are displayed in blue, fields are coloured orange and parameters are coloured purple. Using the Select Which Company user input the top line of this calculation determines the total amount the Taxi company has earned in Fares . This is then divided by the total miles that company has recorded to determine the average price per mile for each company. Finally this is multiplied by the user input of How Far Are You Travelling to yield the trip price.
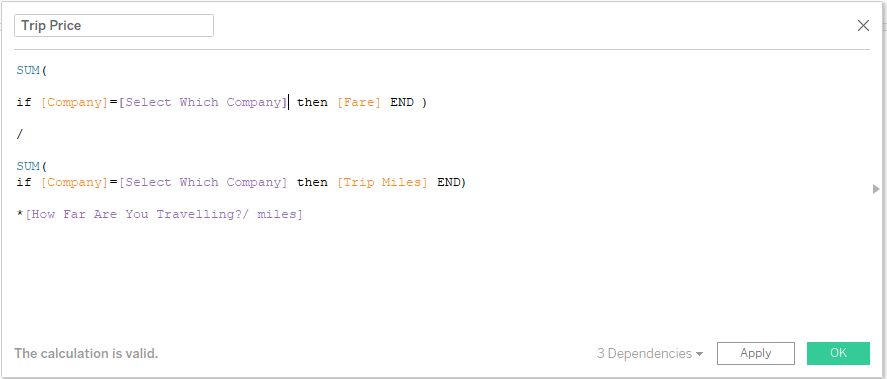
Figure 4. Calculation to Determine Trip Price.
Creating Your Worksheet and Dashboard
Your Parameters will be visible on the right hand side of your screen. To bring up the trip price into the worksheet place it on the text card as shown in Figure 5. Then play around with your parameters and check the calculation is updating as the filters are changed. Once you are satisfied it works create your dashboard!
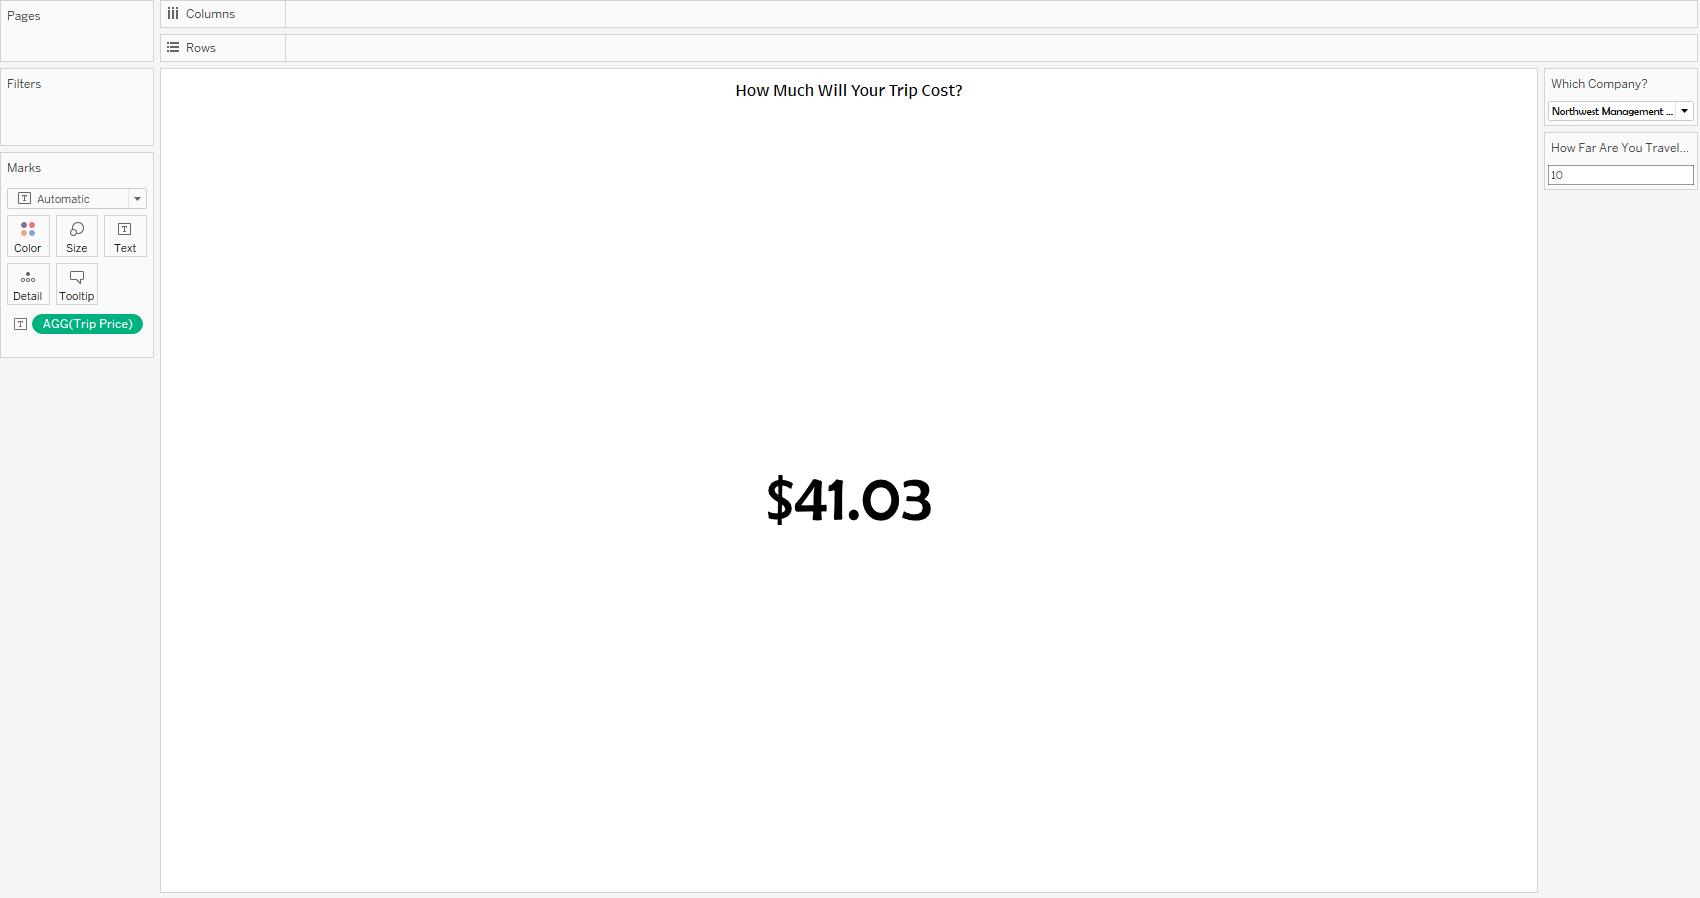
Figure 5. The final worksheet.
Now hopefully you know how to create a user input calculation using parameters. If you’re still struggling comment below or tweet me @CoalWilson