


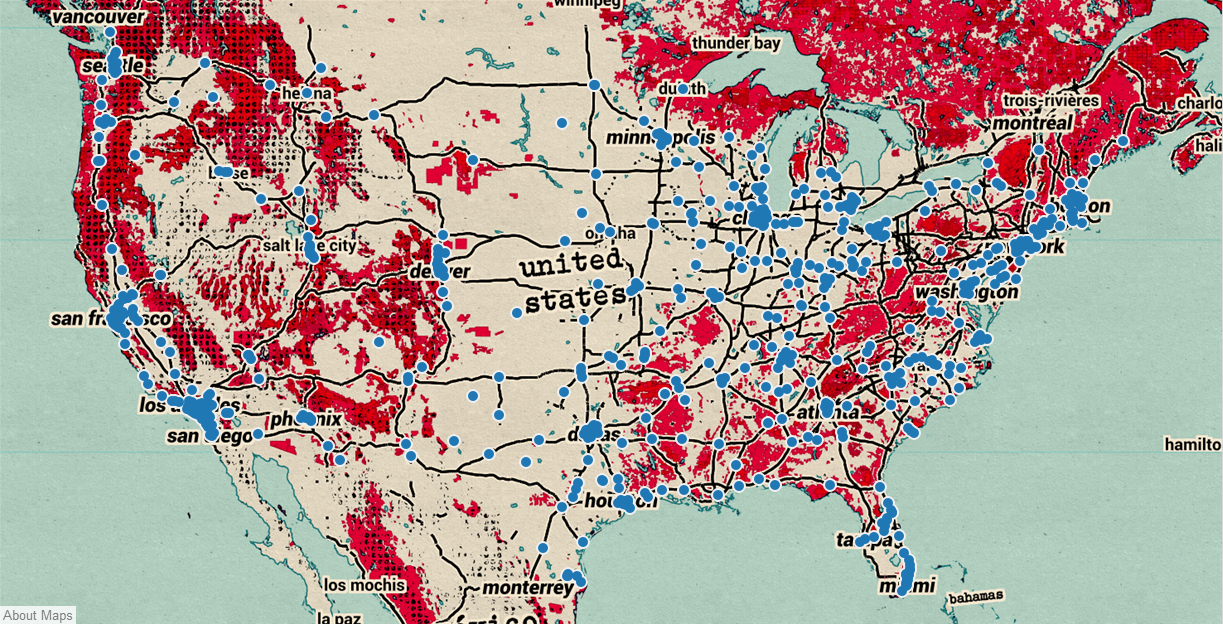
A couple weeks ago, Anuka published a post that shows you how to use the new Mapbox integration in Tableau (link). Her post outlines how to bring in Mapbox’s preset maps, which are absolutely stunning on their own:

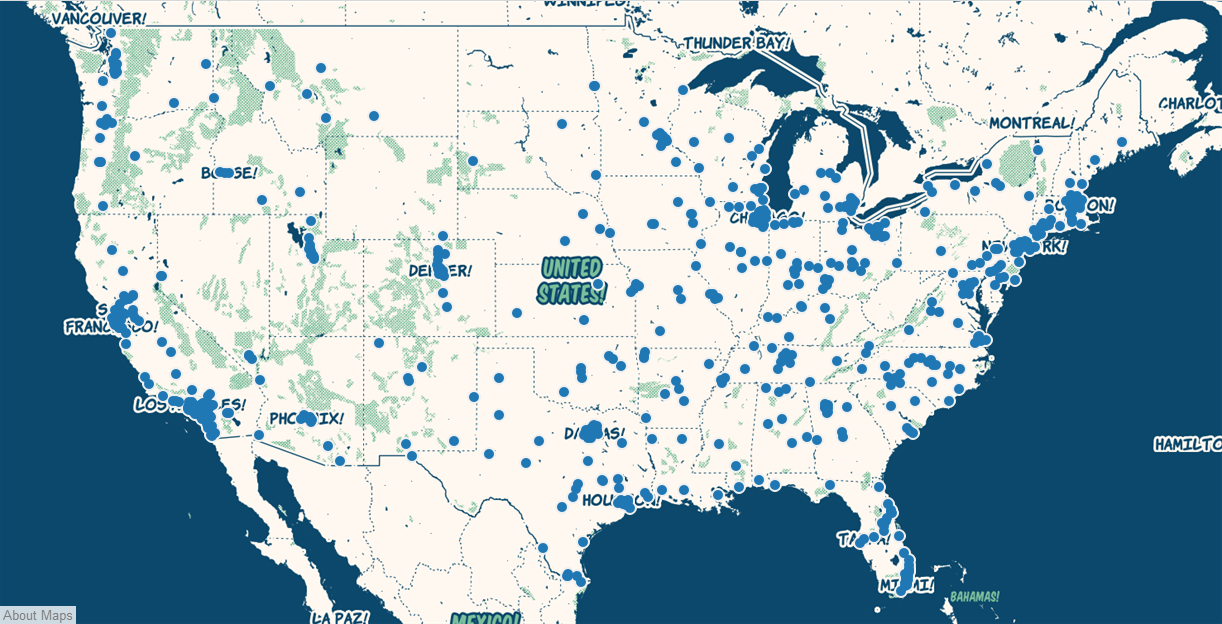
However, if you want to edit these maps and bring in a completely customised map into Tableau, the process is a bit different.
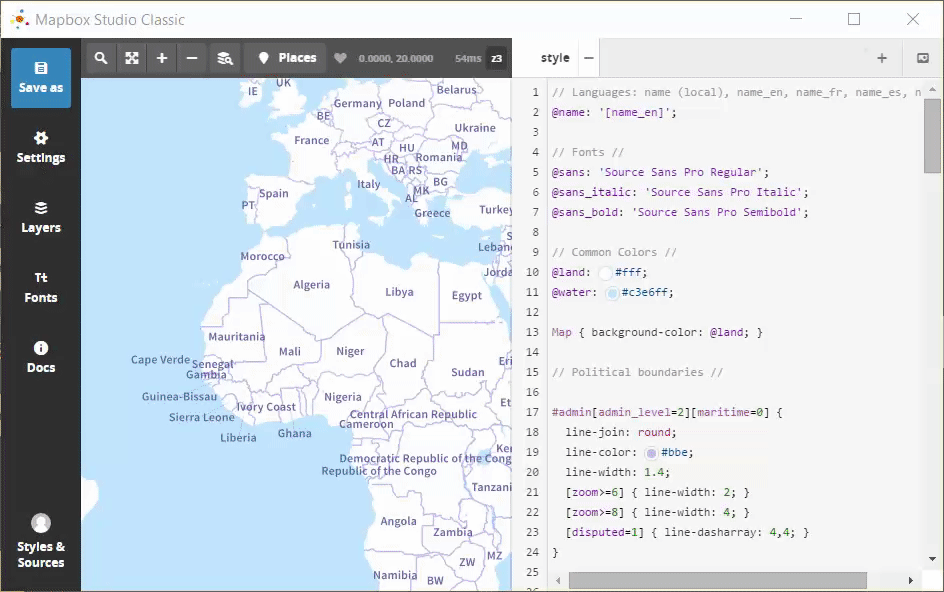
First, if you haven’t already done so, you will need to sign up for an account at mapbox.com. As with the preset maps, you will need to use your API Access token to import custom maps. Once you’ve got an account set up, download Mapbox Studio Classic.
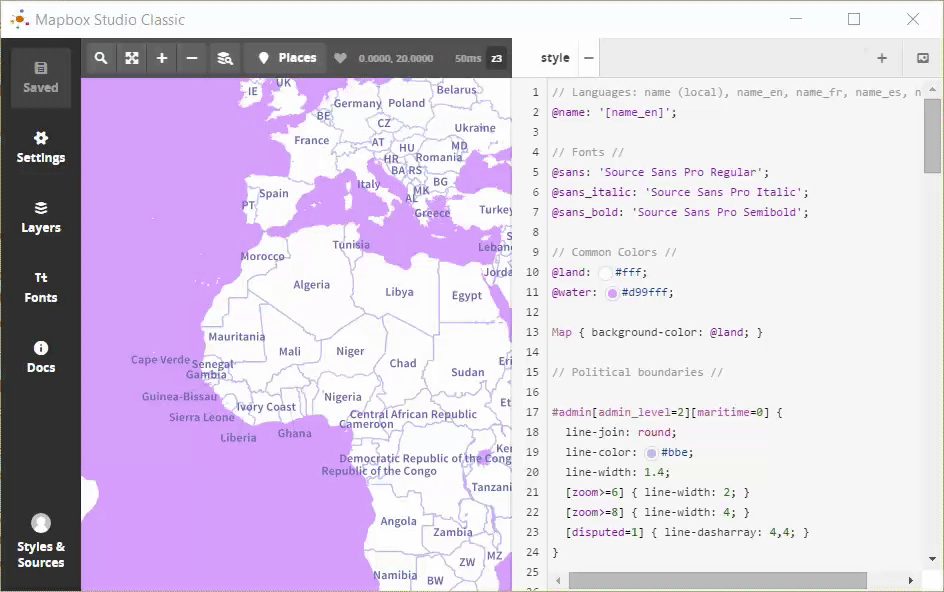
Install the program and open it up. Now you will see a super basic map that you can edit by changing the style elements in the right hand side. For example, if I want to turn my oceans purple:
Note that the map will not update until you have saved it somewhere on your computer. And if I want to change my font, I can click on the Font button, see a list of available fonts, and copy and paste my chosen font into the style code on the right side:
Again, make sure you click save so your map view will update with your new font
Once I’ve made all my adjustments and my map is to my liking, I am now ready to publish my map to mapbox. To do this, click the settings button, then click the blue Upload to Mapbox button. NOTE: If you are a free user, you can only upload one custom map at a time. In order to delete previously uploaded maps, you will have to go to the styles page specifically for styles built in Mapbox Studio Classic, NOT Mapbox studio. These can be found here: https://www.mapbox.com/studio/classic/.
Once you’ve uploaded your map, you will have a Map ID that will be some version of yourusername.randomlettersandnumbers. Copy this down in a text file or just keep your Mapbox Studio Classic window with the Map ID open. Now open up Tableau.
As you did before, click on Map in the menubar > Map Services > Add > Mapbox Maps. Give your style a name, then navigate to your mapbox account in your browser and copy your API Access Token to your clipboard. Go back to Tableau and paste this into the appropriate field.
Instead of selecting a Mapbox preset style, select Custom (with one or more layers). Copy your Map ID that you got from Mapbox Studio Classic and paste this into the area that says “Add layer by Map ID.” Hit OK, and now if you go to your Map menu you will see an option for your custom map! Click onto it, and now you have a beautiful purpley map for all your purpley data viz needs!
Although Mapbox does have an online application (Mapbox Studio) to create custom maps in your browser, I have yet to figure out how to get a Map ID from the styles created in Mapbox Studio. Mapbox’s integration with Tableau is still relatively new, and it’s possible that they haven’t yet created this option but are planning to in the future. For now, users must download the Mapbox Studio Classic program and build maps from there, and if you are a free Mapbox user, you are limited to uploading one style at a time. Not the most efficient way to create your custom maps, but you definitely end up with a lot more flexibility and creativity than you get with Tableau’s default map options.