I’m going to walk through the steps needed to turn your boring old API Download workflow into an exciting Iterative macro!
For this example I am going to use one of the API calls from The World Bank: http://api.worldbank.org/countries
I have set a very basic Alteryx workflow to make the API call and download the JSON;

I’m not going through the details in this blog on how to do the basic call but you can find a great tutorial written by Robin Kennedy
If I inspect the results returned I can see that this returned page 1 of 7 and there 50 results returned on each page (out of a possible 304 results);

Armed with this knowledge I can now use this to set up my macro.
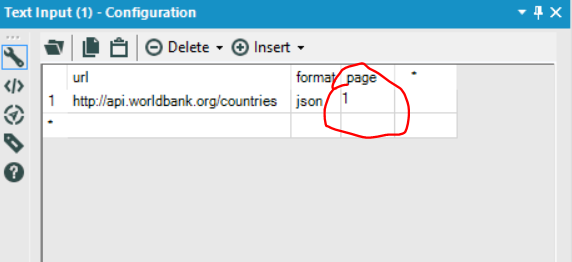
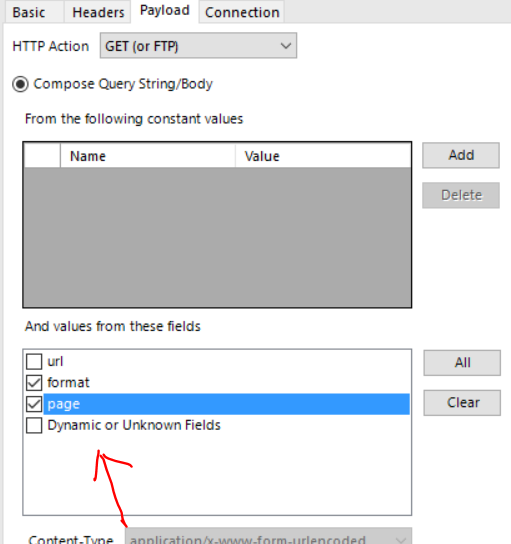
First I’m going to modify my text input and download to include the “page” parameter;
The next step is to separate the header information (the pages, per_page etc) from the main body of data, this is so I can perform actions just on the header data. A filter tool will do nicely here;

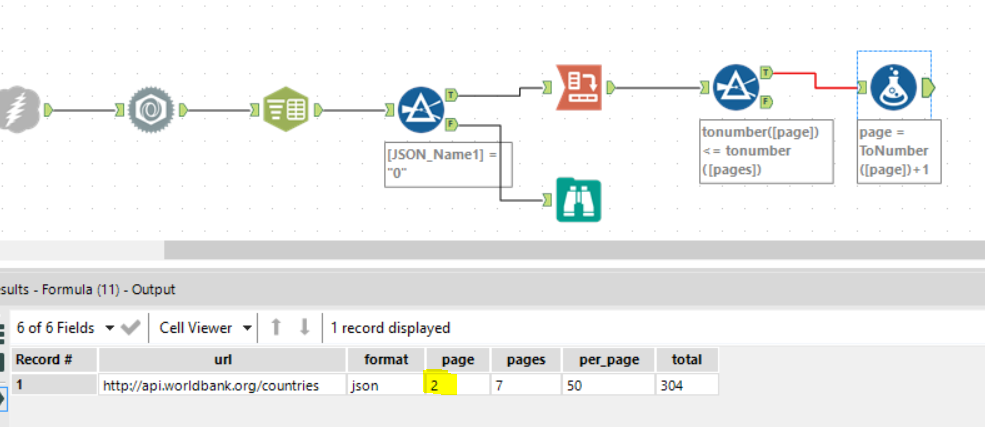
For the “Data” stream there is no processing needed here, so we can just concentrate on the “Header” stream. I want the data in one row rather than several, I want to include a check to see if the current page is less than or equal to the total number of pages (this will force the macro to stop once the total number of pages available has been reached) and I want to add a formula to increase my page size by one.
As you can see the page number has now been increased by one;
Ok we’re almost there, just a few more steps and we’ll be ready to go. This bit is really important so don’t skip over it! The header data we have just processed will become the next iteration URL, so it must match EXACTLY the original URL we entered, a select tool will fix this;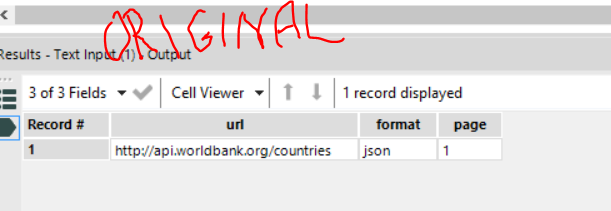

And that’s pretty much it!
Oh wait, no it’s not…there’s still more to do, at the moment we have a workflow and not a macro…and once it is a macro it still won’t actually do anything. So lets carry on…..
To make a this a macro, we can right click on our text input tool and choose convert to Macro Input and we can configure this, give it suitable name like “macro input” and an anchor abbreviation will also help later on;
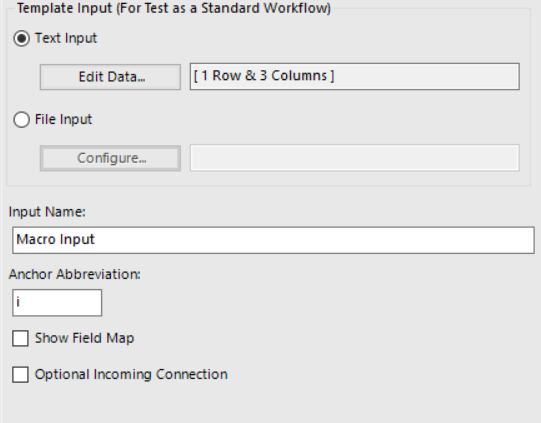
We also need to add two macro outputs to our workflow, one to the “header” stream and another to the “data” stream, it is also wise to give these suitable names and anchor abbreviations;

Keep reading, there are just a few more bits to go……
In the workflow configuration set “macro” to be an iterative macro;
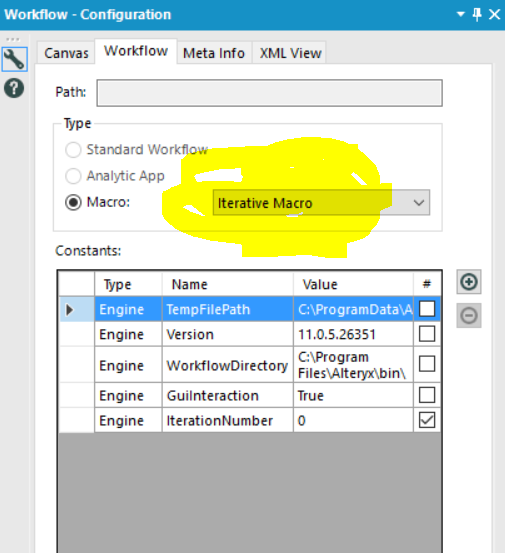
Finally, in the Interface Designer you will need to set the “iteration input” and “iteration output” you can also mess about with the other settings to suit your needs;

Save that bad boy and your done!
But, this macro doesn’t actually do anything…all you’ve done is built a tool so far. You now need to bring this into a new workflow in order to use it, so lets do that;
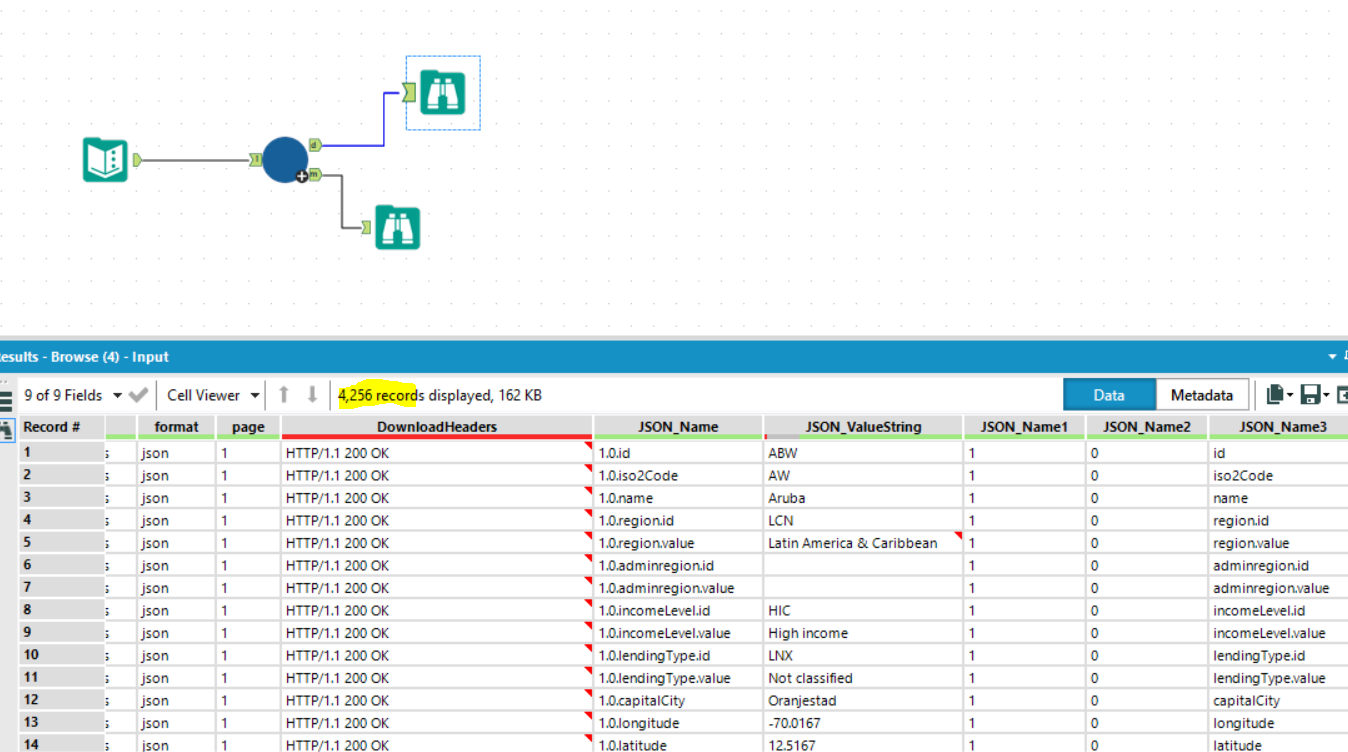
And NOW we have all of our data! You can now do what ever transformation you like on it. It’s also worth noting that this macro can be used for other URL’s as long as you send the same parameters (url, format, page) it will work.
I hope you enjoyed this blog, if you get any issues let me know and I’ll attempt to troubleshoot.
Peace & Love x
