


Admins on Alteryx Server have the ability to create new users and to set what permissions they have. With the increase in data analytics within companies and the growth of Alteryx as a provider of an easy to learn way for companies to conduct their own data analytics, more and more users on Alteryx Server will need to be set up. This will be a guide to help admins within a company set up new users and understand what the new user will be able to do.
Creating the user:
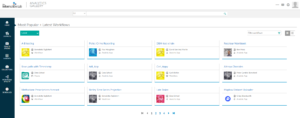
After logging in to the company’s Alteryx Server the admin user will be presented with a screen similar to this:
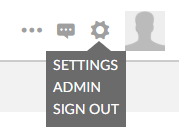
To access the admin page the user need to hover over the settings tab in the top right hand corner of the web page and select the Admin option on the drop down.
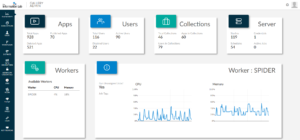
Once clicked the user should be taken to the Gallery Admin page. This page will have more options for the user to make changes to the server and will look something like:
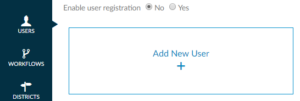
The option to add a new user to the server is under the Users tab along the left hand side of the page. Once this tab is clicked the page will display all of the users on the server, as well as the first option which is ‘Add New User‘.
Once the Add New User option is clicked the options need to be filled in order to set up the new user.
Fields within the Add New User page:
The page for creating a new user will appear like this:
![]()
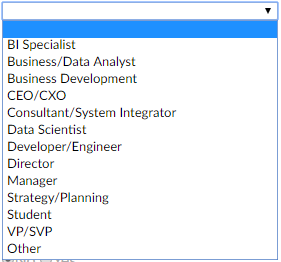
The first two fields to fill will be the First Name and Last Name of the new user. These will create the name that is displayed for the user and can be referenced by other users when referencing this user. Next comes the Email of the user, in the business setting this will usually be the work email of the employee. The Company field will be the company this user works for, a lot of the time the server will be running for only one server and so this field may not need to be filled. The Department field is the first multi-choice drop down option, listing 12 standard departments within companies and an ‘Other’ option for departments outside of these options. Here are the options:

The second multi-choice drop down comes next in the Job Role field, which gives 12 job roles which are likely to be involved in the use of data and an ‘Other’ option for jobs outside of these options. Here are these options:
The next 6 fields are to give the full address of the user, these fields in order are Address, Address (line 2), City, State, Postal Code and Country. The Phone field is for the personal phone number and the Website field is for the personal website of the user. Finally the
Of all these fields, only the First Name, Last Name and Email of the new user are required to be filled for a user to be created.
Permissions:
Curator: Gives the user an Admin role, gives access to Admin pages and the ability to to perform administrative tasks. So if checked yes the user will be an Administrator, if checked no then the user is given a Viewer role; the Viewer role can run workflows on the public gallery. The role can be changed by an Admin after the user has been created.
Can Schedule: Allows the users to schedule workflows to run automatically at scheduled times.
Can Prioritize: Allows the user to prioritize jobs based on importance. If several workflows are run at once, the job with highest priority will run first.
Can Tag Jobs: Allows the user to assign specific workers to run a workflow.
Subscription ID:
The subscription ID is an optional field to fill but if filled allows the user’s server profile to be linked to the Designer subscription they have.
Password:
These final two fields are for setting the password for the new user. It is recommended that the Admin making this account sets the password to something easy to remember and transferable to the new user so they are then able change it for themselves after logging in with this password.